October 16, 2016
Welcome to the Family Room Project -- a project three years in the making. Planning for the project
began in 2014, and in mid-2016, I finally had enough free time to begin building the project's
center-piece...custom bookcases.
The bookcases may be familiar to you. I built ones nearly identical during the 2009 Living Room Project.
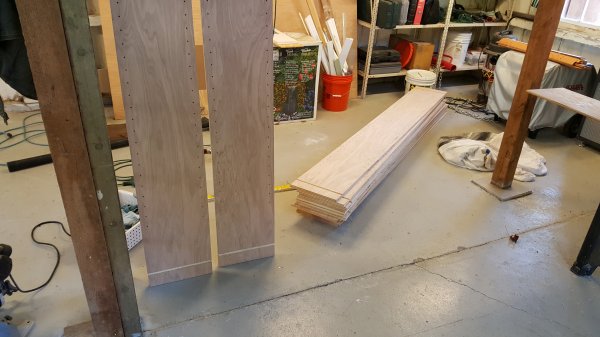
We moved since then, and our new home needed a place for our books. Work started by ripping down
3/4" oak plywood for the bookcase sides.
I drilled peg holes and then routed mortises at each end.
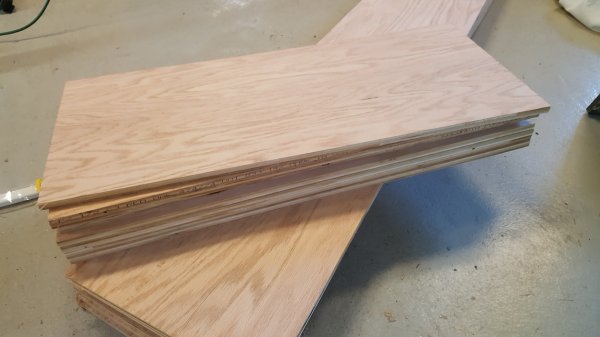
Next, I ripped 1/2" oak plywood to a 12" depth, and cut them into 29" lengths for the tops and bottoms
of the boxes. Each bookcase will end up being 30" wide.

A little wood glue is spread in the 1/2" mortise.
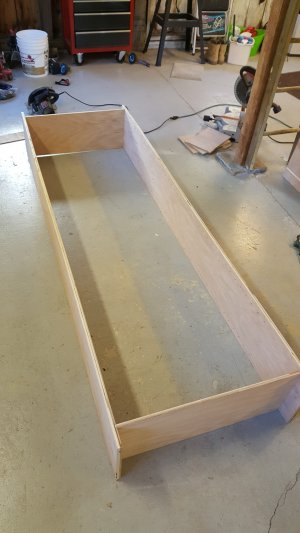 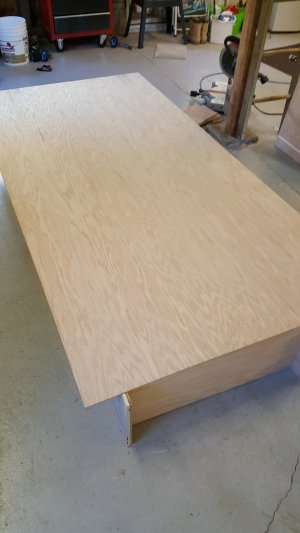
The shorter pieces are placed in the mortises and nailed to create the frames. After squaring the frames,
a sheet of 1/4" oak plywood is laid on the back and trimmed to fit.

Each piece of plywood is sanded with 220-grit paper prior to assembly.
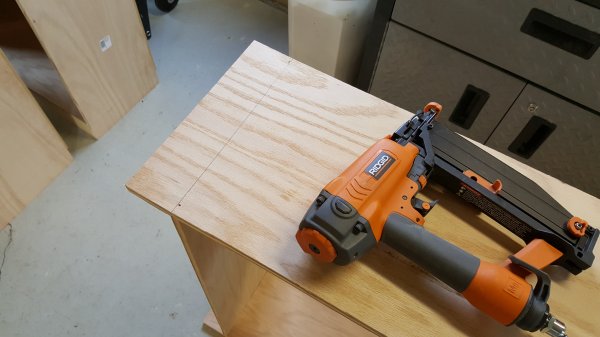
A pencil line along the opposite side of each mortise acts as a nailing guide.
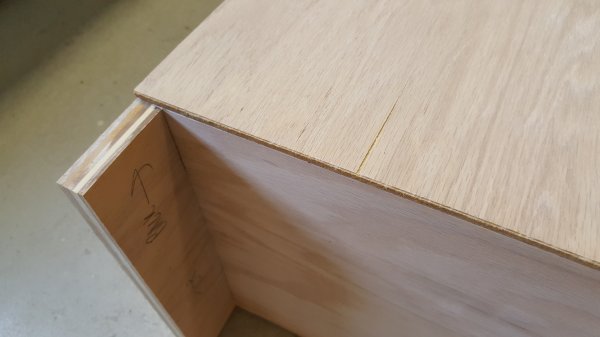
A close-up of the plywood back, just prior to nailing. Pine boards will be nailed to the overhanging
3/4" plywood, to complete a rectangular frame at each end. The frame provides stability to the
bookcase, as well as a nailing surface for final trim.
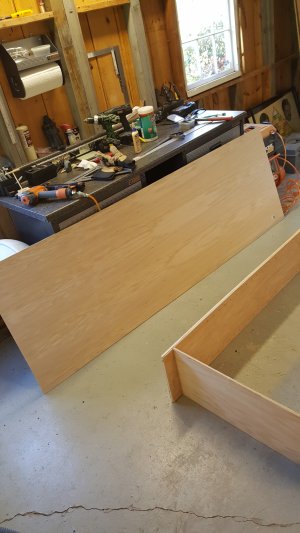 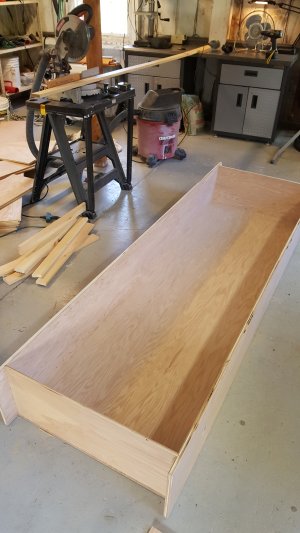
The trimmed bookcase back is ready to be laid on the frame and nailed in place.
The end product is shown on the right, after nailing and flipping the box over.
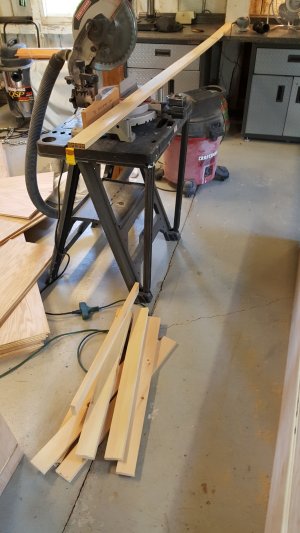 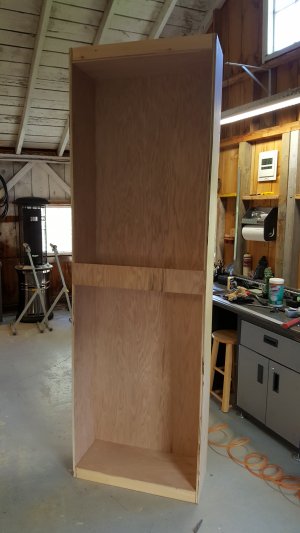
1 x 3" pine boards are cut to length, then nailed to complete the frames at each end of the boxes.

Scrap boards are nailed across the middle to keep the boxes from warping prior to install.

Once complete, each bookcase box gets a coat of red chestnut stain.
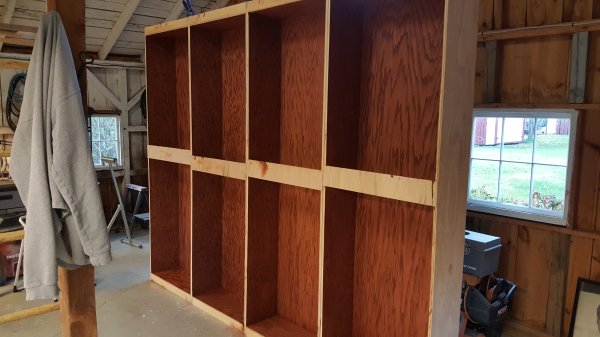
The boxes are assembled and ready to be brought into the house for install.
| Back | Top |
|

