July 6, 2008
With the walls primed, I could move on to lighting and installing a drop ceiling.
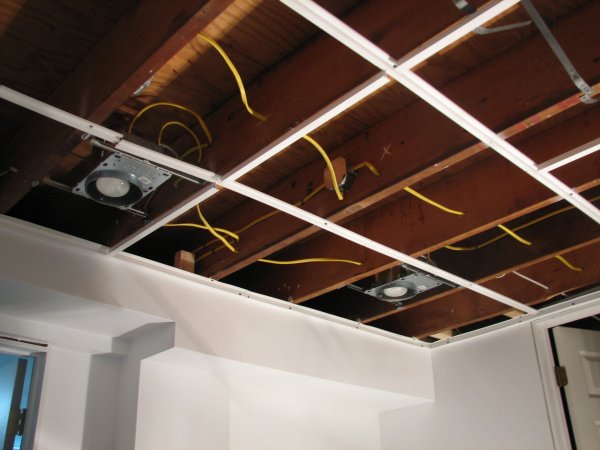
This innovative drop ceiling system sttaches directly to the bottom of the joists, instead of
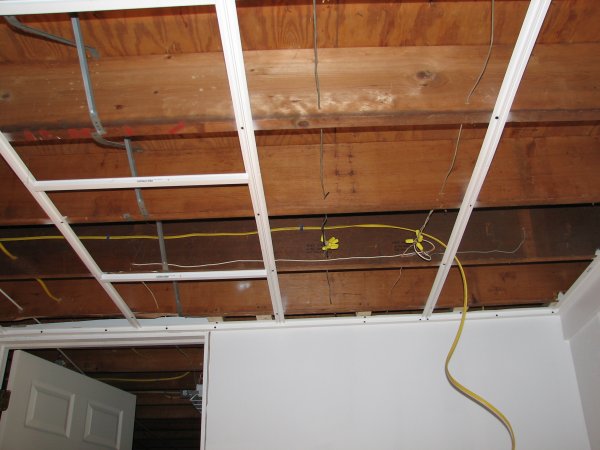
being suspended from wires. After running the long top rails, I installed the wiring for the lights.
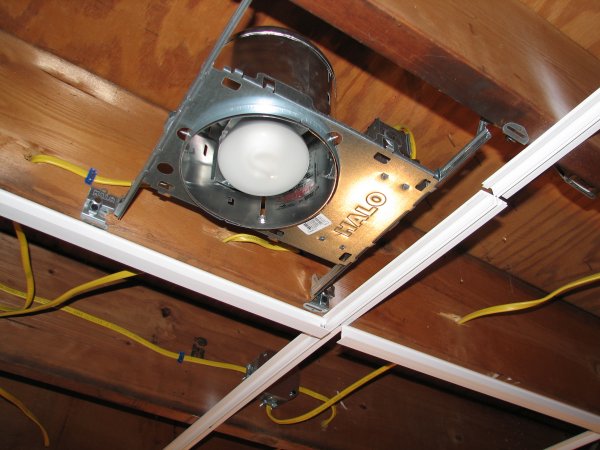
The recessed light fixtures were very easy to install, because they also attach to the bottom of
the joists. And in a sign of the times, I decided to use energy-efficient compact fluorescent bulbs.

The wiring is finished and the lights go on! As you can see, the light is actually very nice for
fluorescent bulbs. There are a total of six lights in the ceiling.
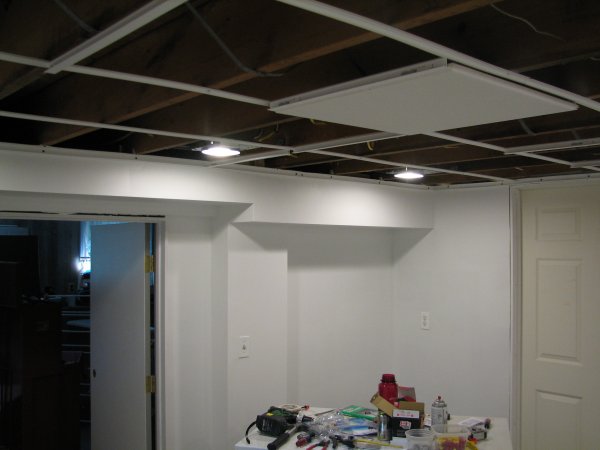
Another view of the lights, as well as the first ceiling tile.

The lighting calls attention to the interesting shapes and corners of the drywall.

And in go the ceiling tiles. The tiles around the perimeter needed to be cut to fit.

The ceiling is starting to take shape.

The ceiling is half finished.

The basement is starting to look pretty sharp.
| Back | Top |
|

