June 12, 2006 - Work Day 9
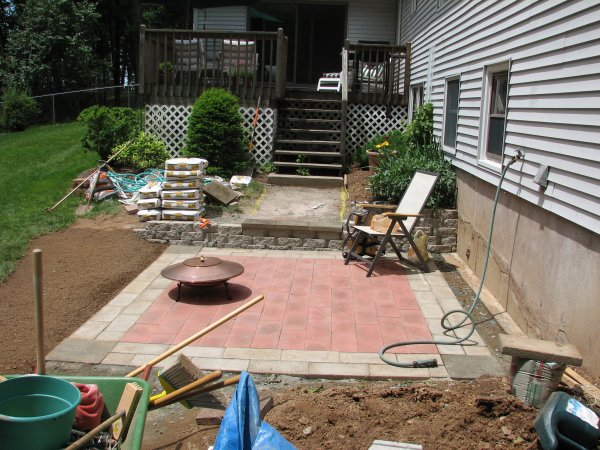
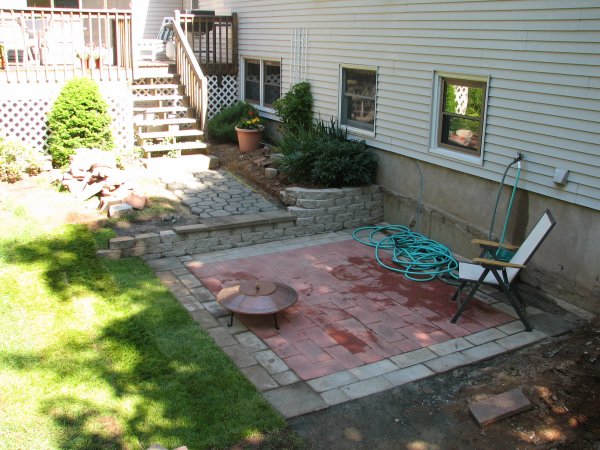
With the patio clean from a good scrubbing the night before, work could begin on the upper walkway.
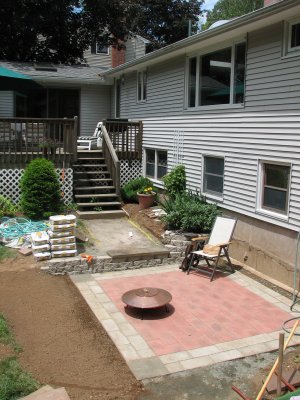
I decided to try stamped concrete. But first, three large recycled blocks are glued to the top of the wall
for the step to the patio. I used a high-strength polymer adhesive...waterproof and weatherproof.
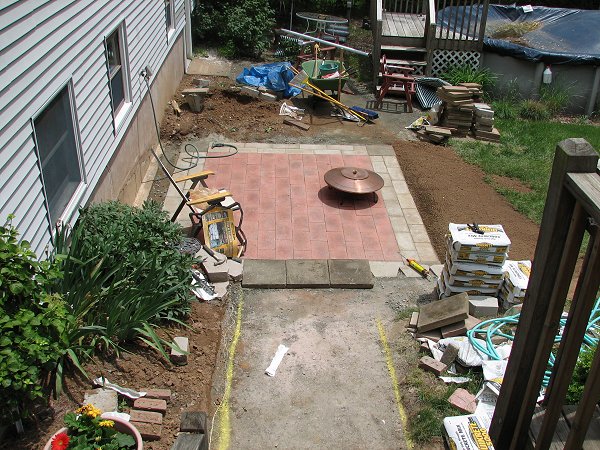
The ditch in front of the patio has been filled and graded to provide gentle slopes into the yard.
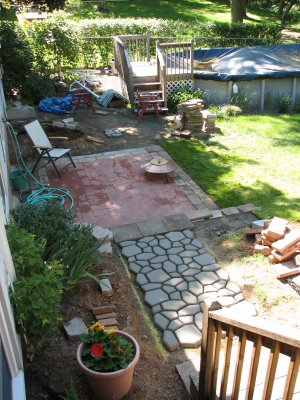
I made guidelines for the walkway with upside-down marking spray paint. That stuff is seriously fun.
I can only imagine the trouble I would have gotten into as a kid if I had access to a can of that stuff.
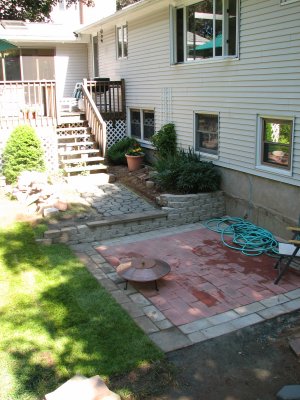
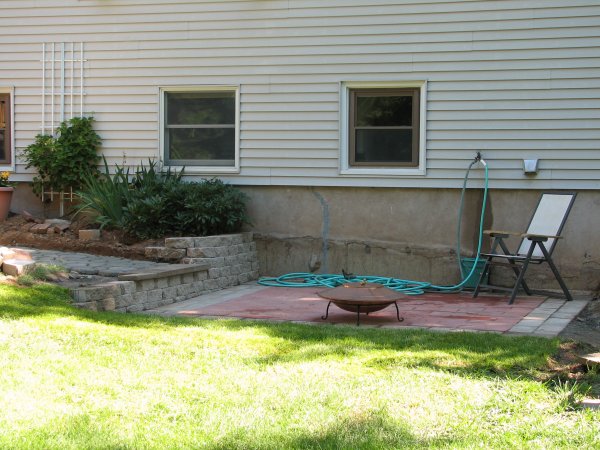
A view from other end shows that the patio will actually provide nice entry to the yard.
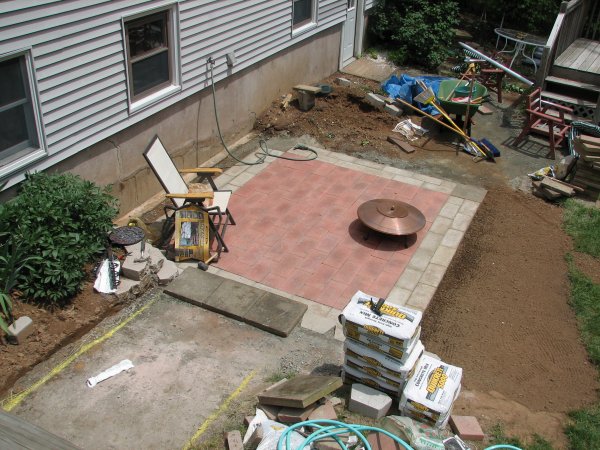
When I planned the look of the patio, I created my own design with the materials on hand. I decided
to use the red inside in a running bond pattern, with two rows of white bordering it, also in running bond.
For the corners, I thought the large, darker blocks would look good. I like how it came out, because it
sort of looks like a rug to me. That softens the look a bit.
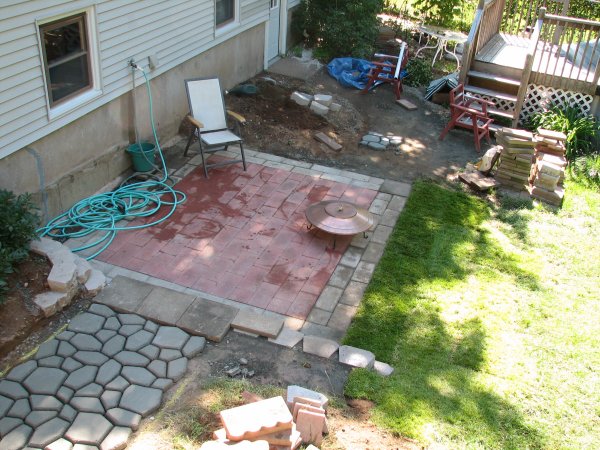
A view from the pool deck (left), and from the yard (right). It's hard to believe some of those patio
blocks are more than 20 years old.
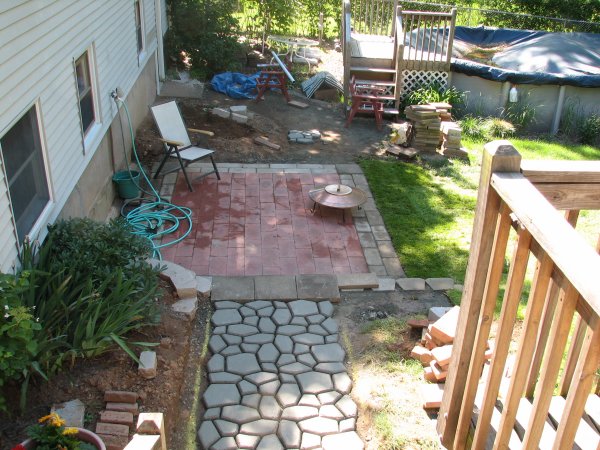
Work then started on the walkway, which is stamped concrete. I decided to go with the stamped
concrete because the lower walkway is going to be curved, and the pattern will let me create a curve.
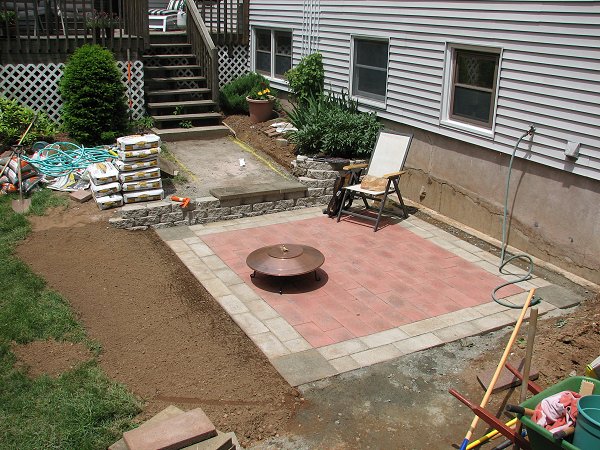
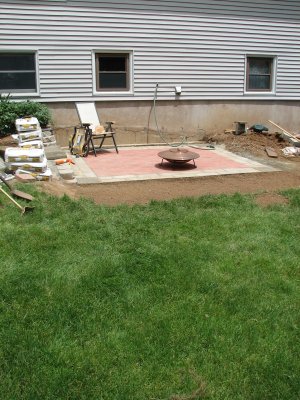
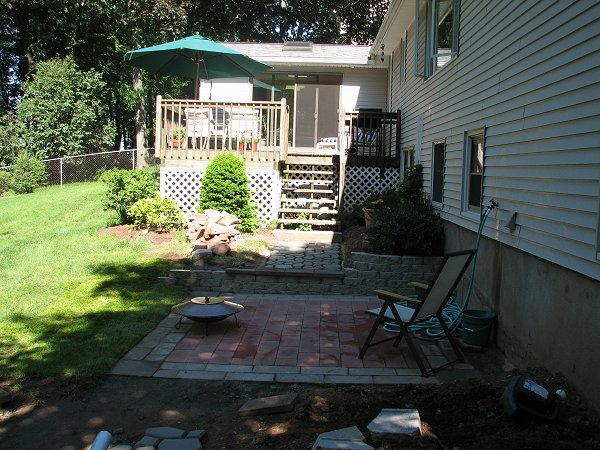
Instead of grass seed, I went with sod in front of the patio, for "instant lawn." Hopefully I'll be able
to keep it alive in the direct sun as it roots.
From the main deck (left) and from the pool deck (right). The sod made me really feel like I was making progress.
| Back | Top |
|

