March 20, 2016
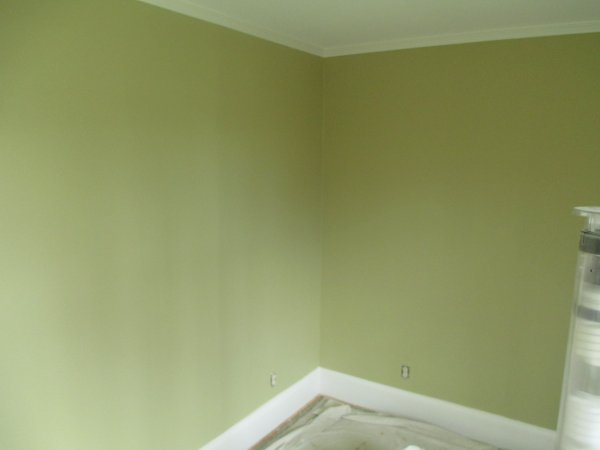
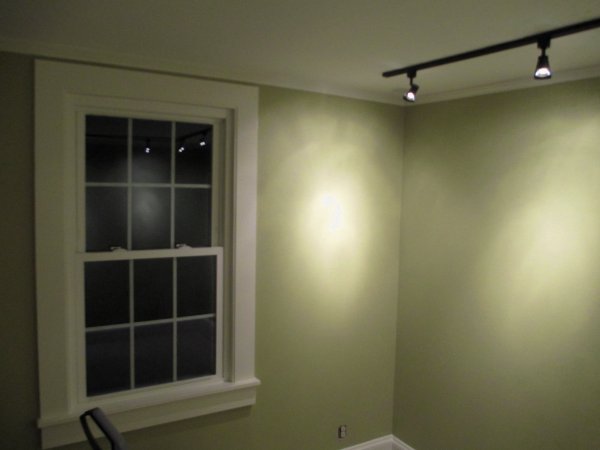
Morning light reveals the green side of this greenish-tan.
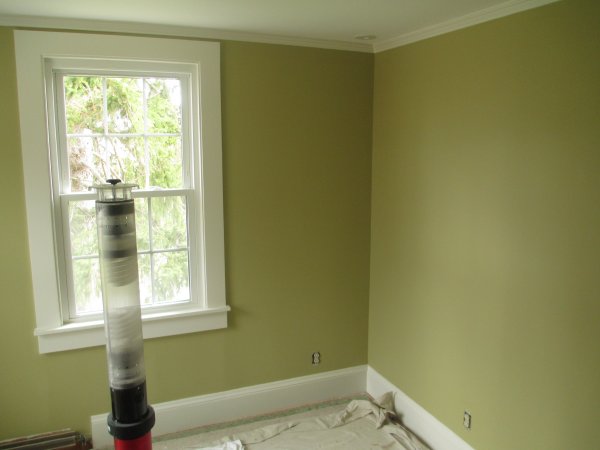
The walls came out great. I was very happy with the color.
The color really makes the trim "pop" as well.
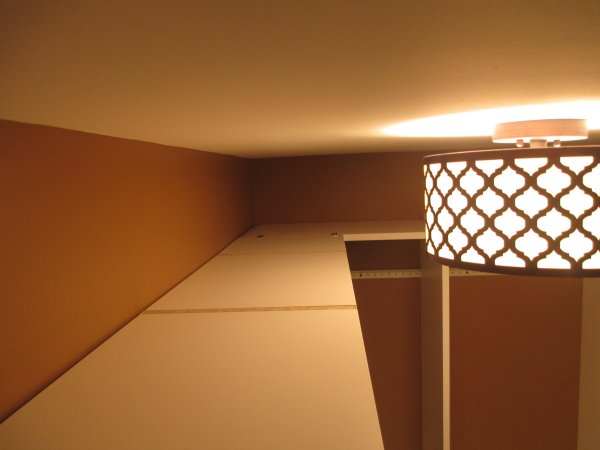
Work now turns to installing the closet system.
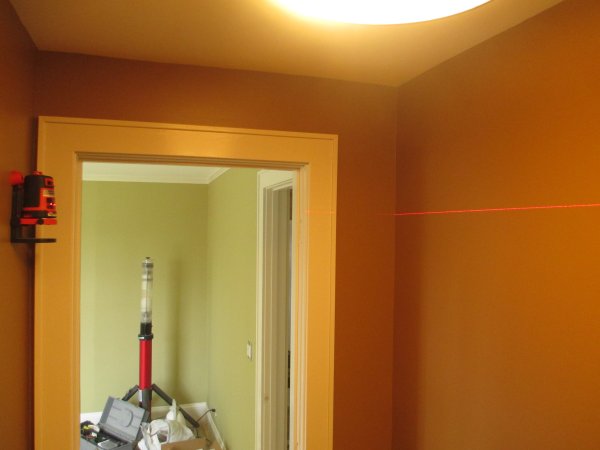
First, a level laser line is shot on the wall. The laser is mounted on the left wall.
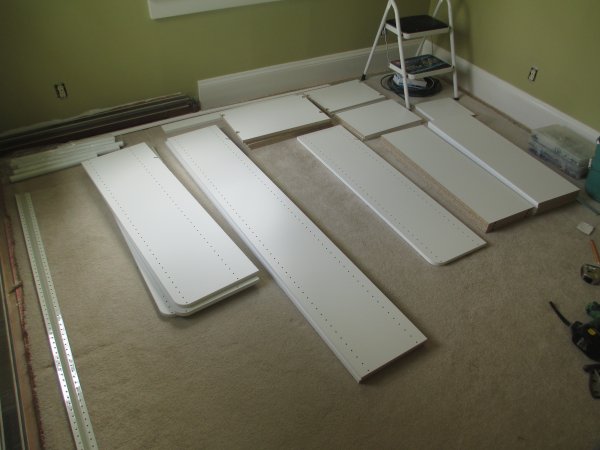
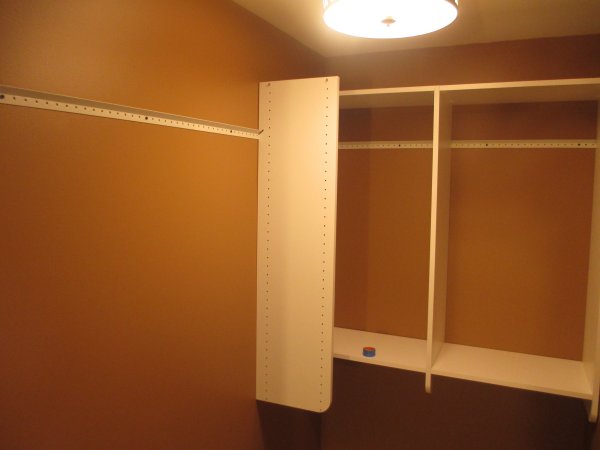
All the pieces of the custom closet system are laid out on the floor.
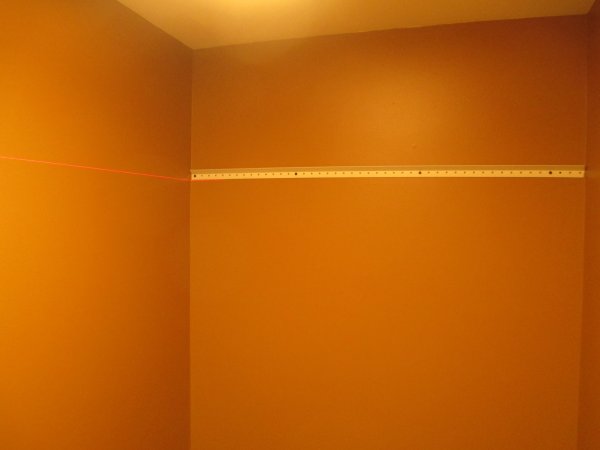
I cut the wall cleat to length and installed it level to the laser line. The cleat is secured to the wall studs.
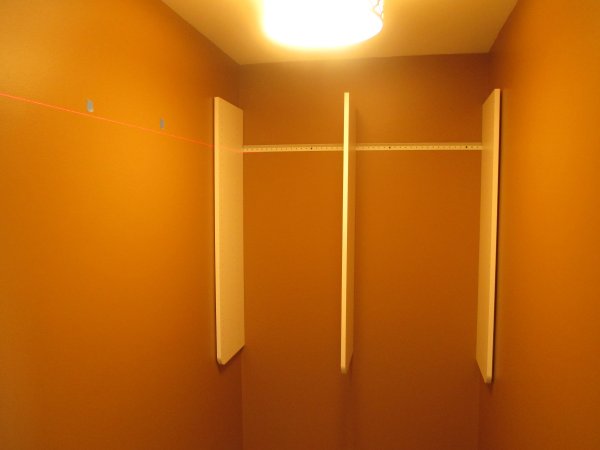
Next, the vertical panels are hung from the cleat.
The horizontal pieces attach to the vertical panels with cam locks. After installing the end wall unit,
I secured the next wall cleat to the studs and hung the vertical panels.
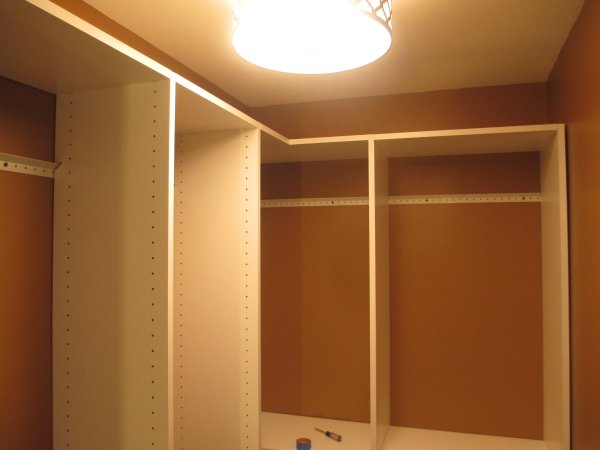
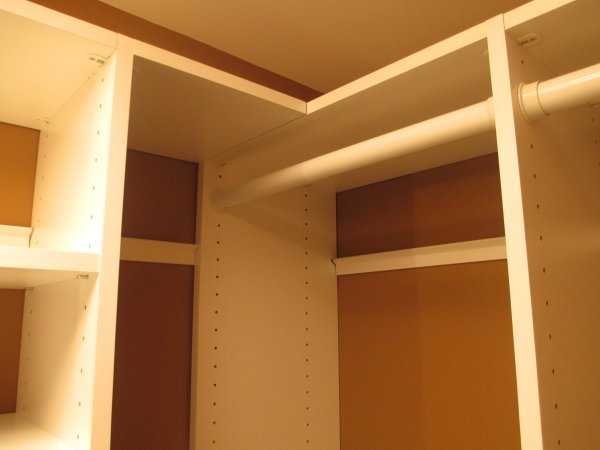
With the vertical panels up, I connected the two systems with a custom piece.
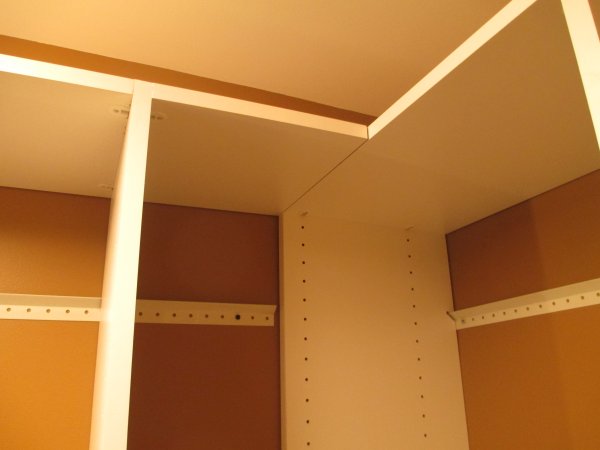
This piece (top center) creates a single top shelf across the closet.
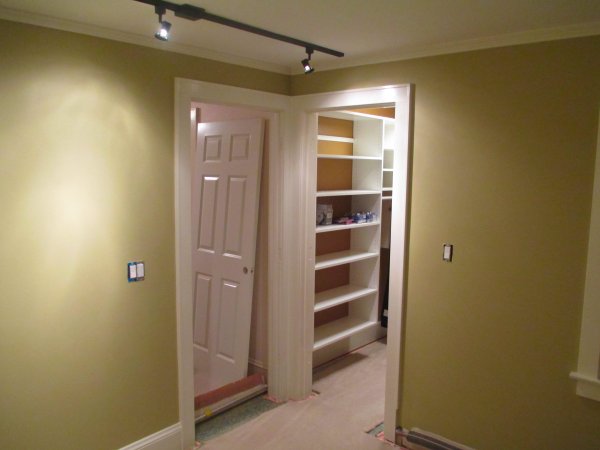
Looking from outside the closet, the two units become one.
A view of the top of the closet system, showing the continuous shelf.
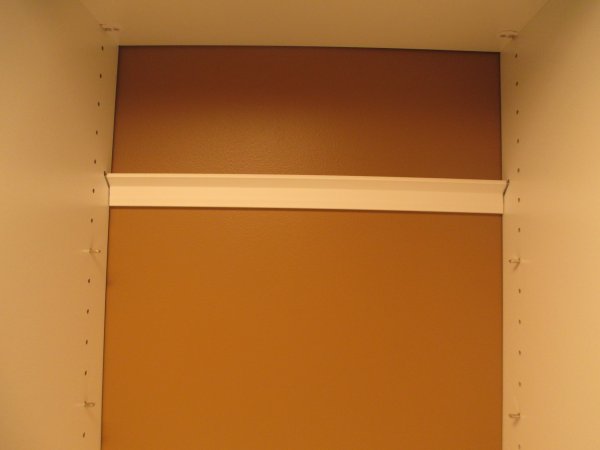
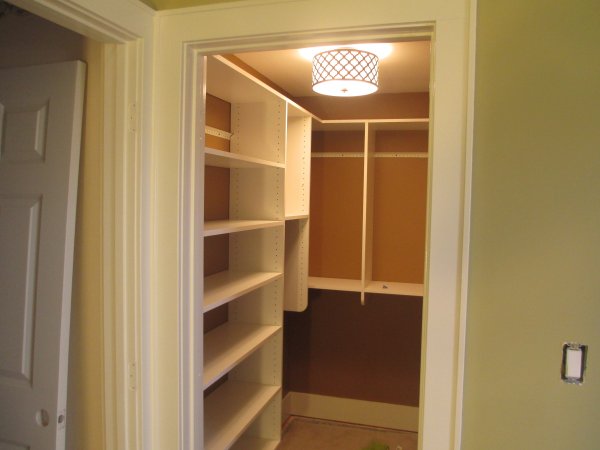
The cleats are finished with decorative plastic covers.
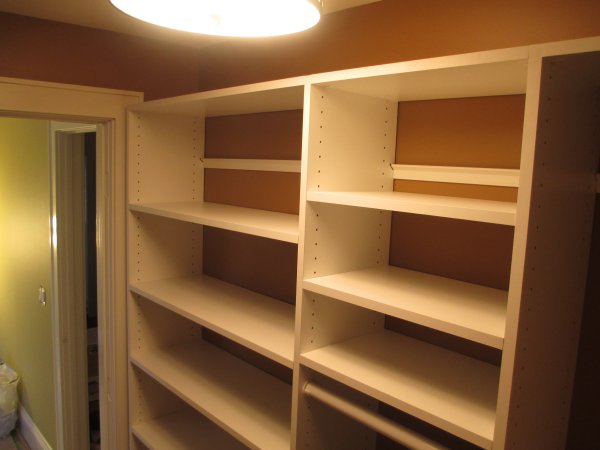
The shelves are in place.
The rods are installed.
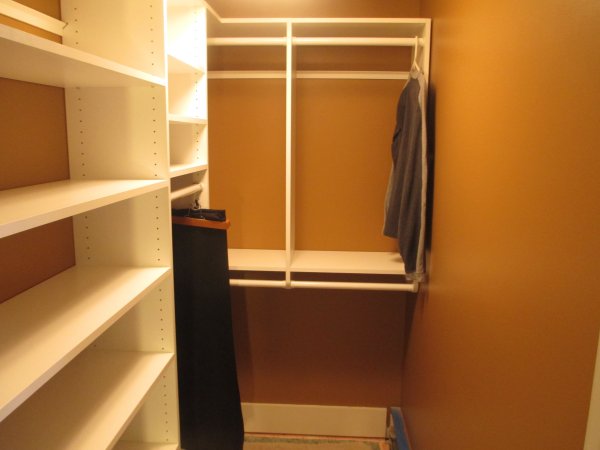
And the closet system is completed.
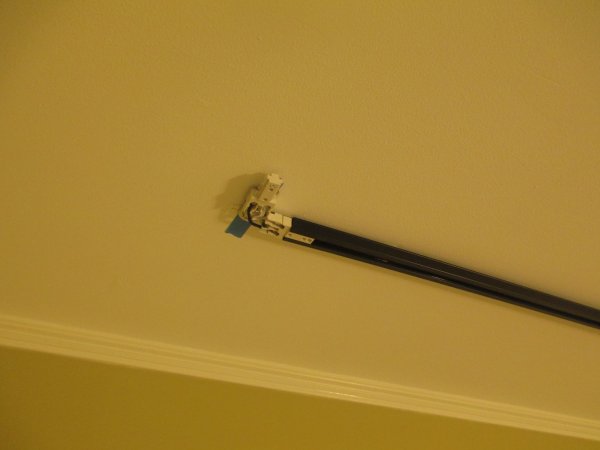
Work now turns to installing the track lighting. First, the corner connector is held in place
temporarily with a Command adhesive strip, marking 20" off each wall.
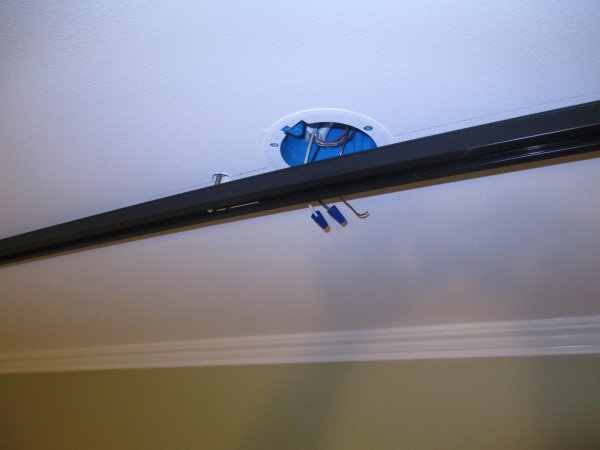
The tracks are installed with butterfly mollies, then wired to the ceiling box.
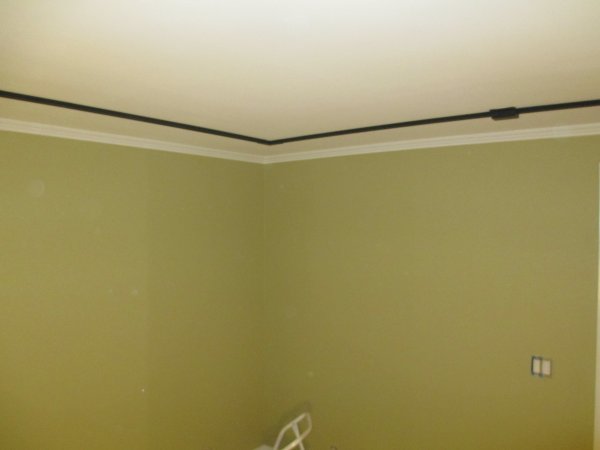
With both tracks installed, the junctions are covered, and the lights can be added.
The lights are added.
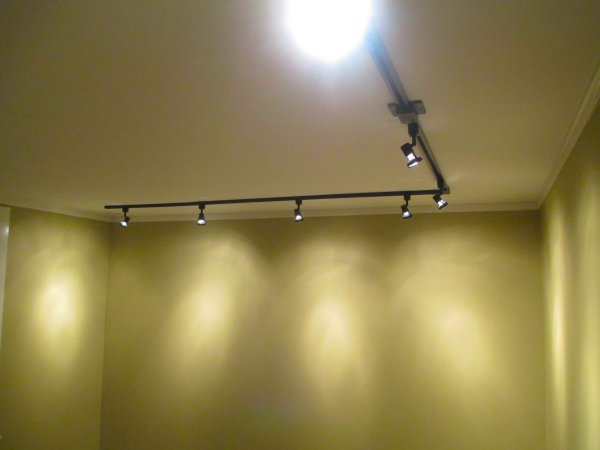
This place is starting to look like an art gallery.
The room is now ready for new carpeting.
| Back | Top |
|

