March 6, 2016
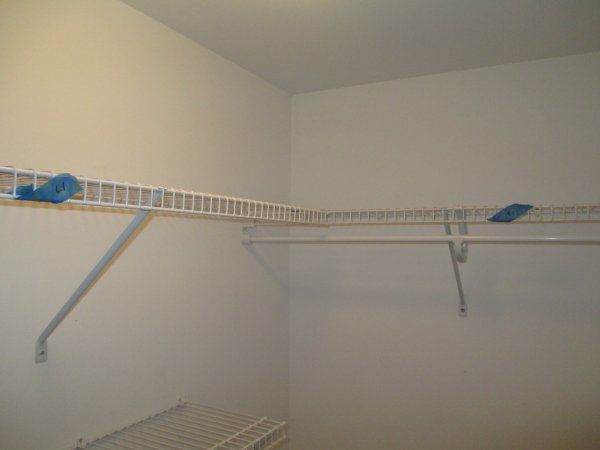
Attention today turns to the closet, and removing the wire shelving to paint the walls.
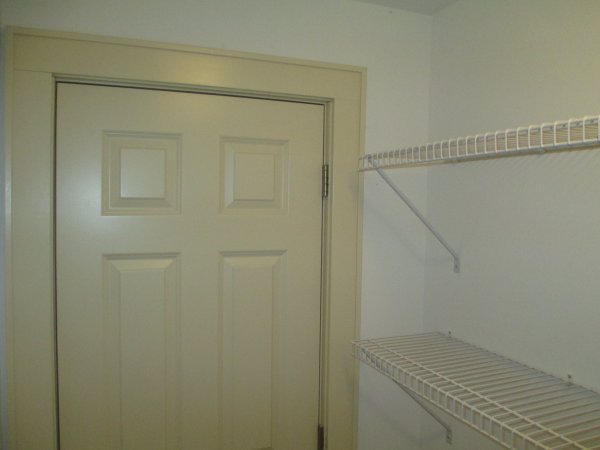
Looking towards the closet door. I plan to reinstall the shelving after painting.
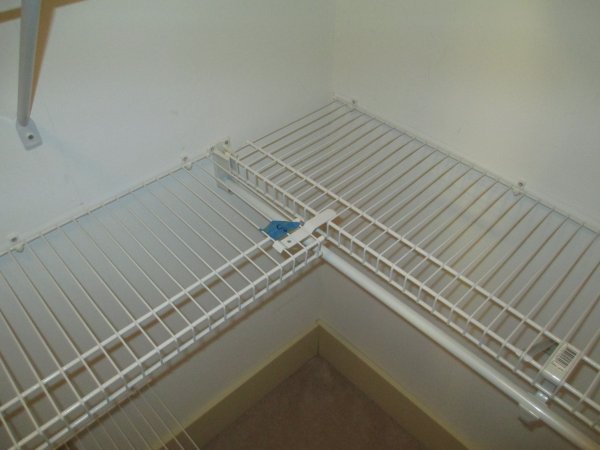
The pieces are labeled to make reinstallation easier.
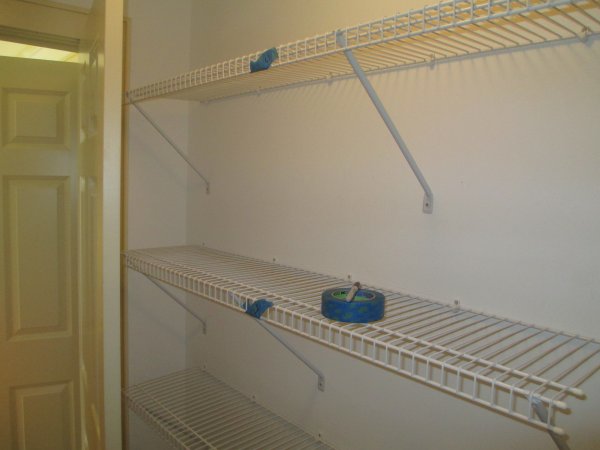
Labeling the shelves.

This ceiling light will be replaced after the ceiling is painted.
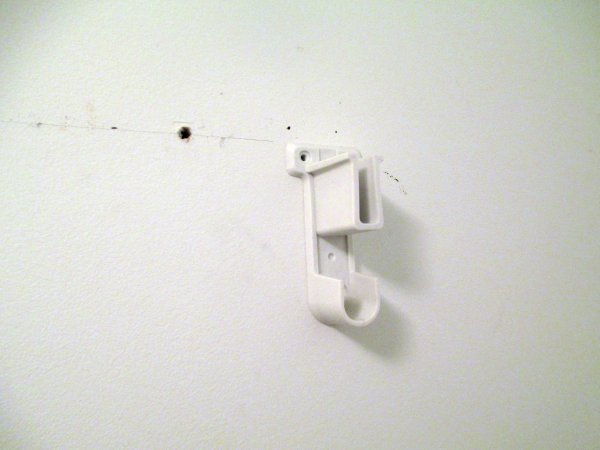
The shelves are removed. For some reason, these brackets weren't installed level.
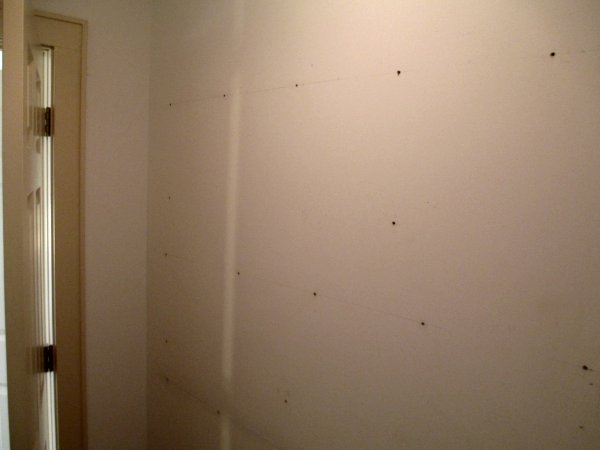
That's a lot of holes. I plan to reinstall the shelves with anchors and screw-in brackets for strength.

Some inspiration. When this project is done, I'll be able to get back to working on *that* site.
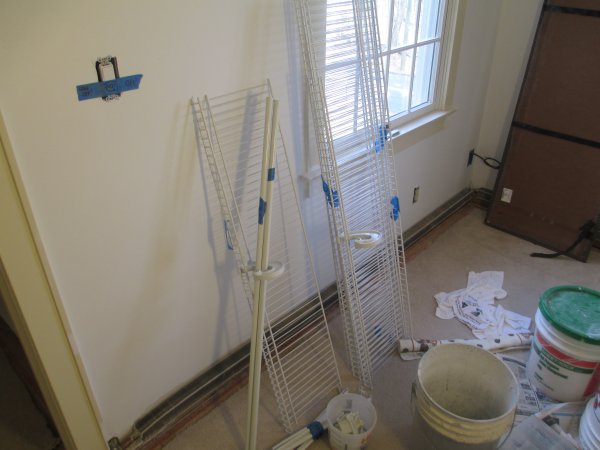
The removed shelving will be put aside for later.
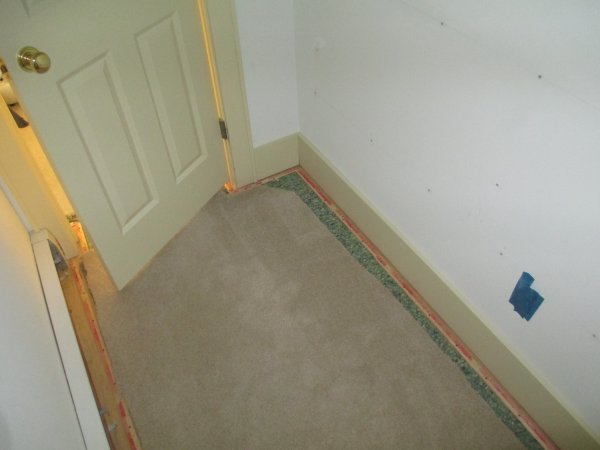
The carpeting is cut away from the walls to allow for baseboard painting.
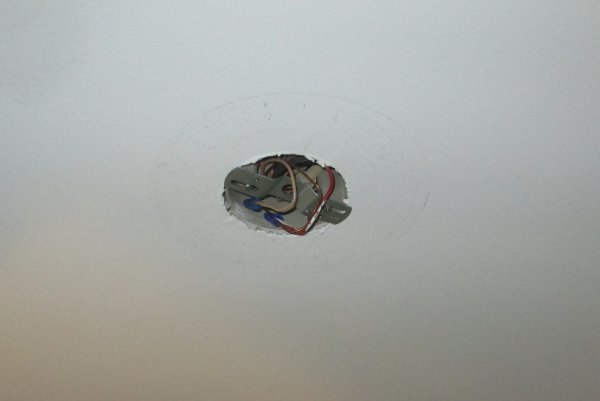
The closet ceiling light is removed, and ceiling painting begins.
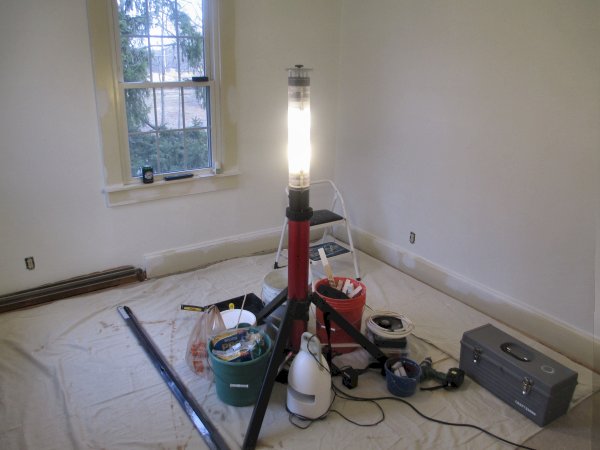
There's not a lot to show when you paint a white ceiling again with white ceiling paint.
So instead, here's a photo of the room tidied up for painting.
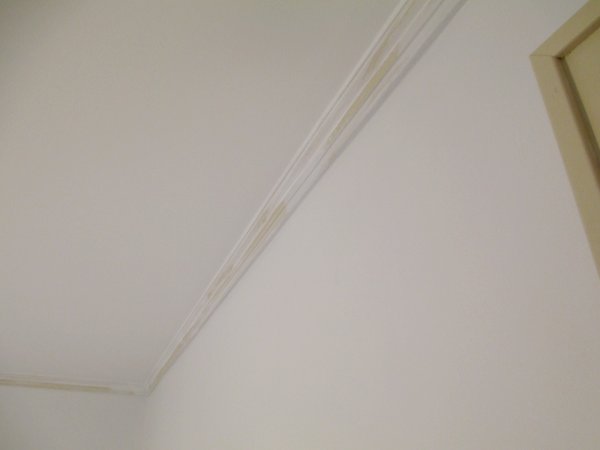
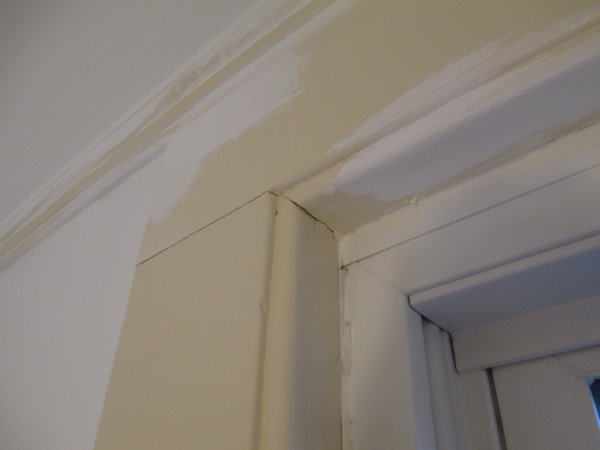
Once the ceilings were painted, I caulked all the woodwork to fill in voids.
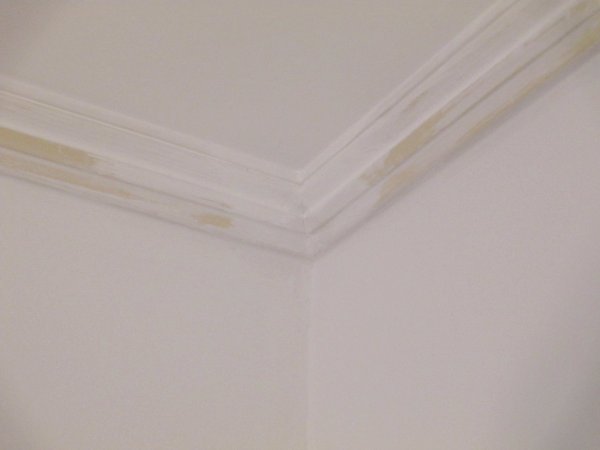
Caulking neatens up the crown moulding corners.
I also caulk the moulding around the windows, which gives the old woodwork...
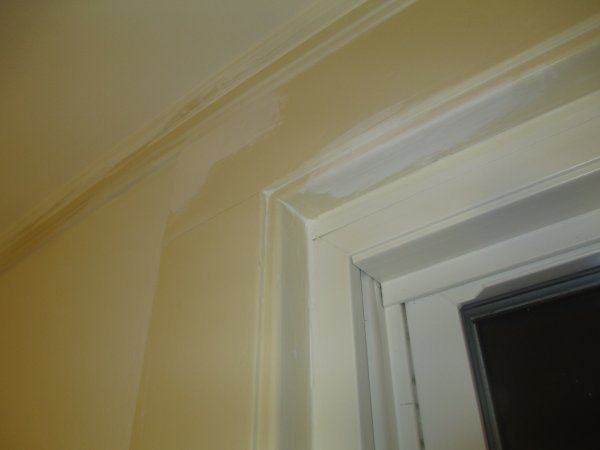
...some new life.
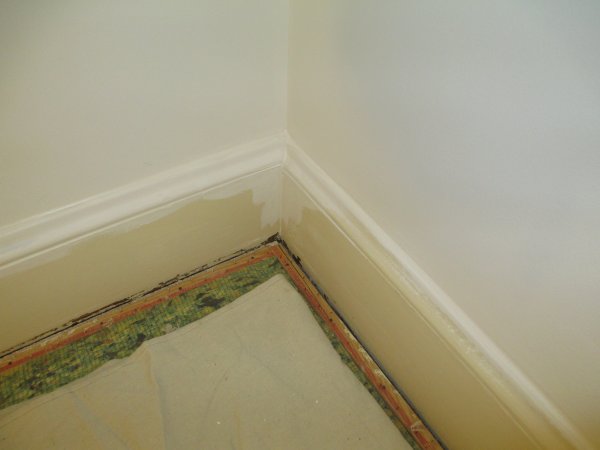
The baseboards are also caulked...and ready for paint.
| Back | Top |
|

