February 20, 2016

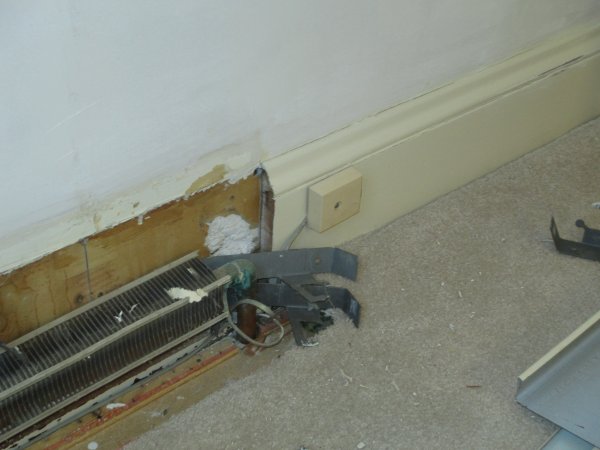
I trimmed the carpet back from the baseboard heaters to replace them.

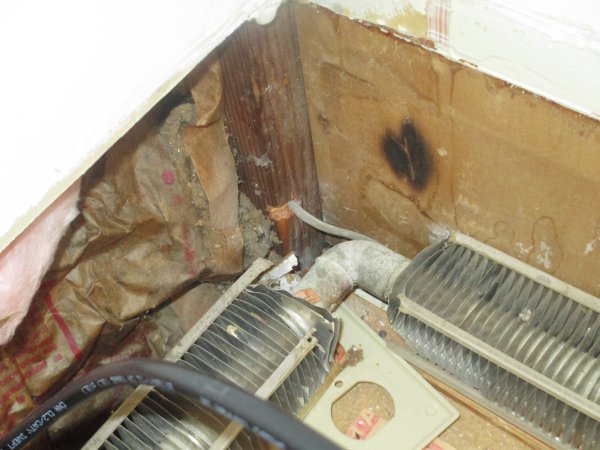
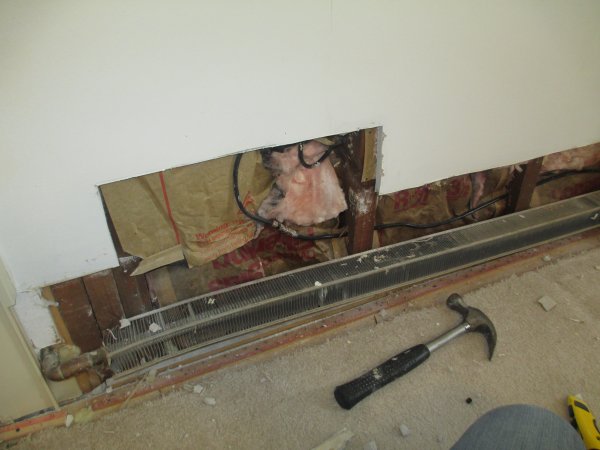
Doing so exposed a couple of head-scratchers. The former homeowner wrapped a phone cord
around the baseboard supply pipe. Ooooooookay.
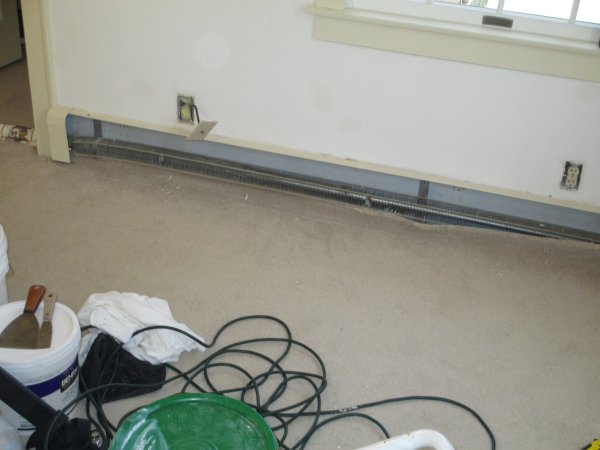
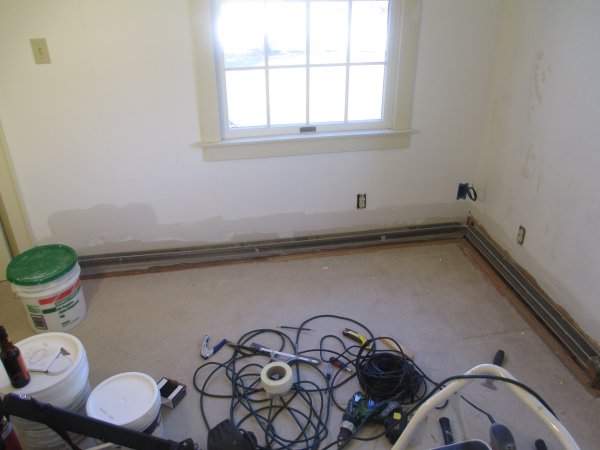
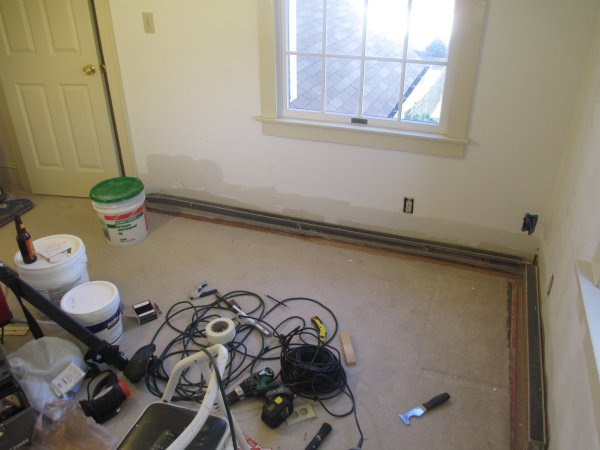
There was also a cable outlet in the middle of the wall, nowhere near where you would need one.
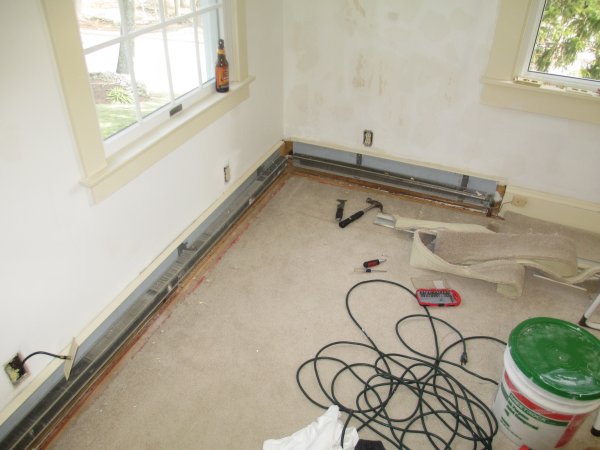
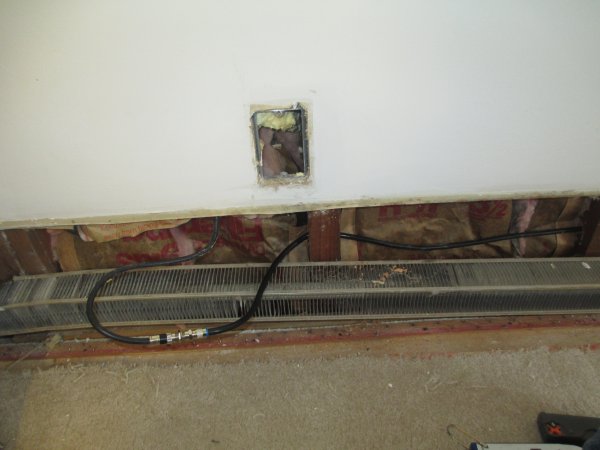
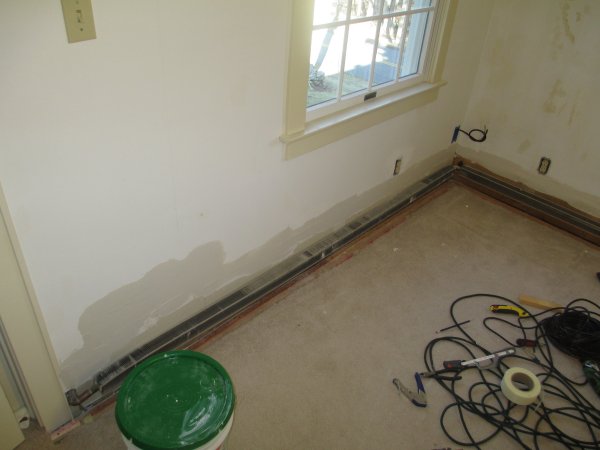
A view of the baseboard heaters. The old surrounds were painted and in fair shape. So I'm replacing them.
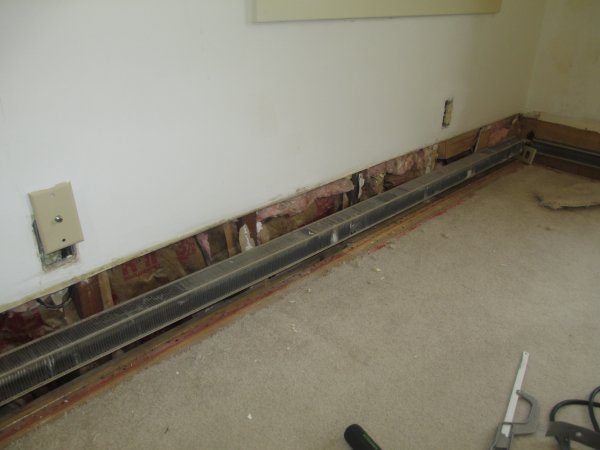
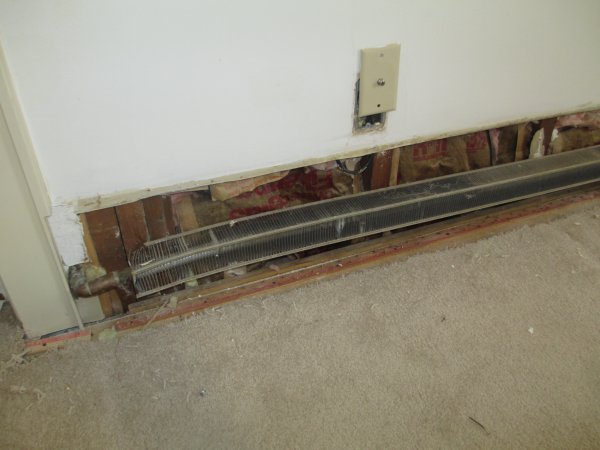
But first...oh boy. For some reason, there's no wallboard behind the baseboards. Well, this job
just more complicated.
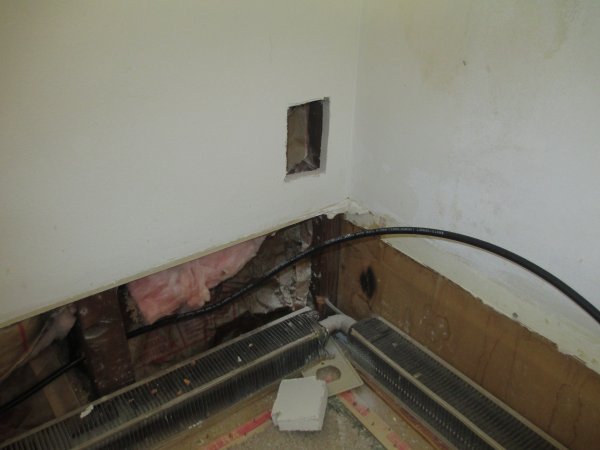
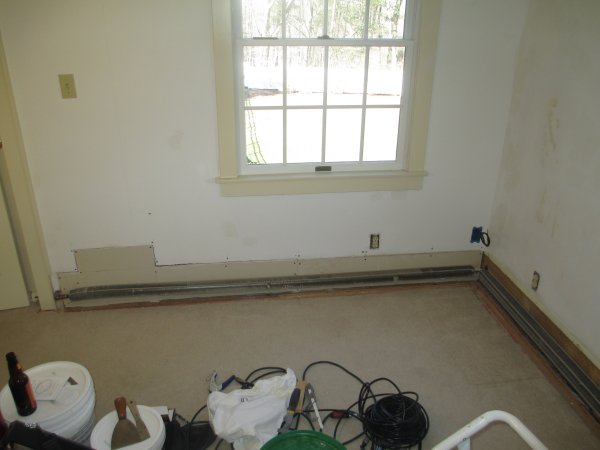
But it gave me an idea: I could move the cable line to the corner of the room!

I disconnected the cable line and pulled it out of the hole in the wall.
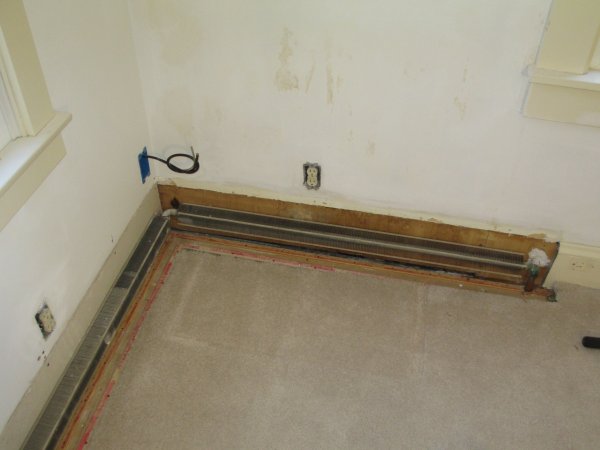
I then cut patch out of wallboard to fill the voids behind the heaters.
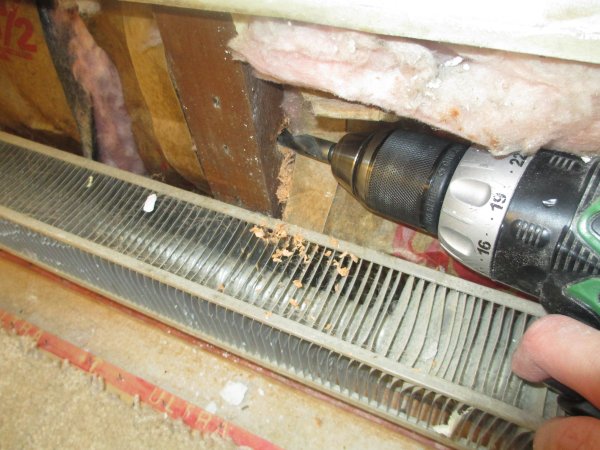
I drilled holes through each joist to thread a new cable line.
I ran new cable through the joists and spliced the lines together.
The phone line also came into the room from the area of the missing wallboard.
The phone line used to run behind the heaters to the surface-mounted box on the moulding.
I cut a hole in the wallboard in the corner to accept a new box for both the phone line and the cable.
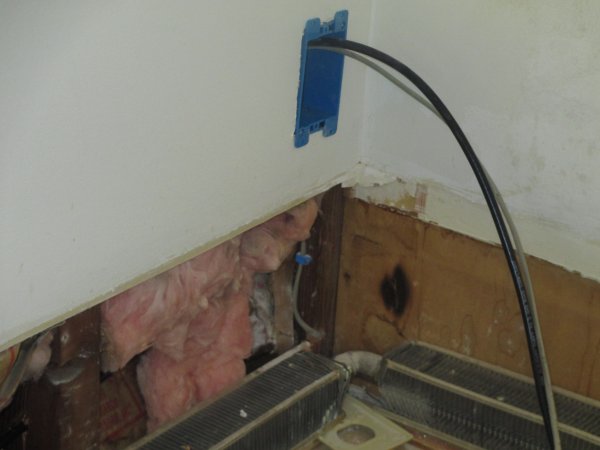
The communications lines are fed up through the new box.
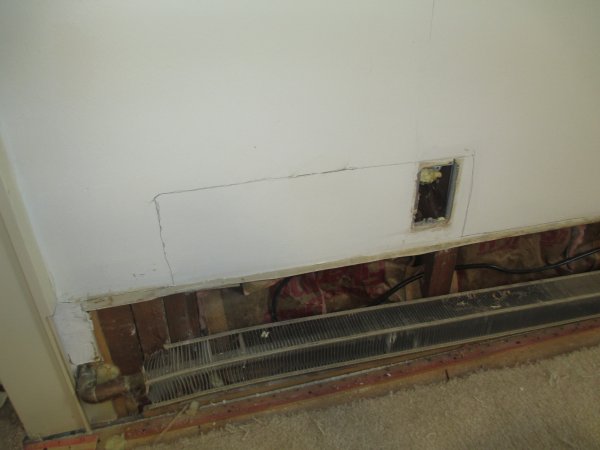
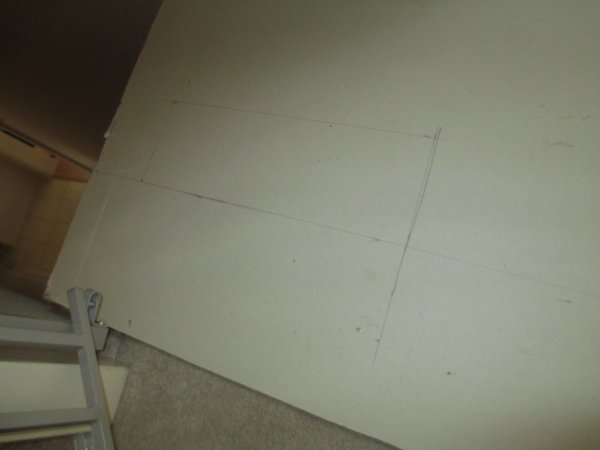
Now work can focus on patching the missing wallboard. I traced my patch against the wall.
Then, I cut along the lines to create an opening the size of the patch. It's easier to cut your wall
to fit the patch instead of the other way around.
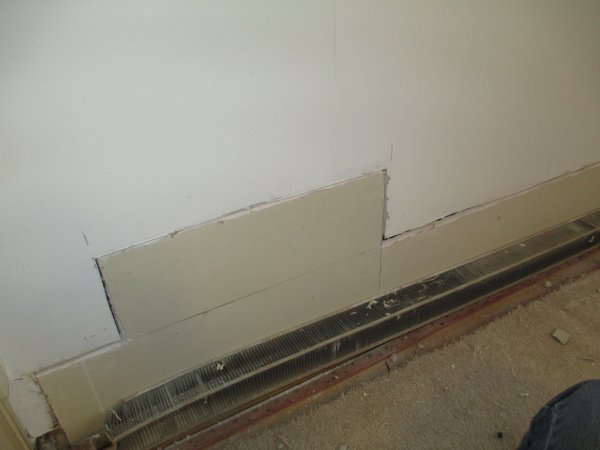
The patch is slid into place. Note that I cut it wide to span the joists, filling in the old location of the cable.
Drywall screws secure the patch in place.
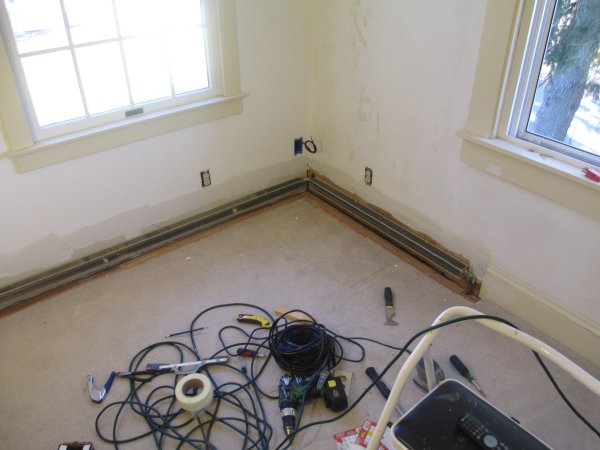
A view of the corner, showing the new location of the phone and cable lines.
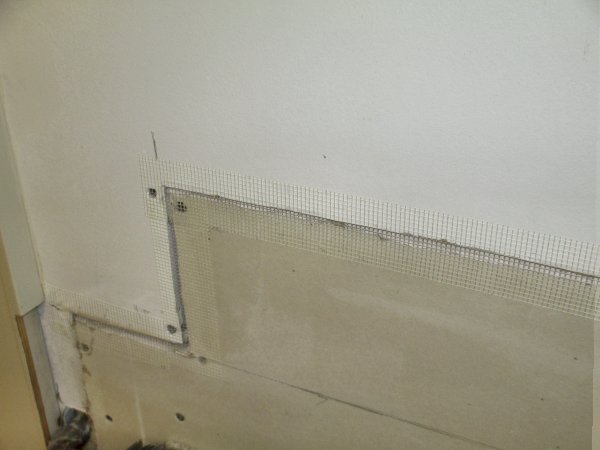
Next, I covered the seams of the drywall with fiberglass tape.
I followed that up with a first coat of joint compound. This will require two initial coats.
Once the second coat is dry, the wall will be sanded, then a light third coat will be applied and sanded.
A view of mudded joints.
Now, we wait for things to dry.
| Back | Top |
|

