February 13, 2016
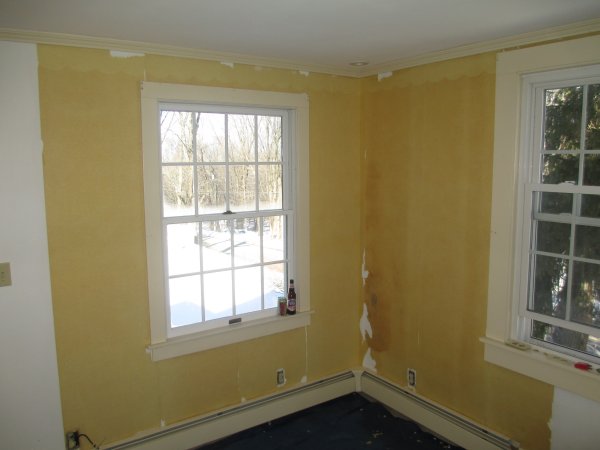
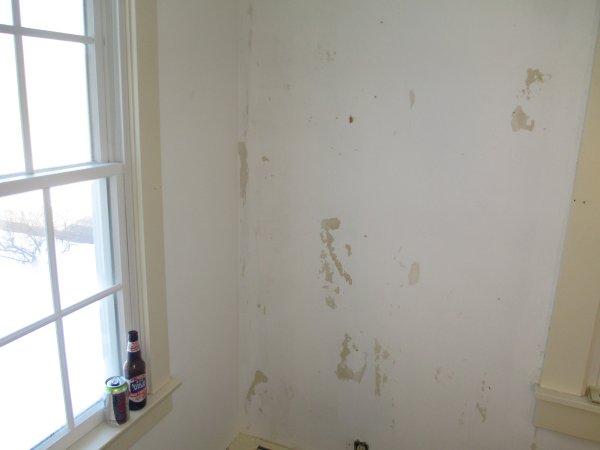
The wallpaper stuck a little more tenaciously to the outside wall, but still came off pretty easily.
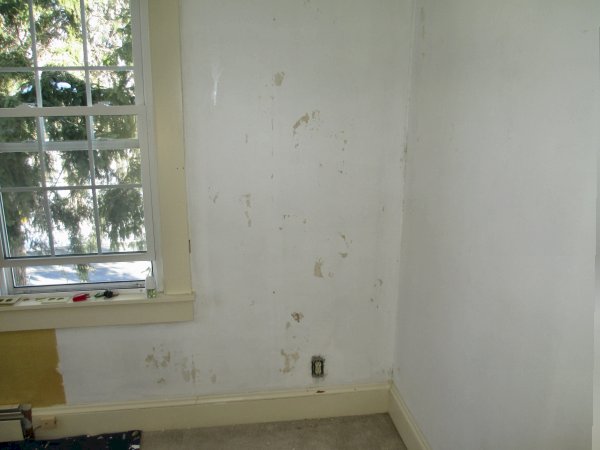
The last of the wallpaper backing is soaked and ready to be stripped.
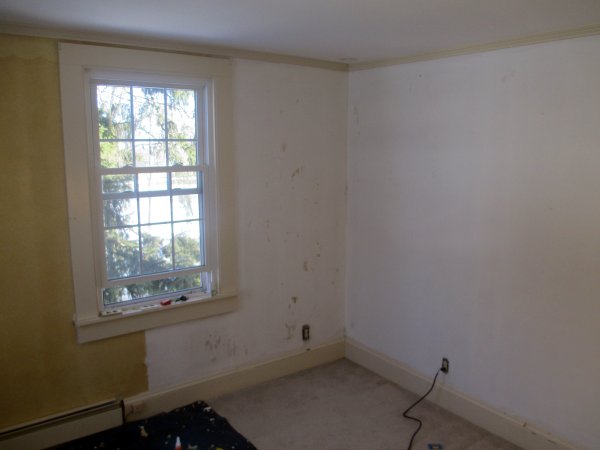
Light damage to the wall will be repaired with joint compound.
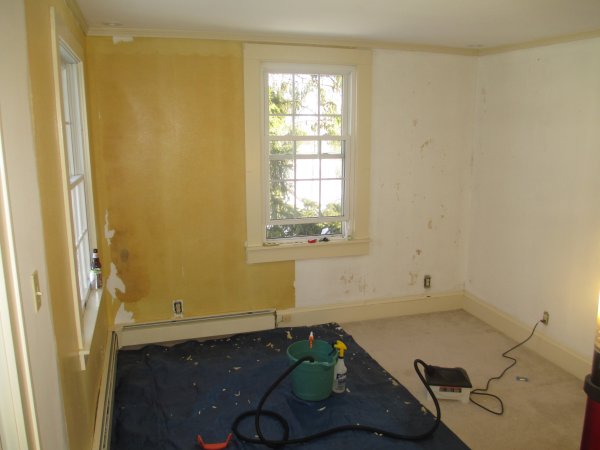
Another view of the progress.
The other corner also had some damage, but all-in-all, the walls were in great shape.
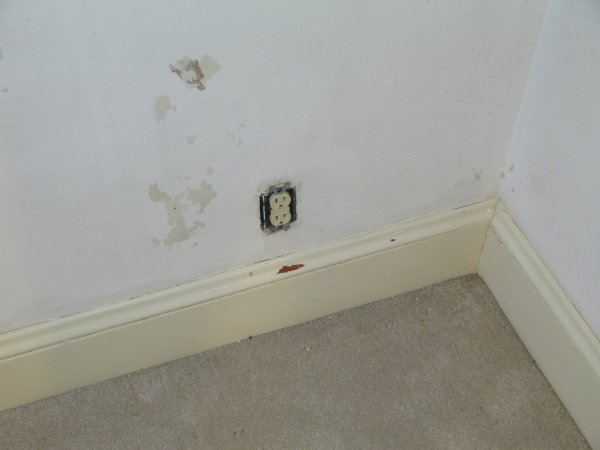
The woodwork requires a bit of touch-up, too.
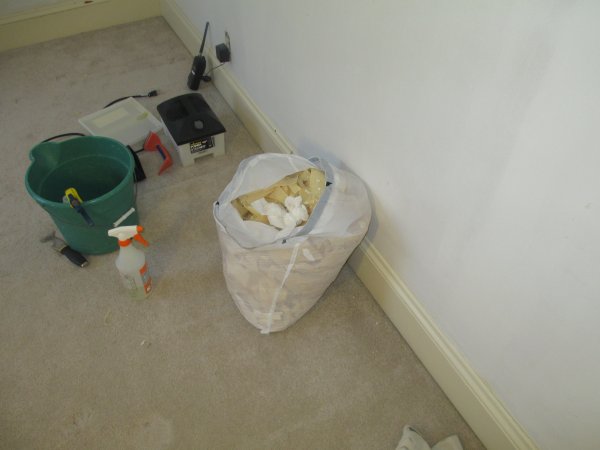
At the end of the day, all the wallpaper was gone, and the scraps picked up.
For once, wallpaper
removal wasn't a horrible ordeal.
The room is picked up, and the walls are ready for repair.
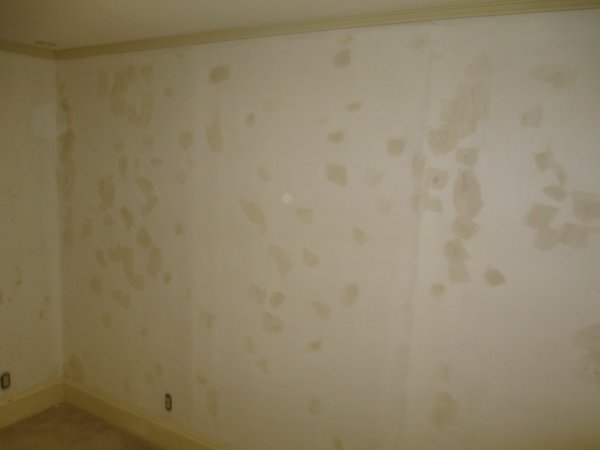
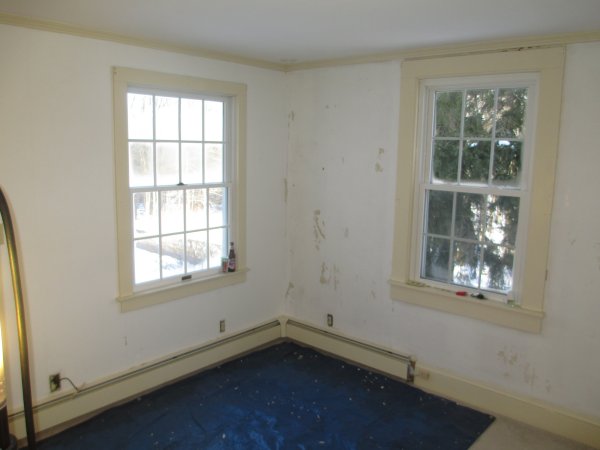
This photo shows all the spots I had to spackle with joint compound. If you remember the
Living Room Project from 2009, or the Nursery Project II from 2013, this is nothing.
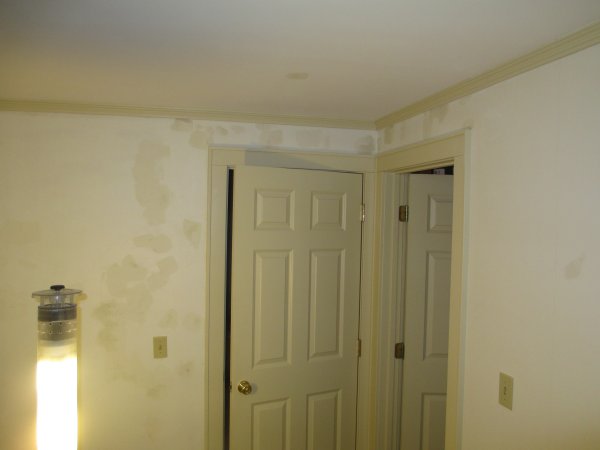
Looking towards the hallway and the closet.
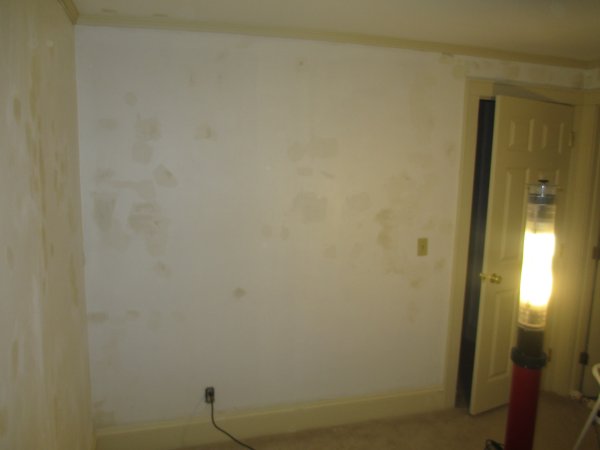
After the joint compound dries, I'll sand it smooth to prepare the walls for primer.
| Back | Top |
|

