September 20, 2009
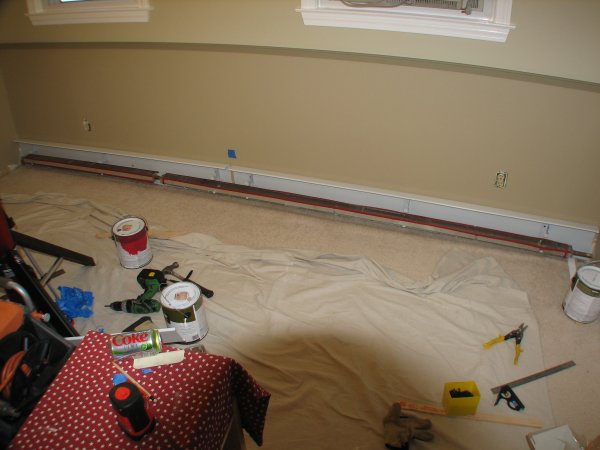
New baseboard heaters are being installed.
The baseboard installation begins. I went with tall baseboard...the same I used in the living room
and
foyer. I like the modern, substantial look of it.

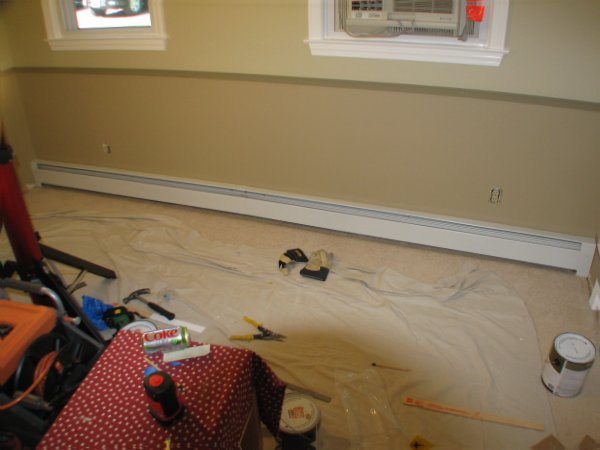
The baseboard meets the new baseboard heater.
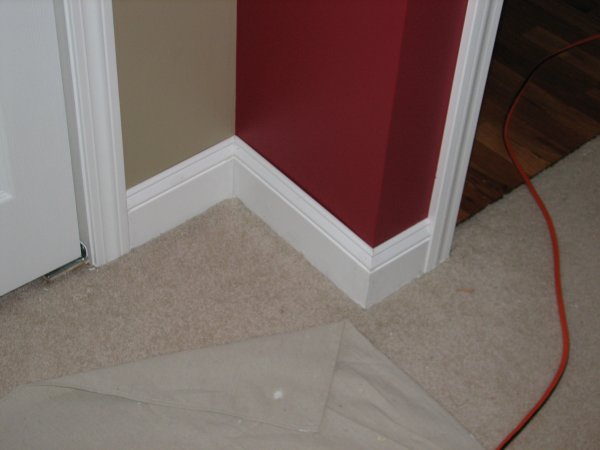
The only difficult cuts were on the bump-out. This area took time, because it's in a very visible
area of the room...right near the door.
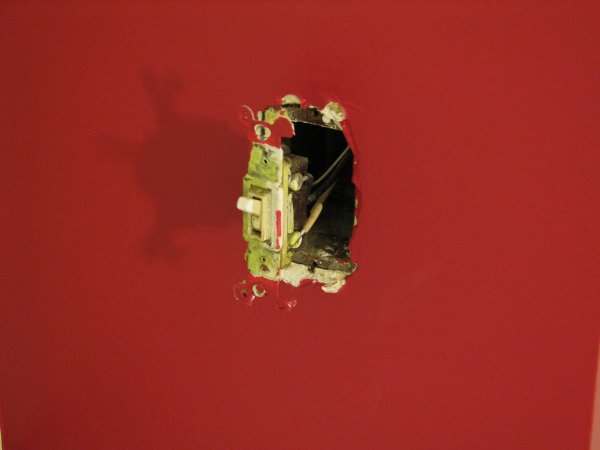
The old, paint-laden switch is being removed. Note the aluminum wire, which requires
a CO/AL rated replacement switch.
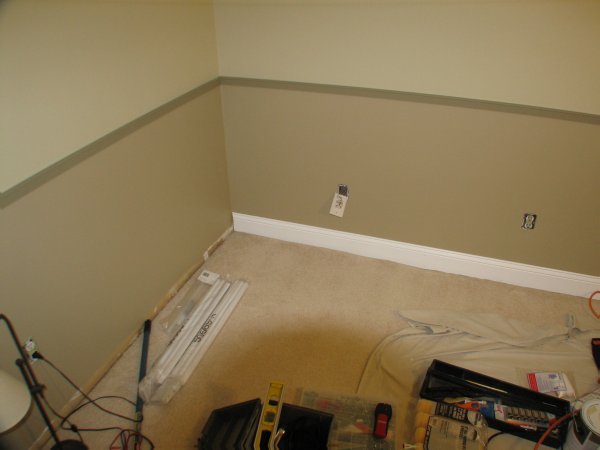
The baseboard is installed.
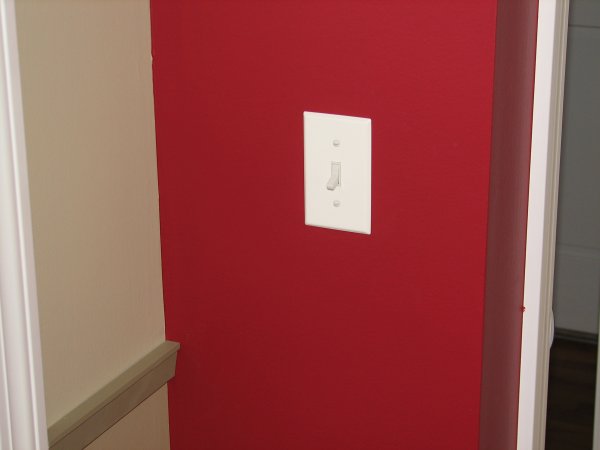
The new switch is installed as well.
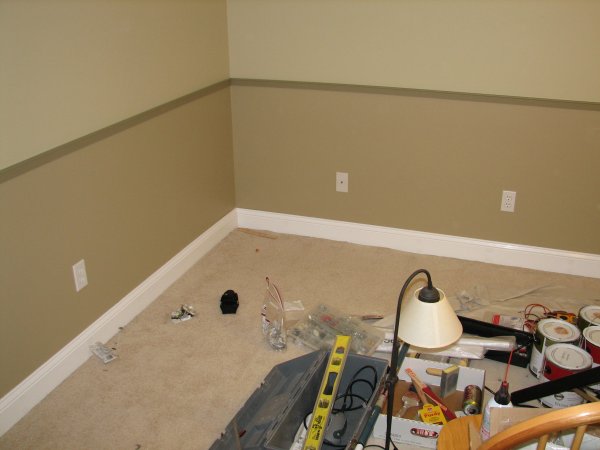
Most the tools are put away, as the majority of the work is complete.

A scary sight...children's clothing!

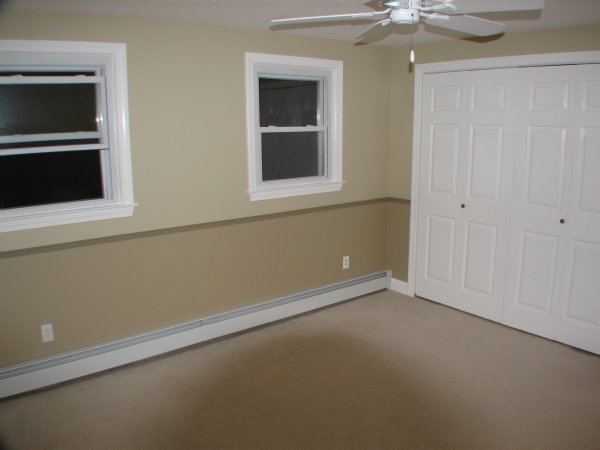
A nice snapshot of the entire project...all the colors and the new woodwork.

The carpet needs cleaning, and minor decorating remains.
| Back | Top |
|

