September 11, 2009
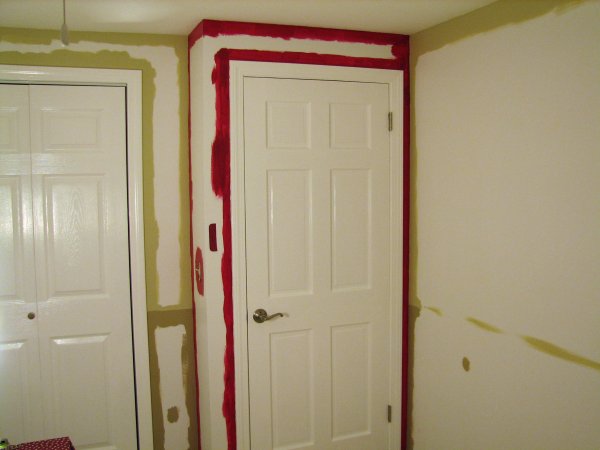
It's a kid's room, so you have to be a little fun with it. So I decided to paint the "bump out" by the
door in a red color, again drawing from the palette in the crib bedding.

The upper color goes on. The only drawback to the fluorescent light is that it messes up the colors in
the photos. You'll see the true colors in a flash photograph lower on this page.
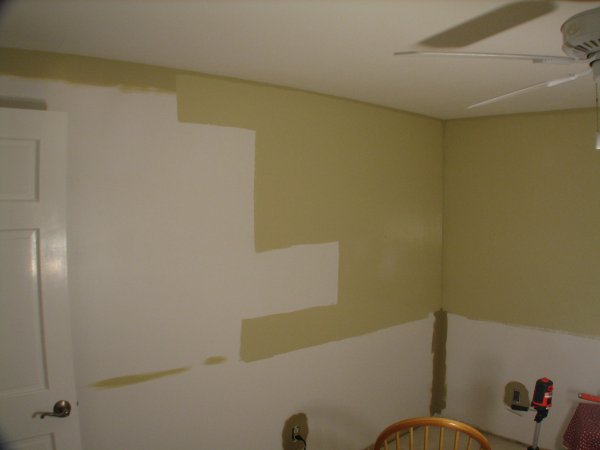
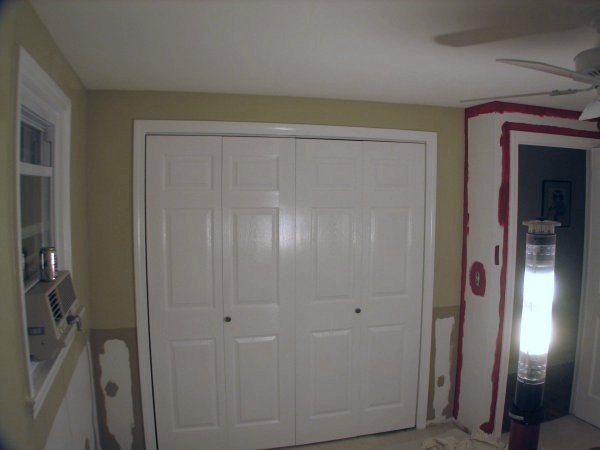
The upper color is finished (two coats).
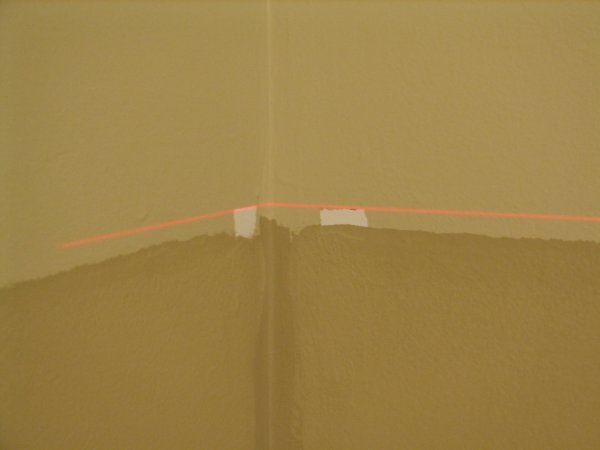
Here's how I divided the two wall colors. I used the laser to cast a perfectly horizontal line on the wall.
Then I placed small pieces of painters tape on the corners of each wall right under the laser line.
Then I painted the top color.
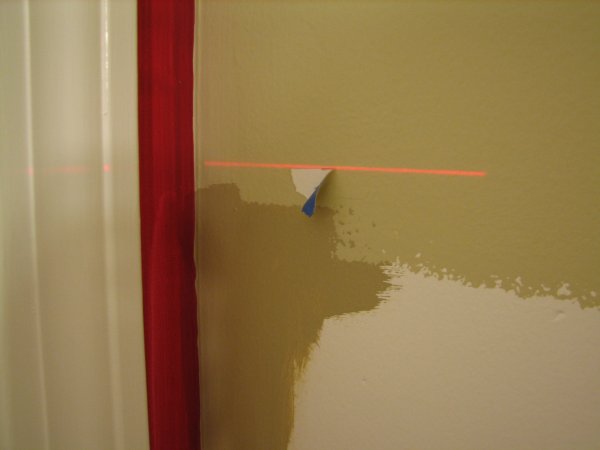
When it was time to go back to do the bottom color, I peeled away the tape, and lined up the laser
again to the white spots. The laser line told me where the top of the chair rail would be. The white
marks will be covered up by the chair rail.

The bottom wall colors goes on. You can see the small white reference marks in the corner.
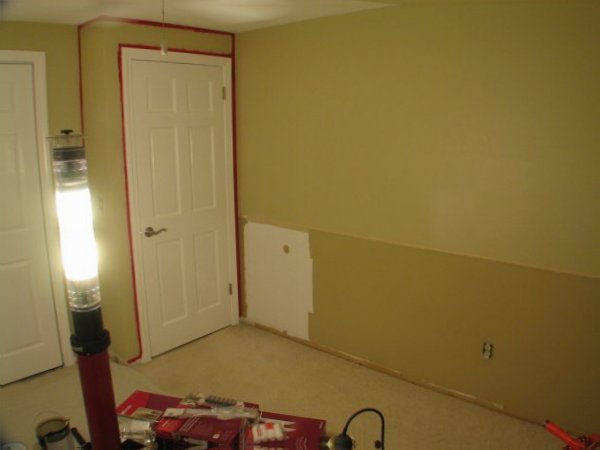
The bottom color is just about finished.
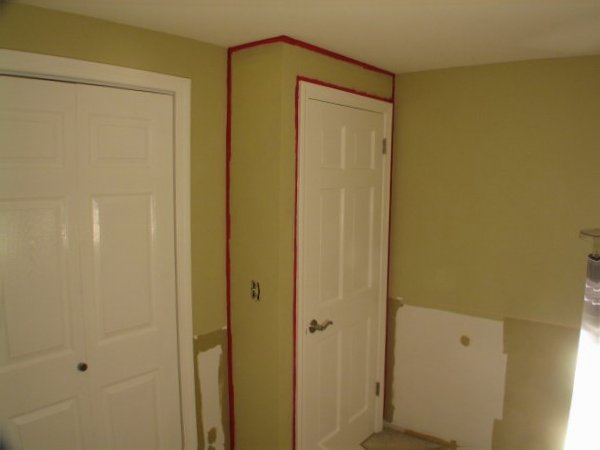
Red is a hard color to work with, because the dyes in the paint are translucent. So I first rolled on
the upper wall color to darken the background, so I wasn't painting red over white.
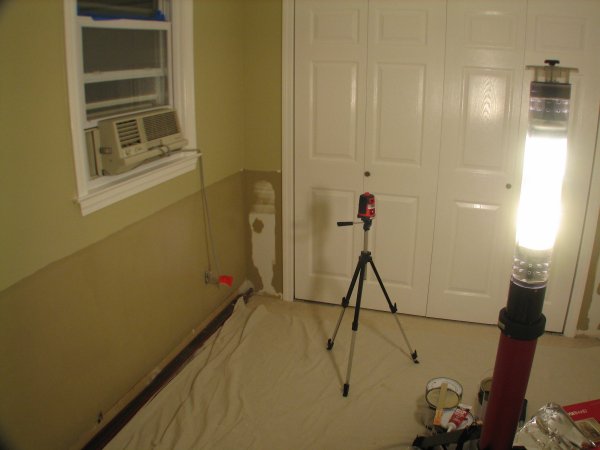
Finishing up the bottom color near the closet. You can see the laser level mounted atop a tripod.
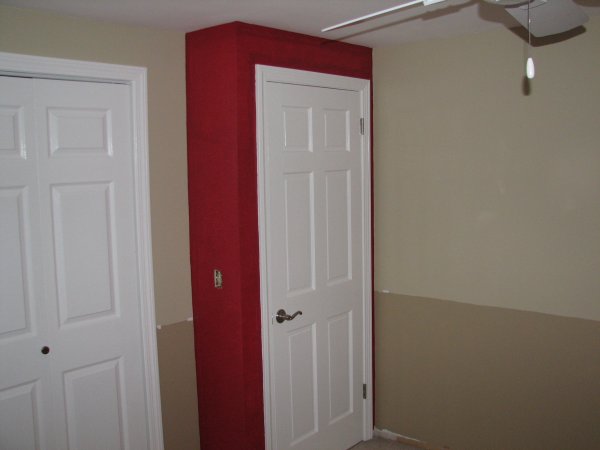
This photo is the closest representation to the actual wall colors. The first coat of red is going on.

Next up, a few more coats of red to get it dark and even.
| Back | Top |
|

