April 16, 2013
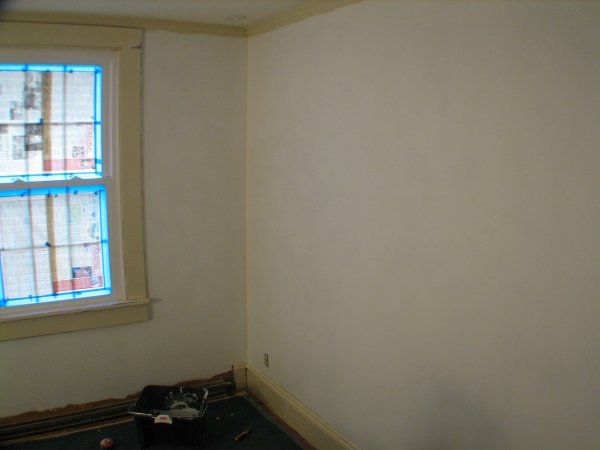
The first coat of primer is up.
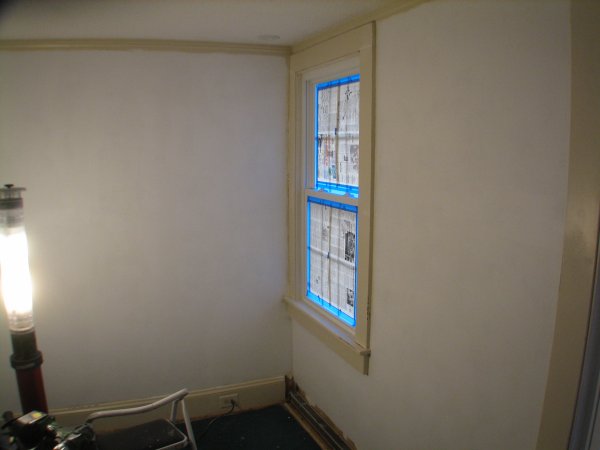
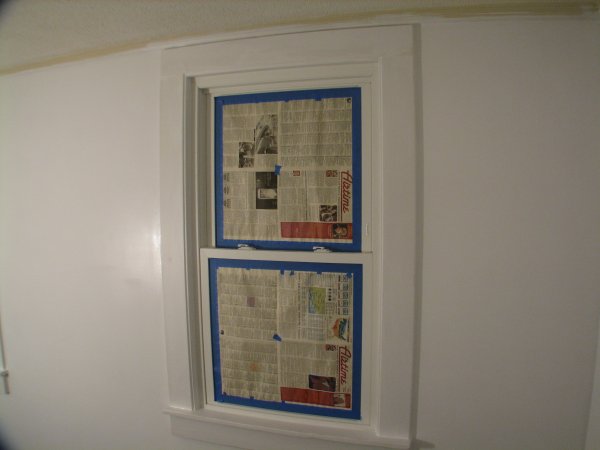
While the primer dries, attention turns to the windows.
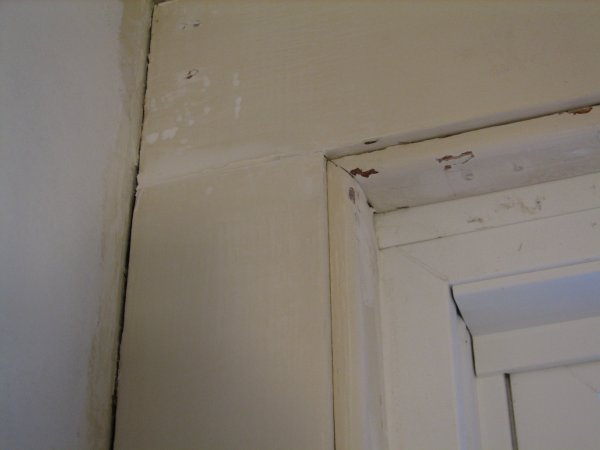
Once patched, the moulding is sanded smooth.
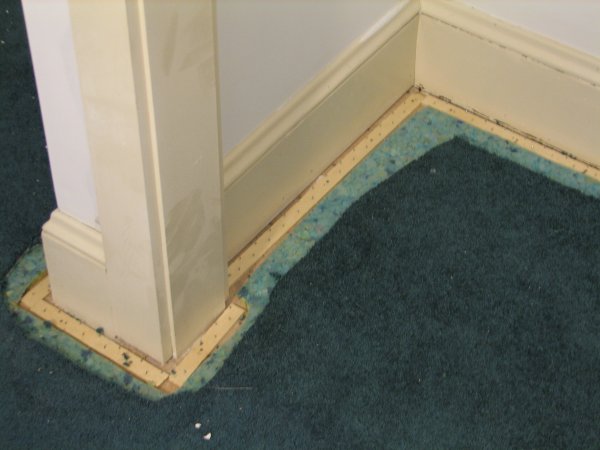
The old carpet is cut away from the walls to allow for painting the woodwork.
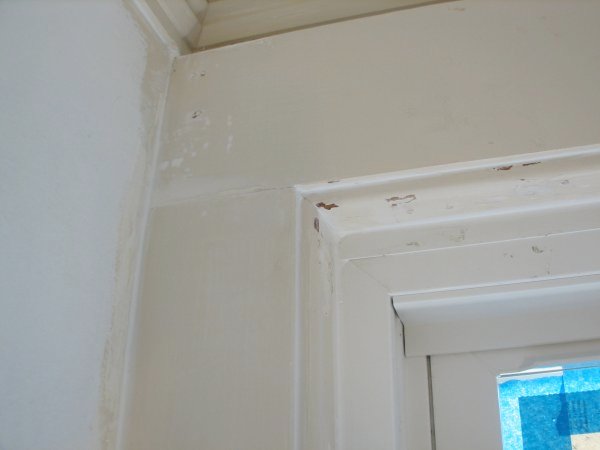
The window casings are caulked and ready for primer.
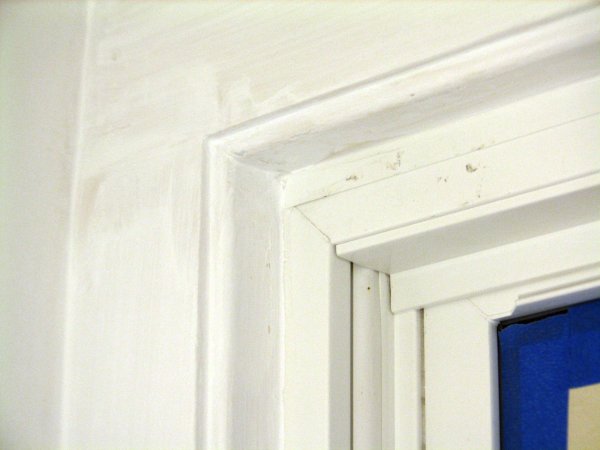
With the primer coat applied, the imperfections in the 83-year-old casings diminish.
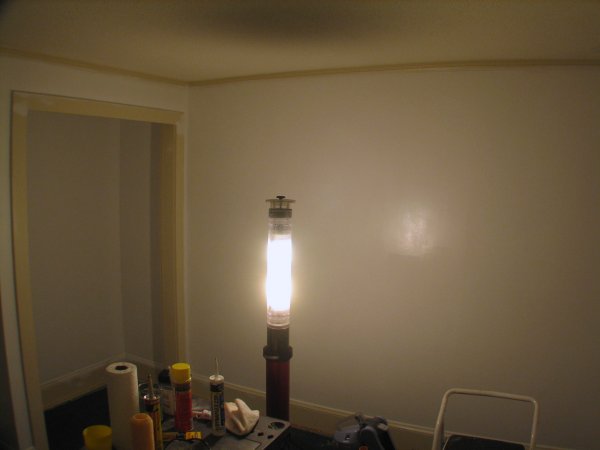
A second coat of primer is applied. I like to do this whenever the paint is replacing wallpaper.
The second coat of primer made the walls feel new again...like a true blank canvas.
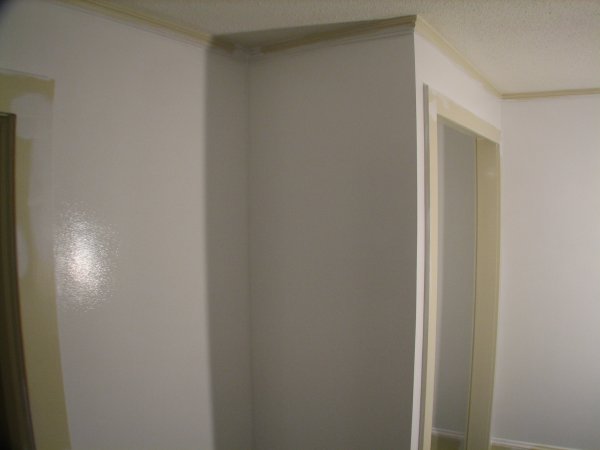
A view of a primed window.

The closet interior is also primed.
| Back | Top |
|

