March 27, 2013
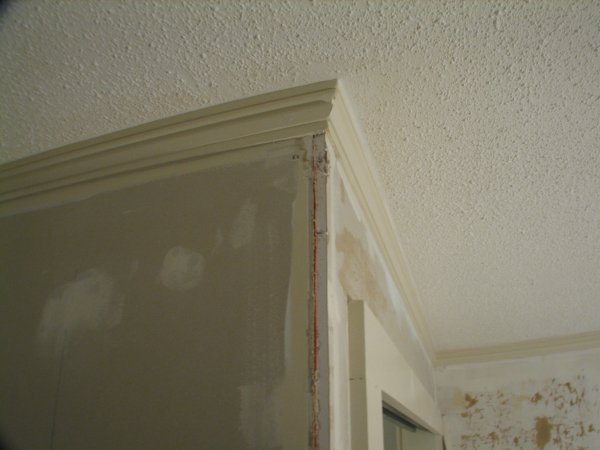
The wood corner is removed from the closet bump-out. A metal corner bead will be installed.
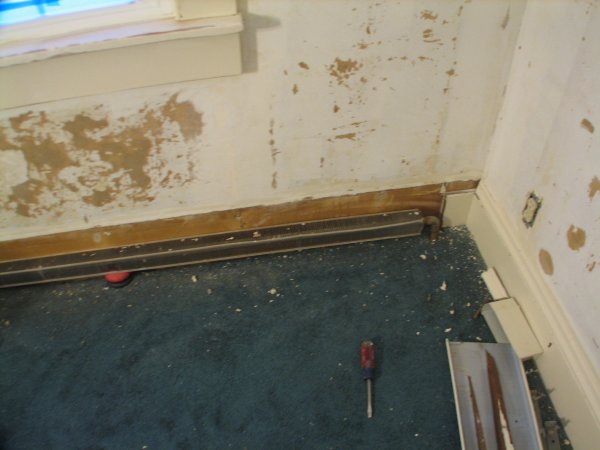
In order to properly sand and fix the walls, the baseboard heater surrounds are removed.
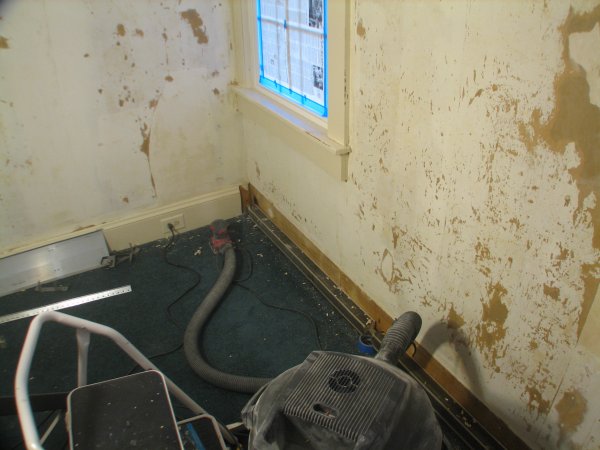
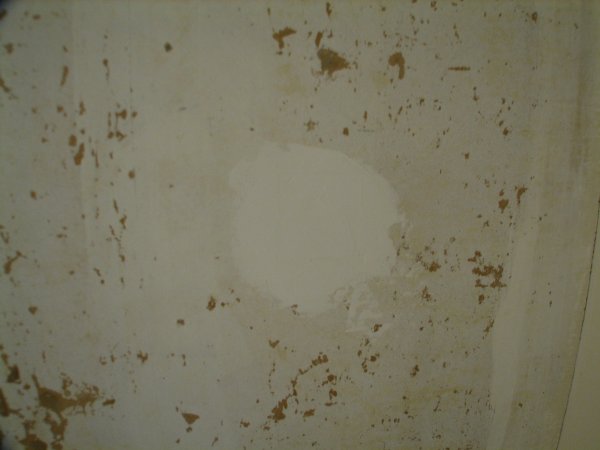
Sanding begins, using 60 grit paper on a palm sander.
All the gouges are sanded smooth.
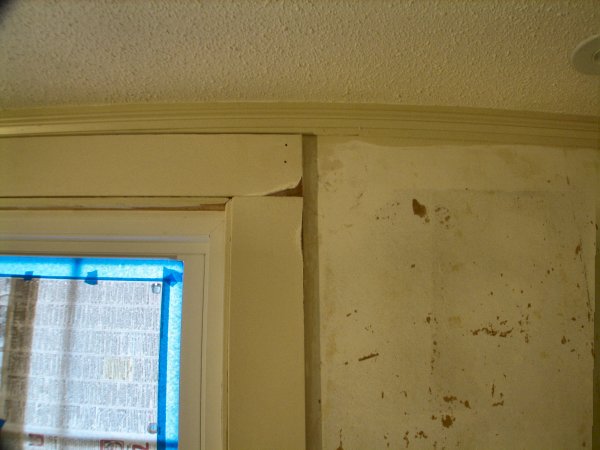
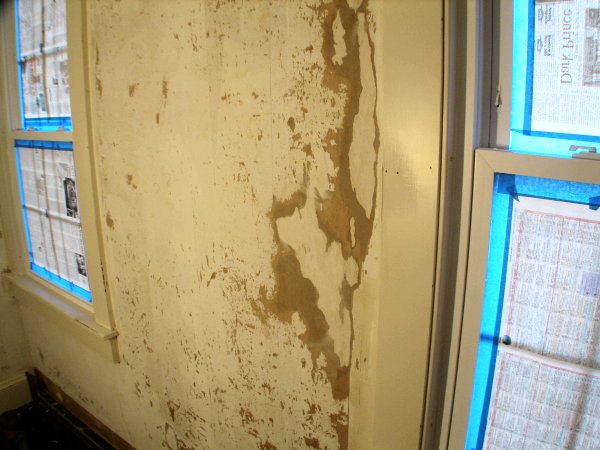
While the sander is out, I used it to smooth out the window casings as well.
The square patch gets its final coat of joint compound, and is ready for sanding.
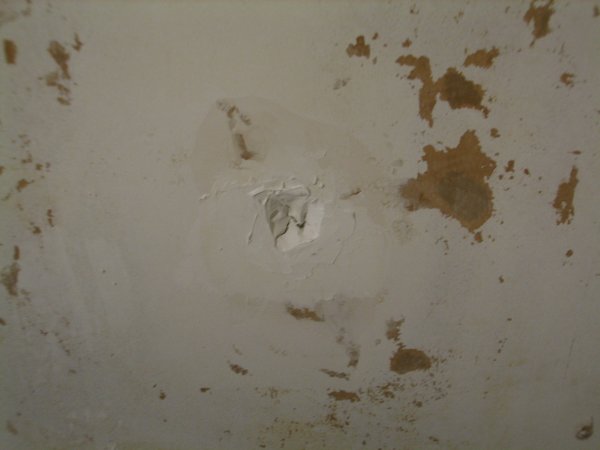
Layers of joint compound, reinforced with more fiberglass tape, are built up until the door knob
hole is nearly flush with the wall.
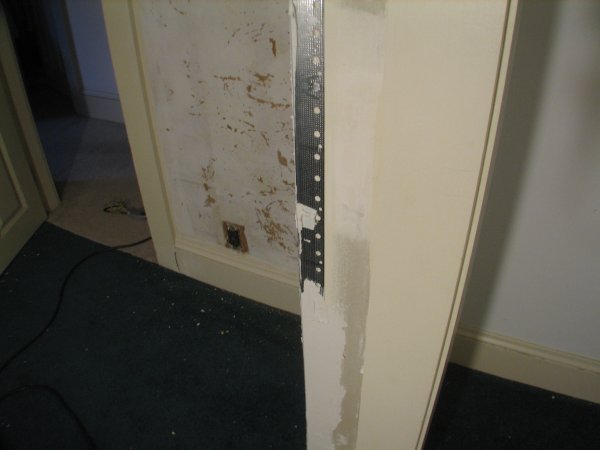
The metal corner bead is installed on the corner of the closet.
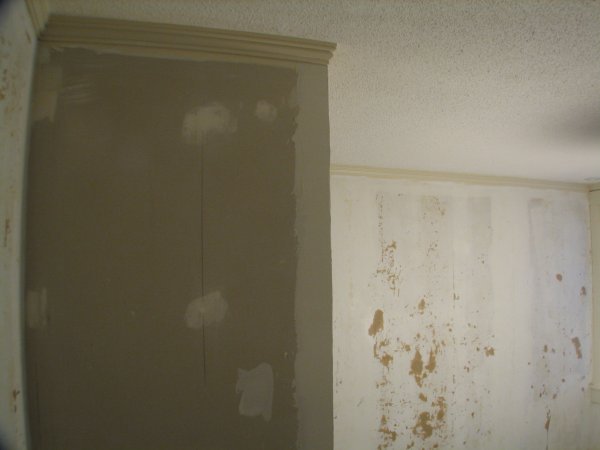
Once installed, the corner bead is spackled and allowed to dry.
| Back | Top |
|

