March 10, 2013
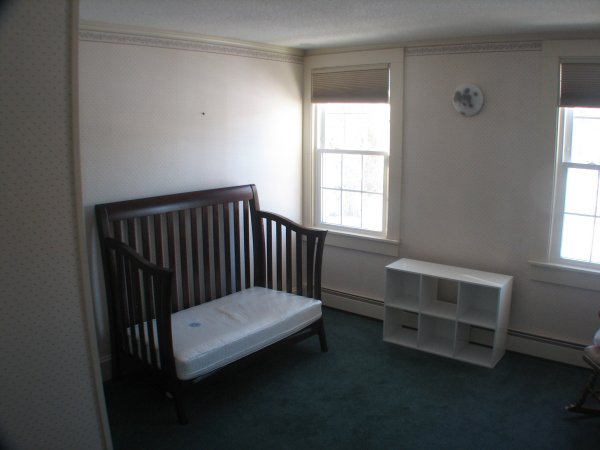
Welcome to the Nursery Project II. The original Nursery Project was for our first child, and at our old
house. With the arrival of our second, we again needed a nursery. First, the "before" photos.
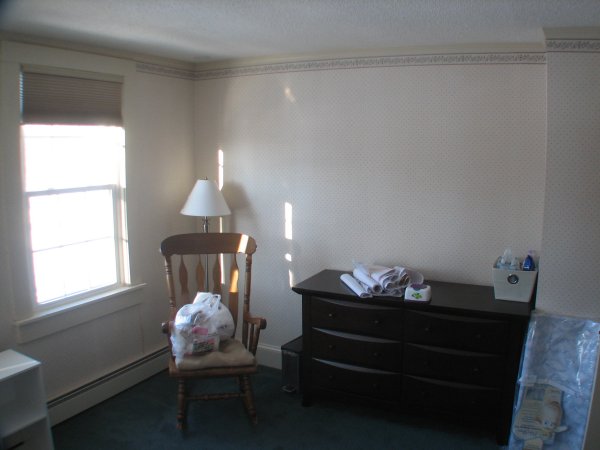
This bedroom was used by our older child, who moved into the bedroom featured in the
Kid's Bedroom Project. Note the neutral walls, dark green carpet, and once again...wallpaper.
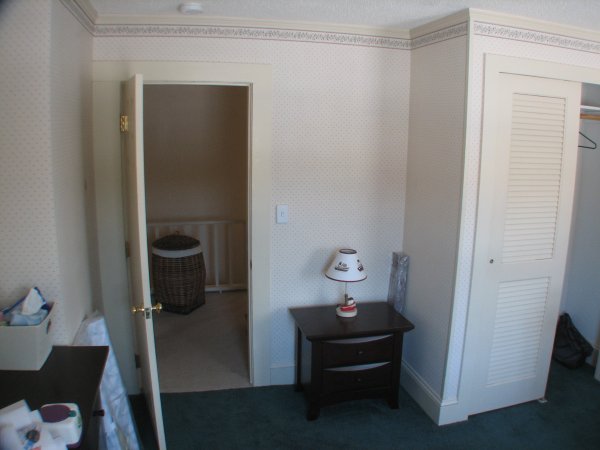
The furniture will return to this bedroom once the project completes. As with the original
Nursery Project, the color scheme will play off the same nursery bedding.
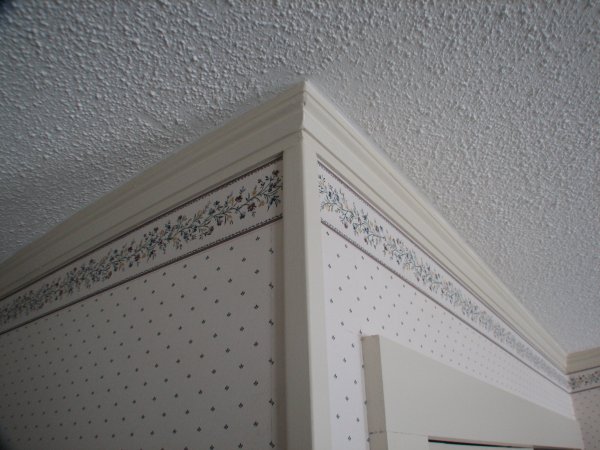
Oh, wallpaper, how I hate you so. The crown moulding will remain in place, but the wooden corner
moulding will be replaced by a proper corner bead.
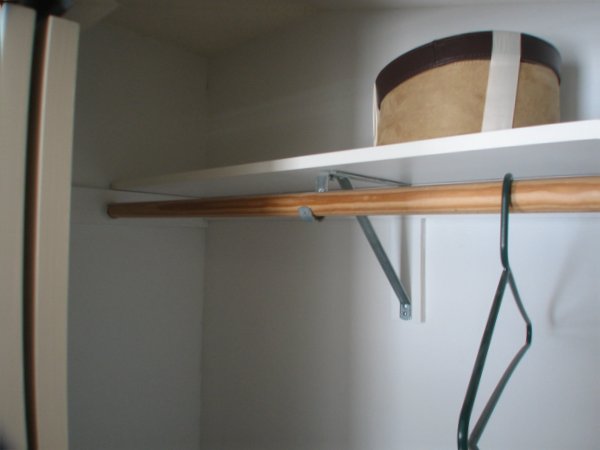
The closet bar-and-shelf will be replaced by a closet system designed and ordered online, just
like the one in the Kid's Bedroom Project.
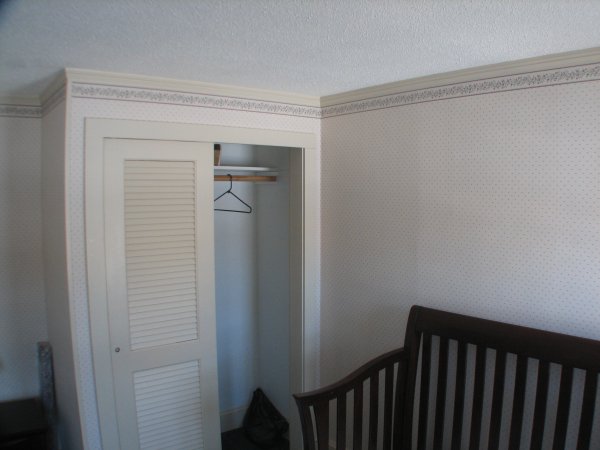
The louvred bypass closet doors, however, will stay. While bypass doors aren't my favorite, for
children's bedrooms they work fine, and remain low-profile, even when left open. So they stay.
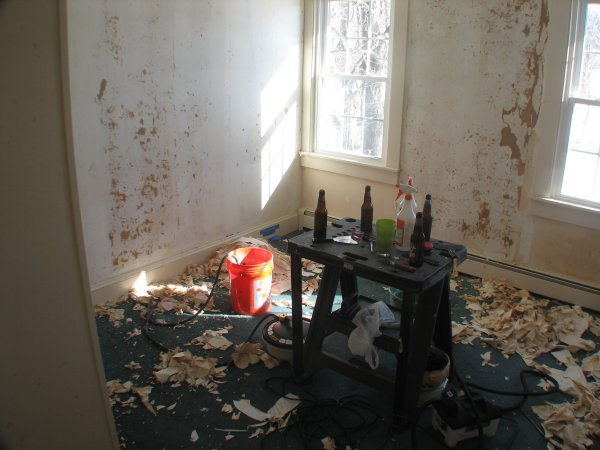
And work begins. My friends Mike and Rick volunteered
to help remove wallpaper, which made the
arduous task a two-day task instead of a two-week task. And the beer made it more fun.
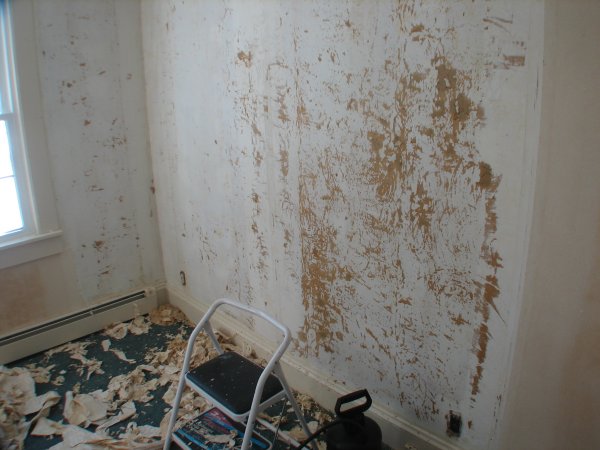
Of course, that's not to say that a lot of work lies ahead. Despite two steamers and stripping chemicals,
the paper did not come off easily, resulting in a lot of surface damage to the wallboard.
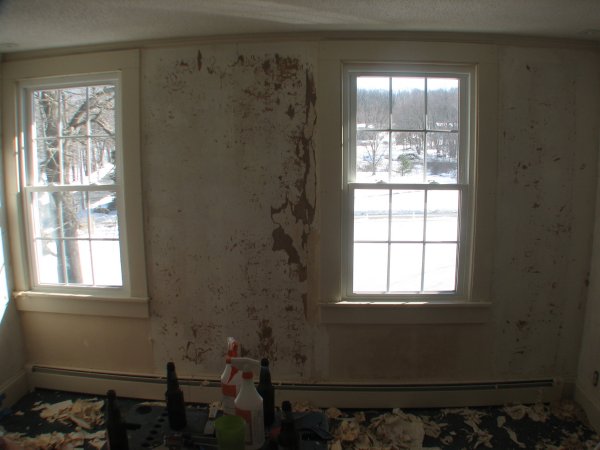
The area between the windows was particularly troubling, and whole sections of the wallboard facing
came off as well. Joint compound will fix this.
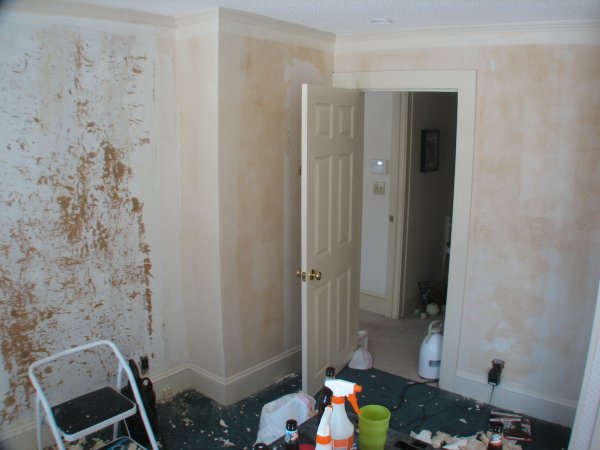
Work continues near the door, where the vinyl facing of the wallpaper is gone, but the paper backing
has yet to be removed.
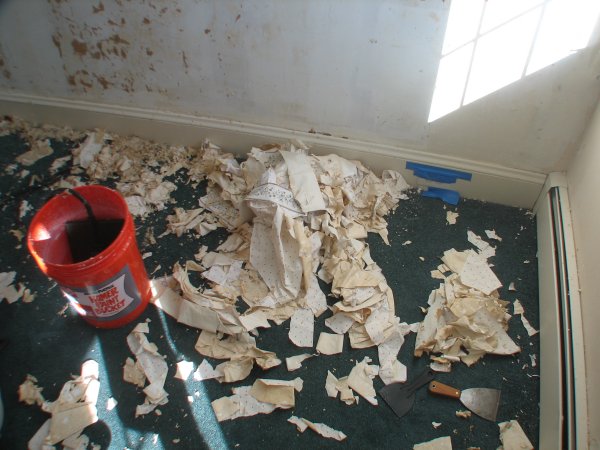
It's not an unmessy job.
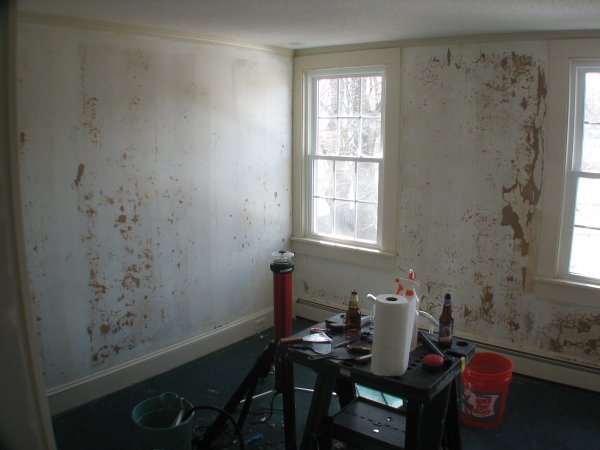
The wallpaper is gone, and the scraps have all been picked up.
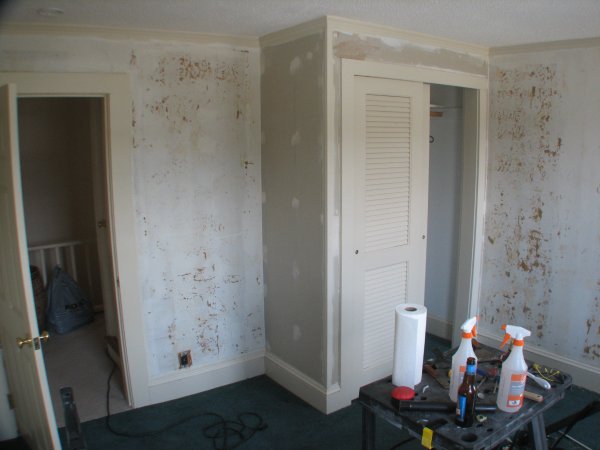
You can see that the closet was added to this room after the house was built.
Work now turns to repairing the wall damage.
| Back | Top |
|

