June 27, 2009
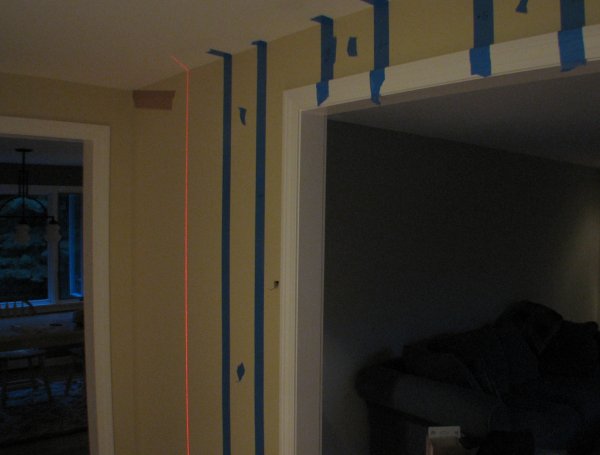
I decided to do a striped effect on the foyer walls of alternating gloss and flat to give the foyer a
bit
more formal look. I taped off the edges of the stripes using a laser to make them perfectly vertical.

The foyer walls didn't measure to a nice round number, so I angled the tape measure until it reached a
round number from end-to-end -- in this case, 140 inches. Then I marked off every 10 inches on a piece
of brown painting tape as shown on the left end of the wall. This gave me equally spaced stripes a
little less than 10 inches each.

I then lined up the laser to the mark on the brown tape, tore off that piece of the tape (leaving the
remaining tape with the marks on the wall), and laid the blue painters tape along the laser line.
The blue dots were just a reminder of which stripes NOT to paint. With the tape in place, I painted over
the flat enamel with
two coats of water-based gloss polyurethane using a foarm brush.
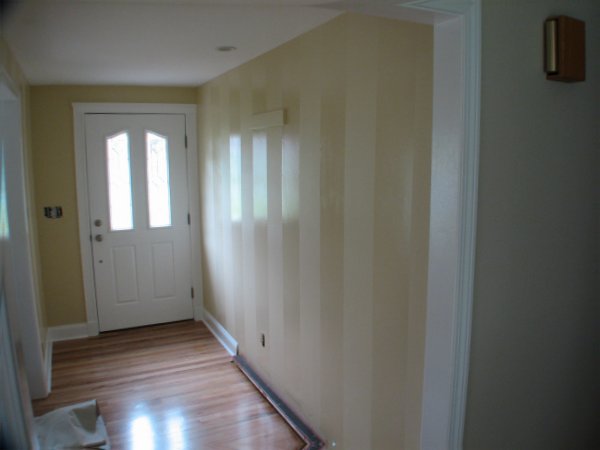
After the second coat set up, I removed the tape, leaving behind a yellow wall with alternating flat
and gloss stripes. The effect is actually more subtle than it appears in the photo above,
but I chose the picture to show the effect.
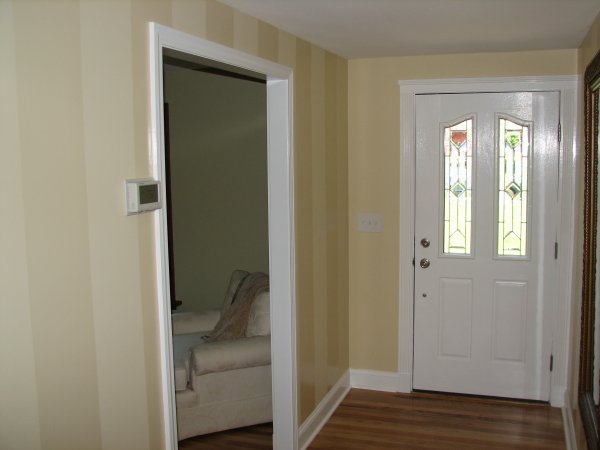
Because the end walls of the foyer are small and face you straight-on, I chose not to stripe them.
This photo more accurately shows the subtle effect.
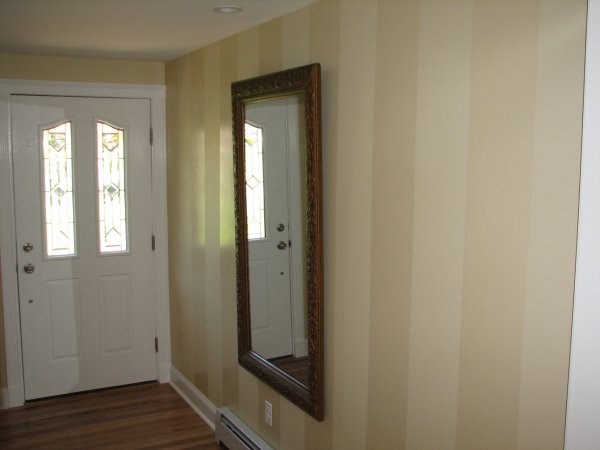
With the painting complete, I hung the antique mirror. Again, note that the stripes on the wall are NOT
different colors. They are the same color with alternating stripes of poly and no-poly.
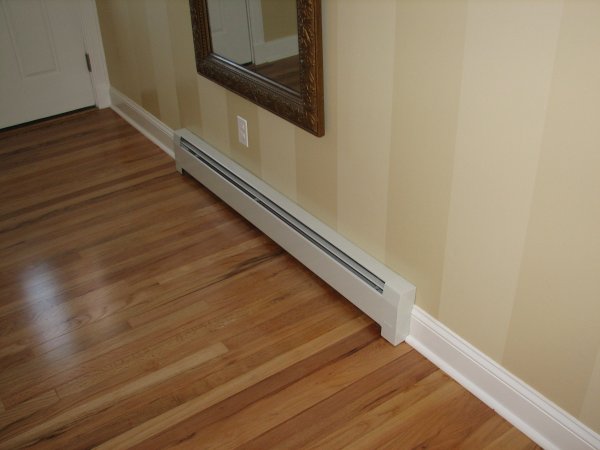
The heating baseboard is installed and the outlet is replaced.
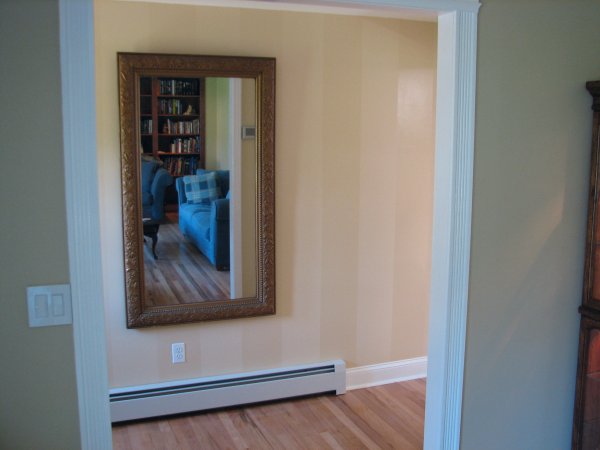
Looking from the living room into the completed foyer. All that remains are window treatments,
rugs, wall decorations and some new tables. We're almost at the finish line.
| Back | Top |
|

