May 31, 2009
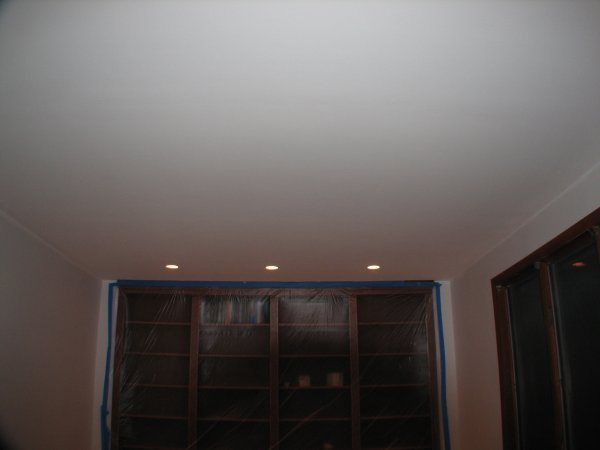
With the trimwork up and most the tools and equipment put away, the ceiling gets a fresh coat of paint.

The ceiling in the foyer is painted as well.
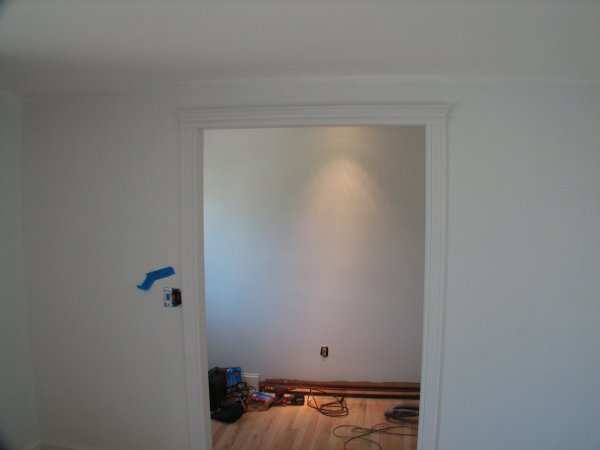
Next, the unprimed parts of the new trim are primed, and sanded sections touched up.
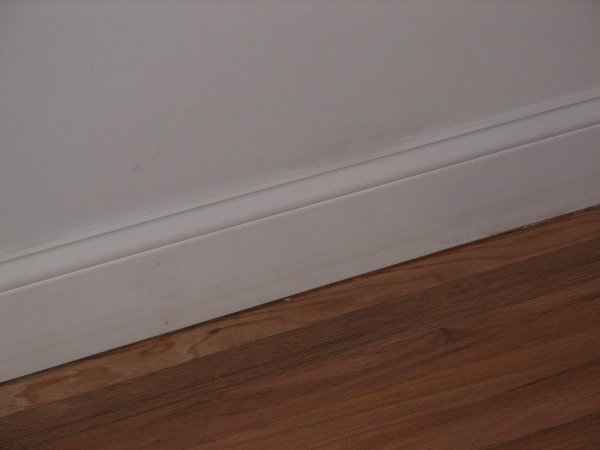
After sanding and priming, the scarf joint in the baseboard disappears. (It's dead-center in the photo.)

A view of the primed casing in the living room.
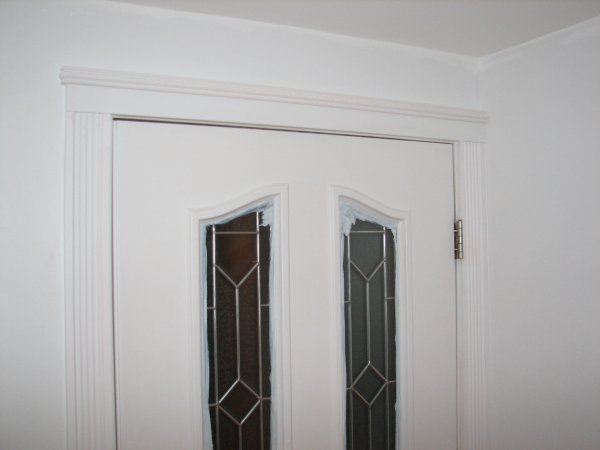
The casing and front door are primed. The cornice is a little less ornate here than in the living room.
I chose a simpler look because the foyer is small, and I thought this suited the door better.

The ceiling and priming finished, work turns to stripping the floor.

A U-Sand disc floor sander is the tool of choice here. I rented one from the local home center for the day.
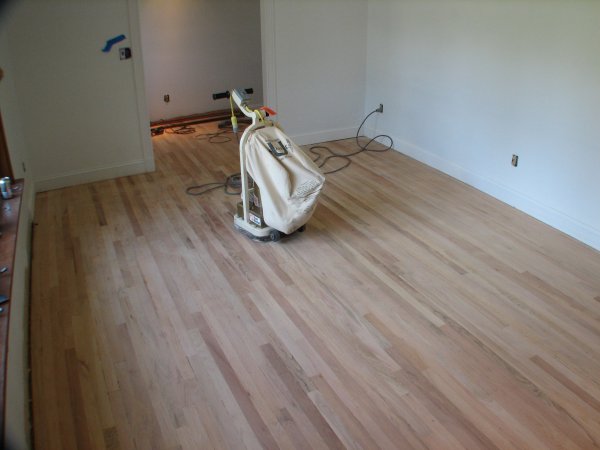
The floor is sanded -- first with 24 grit, then 40, 80 and 120.
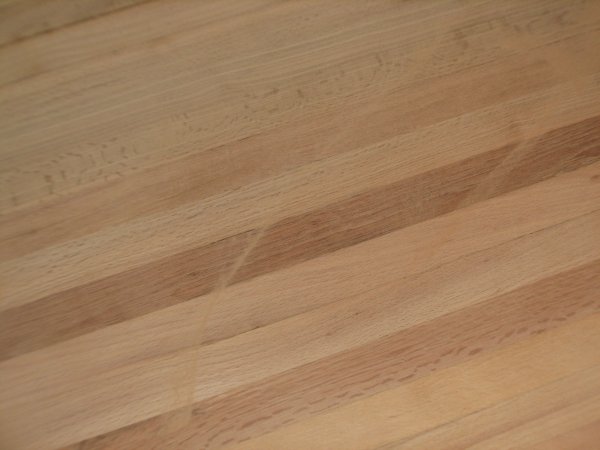
After filling spaces with floor wood filler, another round of 40, 80 and 120 grits. The lines in the photo
are wood dust I hadn't yet vaccuumed.
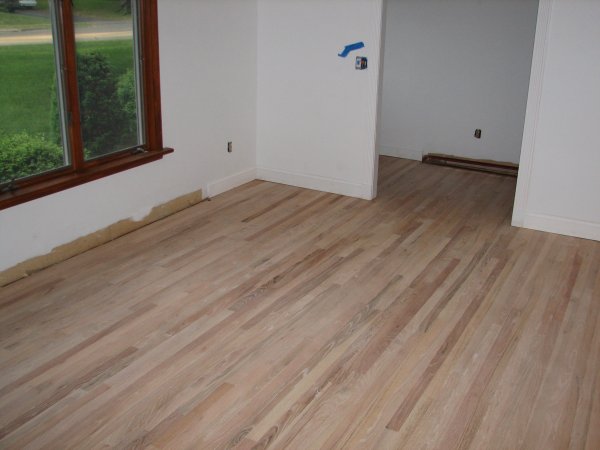
Looking at the now-unfinished floor.
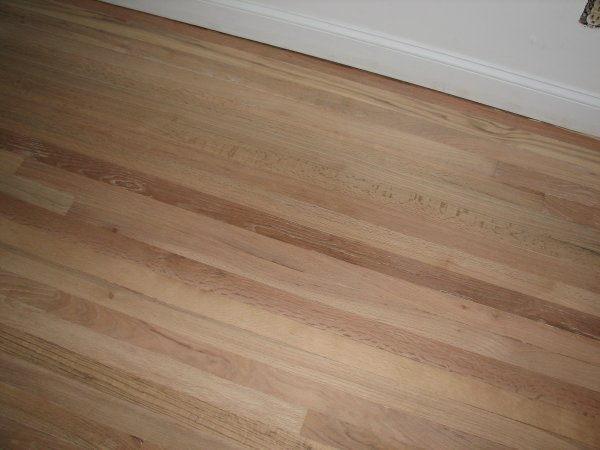
The site of the water damage, now sanded back to new condition.

After a thorough vaccuuming, the floor is ready for finish.

A view of the sanded foyer.
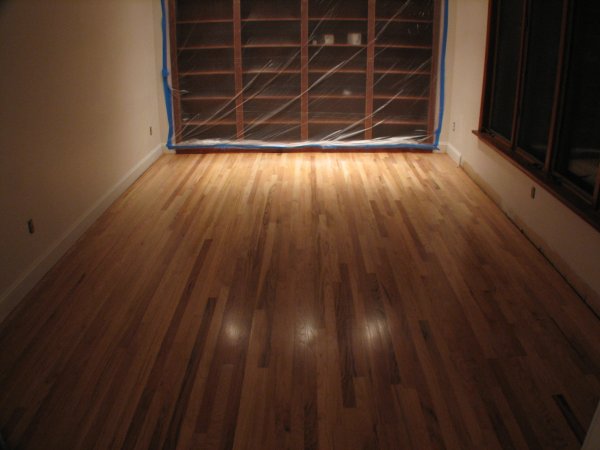
A sanding sealer is applied, and the first coat of water-based polyurethane goes on. This is the first
time I'm using a water-based poly, and so far, so good. I chose water-based because I need the
floor to dry quickly, and needed a low-odor option.
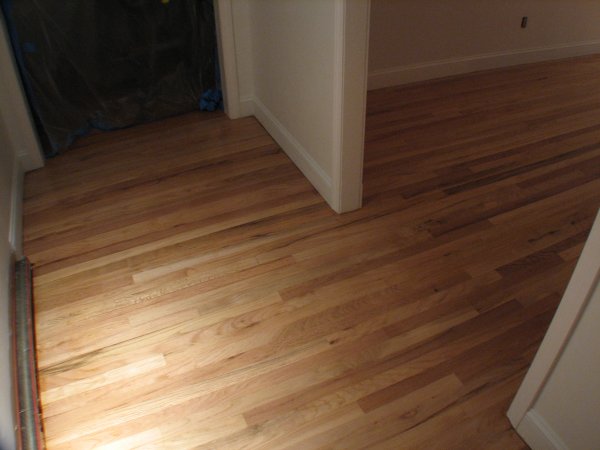
The first coat goes on in the foyer as well.
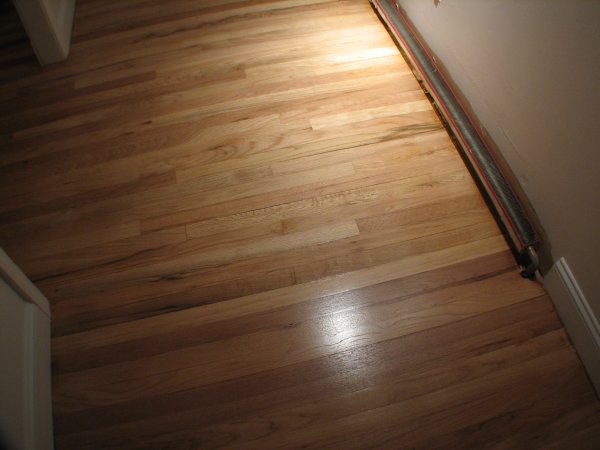

The second coat is applied, bringing a smoother, warmer finish to the floor.
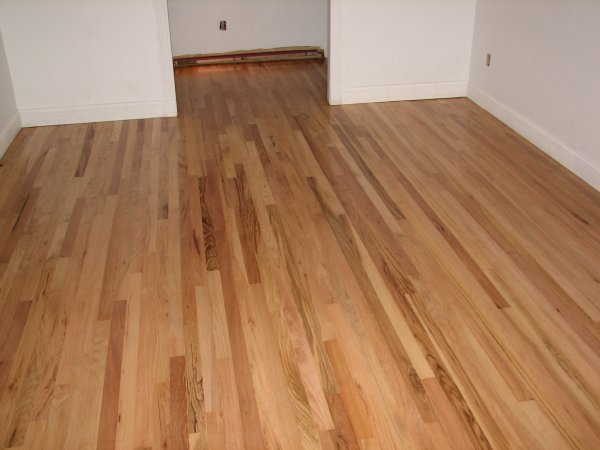
The second coat.

Next, the floor with receive a light sanding to smooth any standing grain, then three more coats of poly.
| Back | Top |
|

