March 21, 2009

After cleaning up the room and organizing the tools, my supervisor made an unscheduled visit to the
job site. After sniffing everything, Brodie seemed to be in approval.

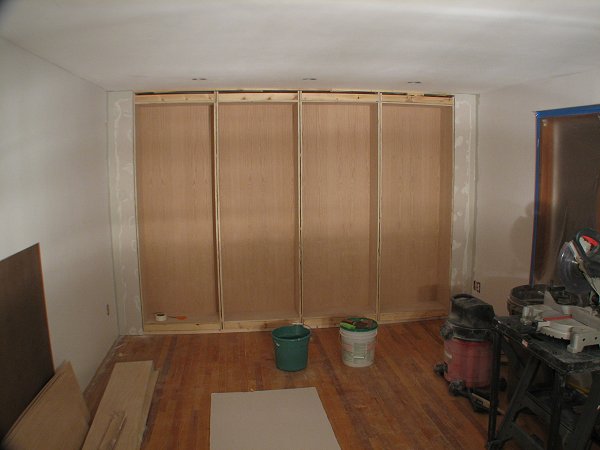
I had to turn the power off to wire the overhead recessed lights, so I also relocated one of the plugs.
It was too close to the corner, so I shifted it a few inches to the right. The wall will be patched.
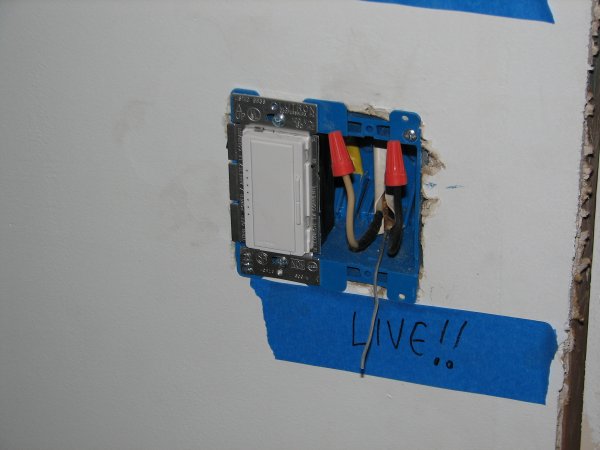
What was a single switch is now the home to two. The new switch (left) controls the new recessed cans.

Let there be light! In this case, just a plain 40W bulb for testing. An eyeball spot will be installed later.
I didn't bother taking any photos of the wiring installation in the attic, because a) the insulation
is
blown-in,
making for a dusty environment unfriendly to cameras, and b) I hate working in the attic, and
didn't want
to crawl around up there any longer than absolutely necessary.
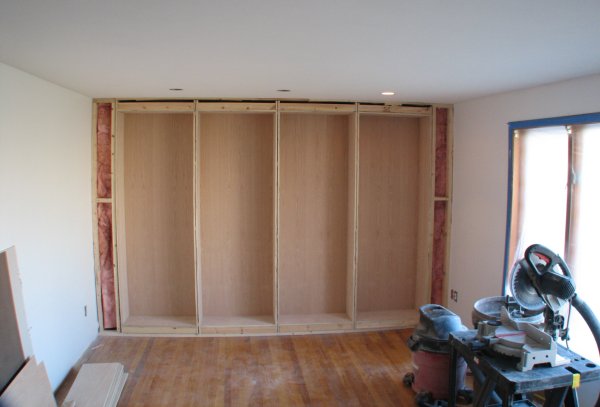
You can see the test bulb on in the right-most can. With the lights wired, I can turn to drywall.

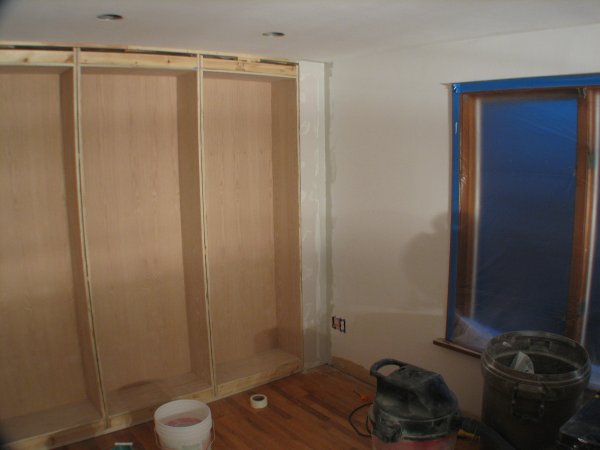
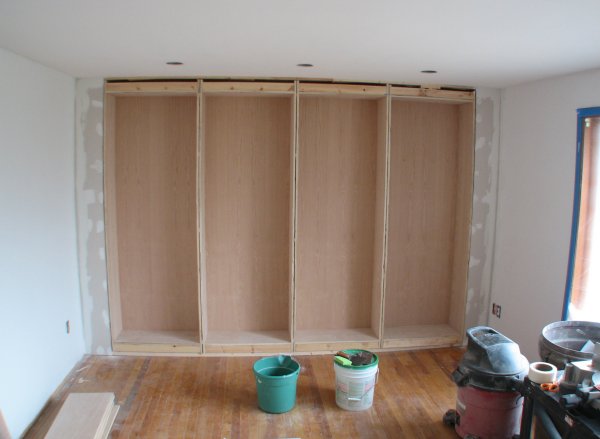
The drywall is installed to the left and right of the bookcase.
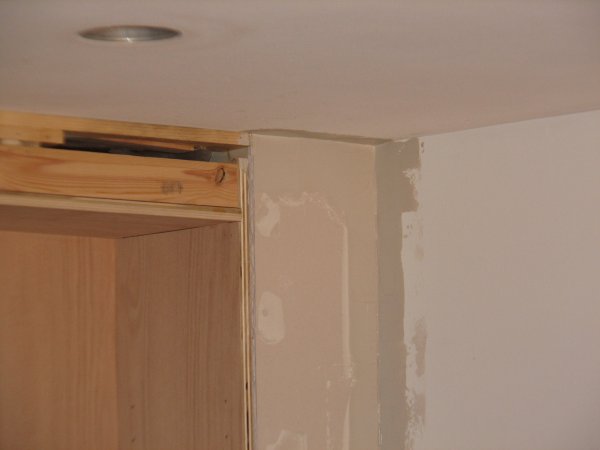
...followed by joint the first coat of joint compound.
The wall is starting to take shape.
The mud is up just in time for dinner.
And by the next morning, the first coat is just about dry.
| Back | Top |
|

