March 6, 2009

The
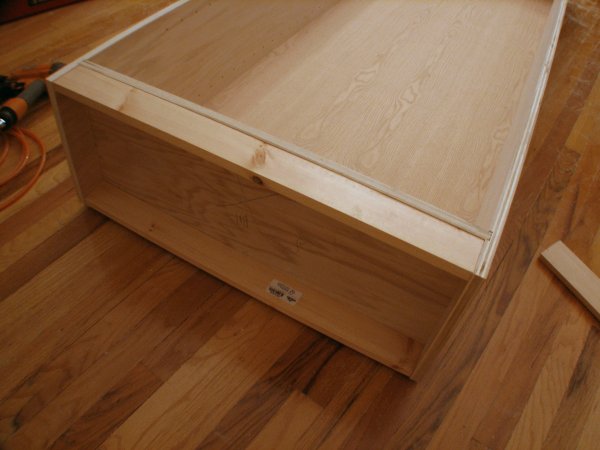
first step in assembling the boxes was to lay out the four sides.
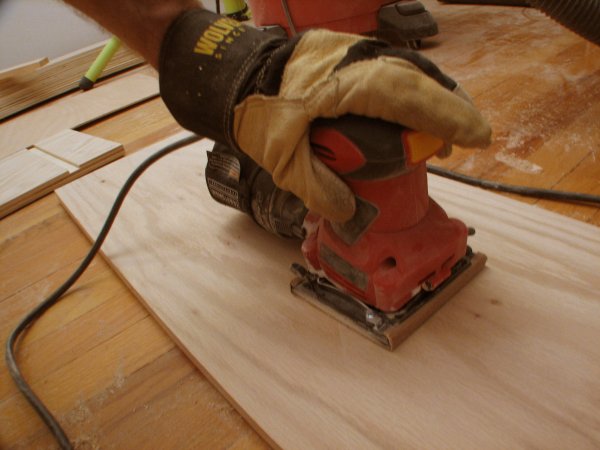
Before assembly, the faces of the boards received a light sanding with 150 grit paper. The dados
received a little glue and the four sides of the box were nailed together.

After assembling the box frame, it was time to install the back. Here, the 1/4" backer is ready for
trimming with the jigsaw. The red oak veneer side is down.
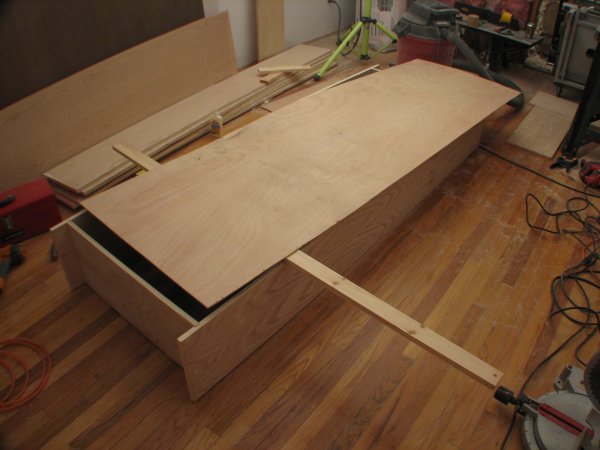
A 1x3 board allowed me to slide the back up for the cut, while using the frame itself as the work surface.
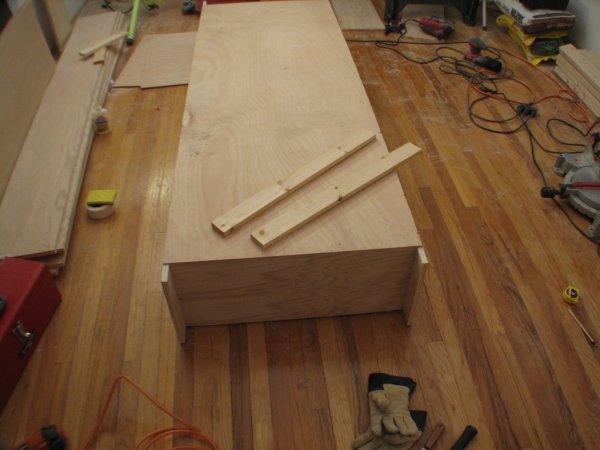
After cutting the back to size, I brad-nailed it to the frame. The support braces were cut to size....
...and nailed into place to reinforce the bottom of the bookcase.

With all four boxes complete, it was time to dry-fit the bookcase.
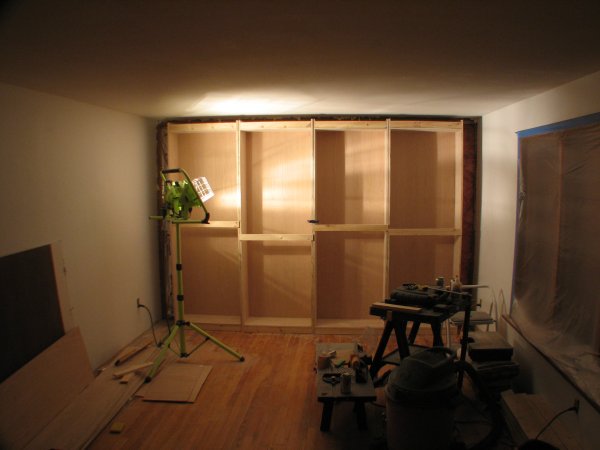
The walll will run right up to each side of the library.

The next step is to install the boxes in place.
| Back | Top |
|

