March 1, 2009
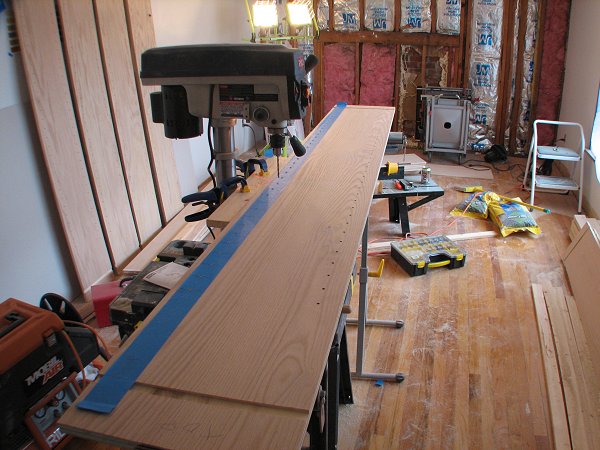
I realized halfway through the drilling that instead of taping a paper template to the wood to
drill the holes,
It would be much easier to use the tape itself as the template.
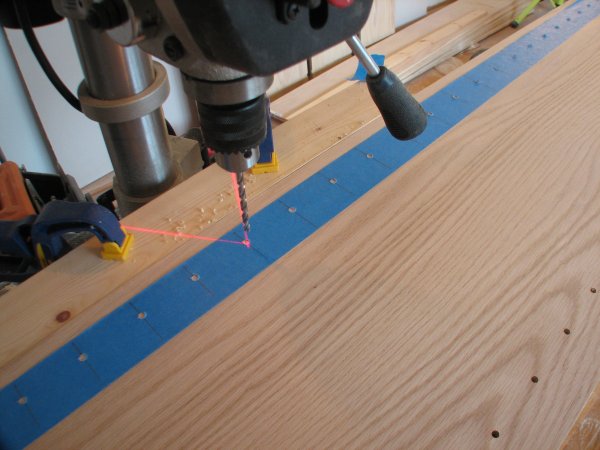
The tape template worked great, as did the new drill press. In all, I drilled 512 peg holes.
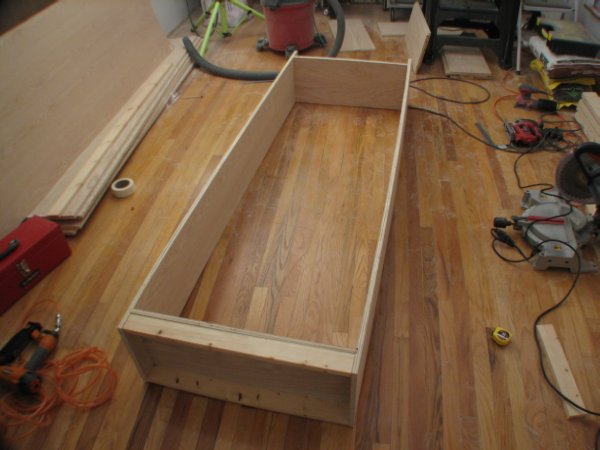
After sanding the faces of the boards, the sides and top of the first box are glued and nailed in place.

A closer look reveals the dado joint where the bottom meets the side. The box bottom is
strengthened by 1"x3" pine boards. The kickplate will also serve as a nailer board for the final trim.
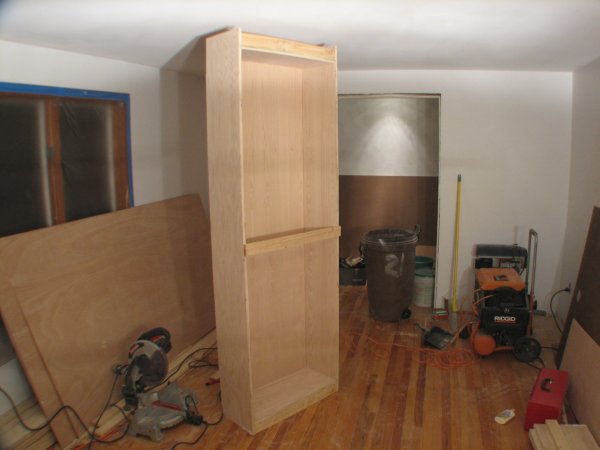
With the back covered by 1/8" oak veneer plywood, the first of the four boxes is complete.
The crossbar in the middle is a temporary brace to keep the sides from bowing before install.
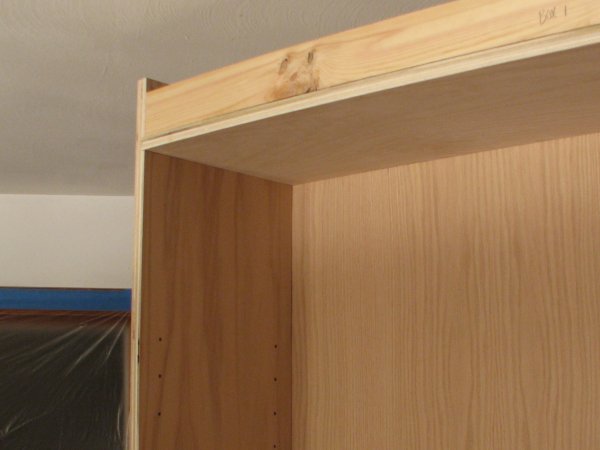
A close-up of the top corner, showing the dado joinery, the shelf peg holes, and the oak back.
| Back | Top |
|

