February 14, 2009
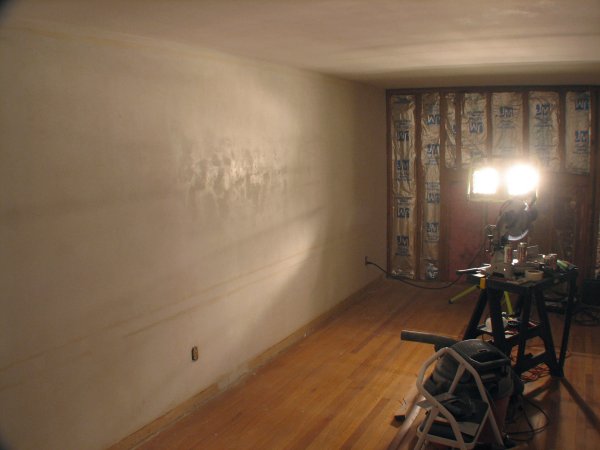
Wallpaper removal work progressed slowly over the past two weeks. Scraping
the stubborn backing
away revealed walls that weren't in great shape.
Okay, "weren't in great shape" may have been an understatement.
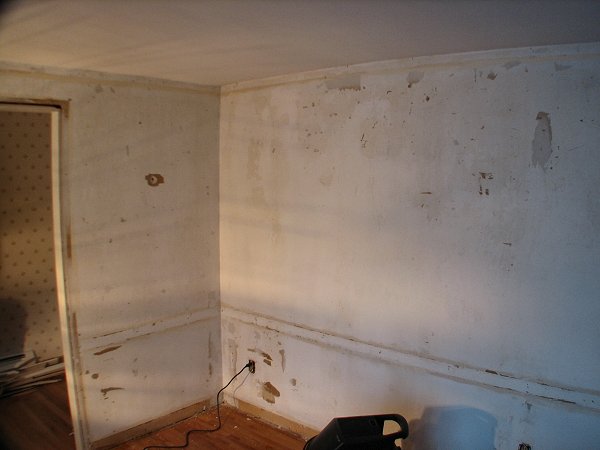
That hole in the wall was from a molley. Big molley.

With the wallpaper completely removed, I sanded all the walls with 60 grit paper to remove any
remaining glue and peeling paint, and smooth any tears in the wallboard paper.
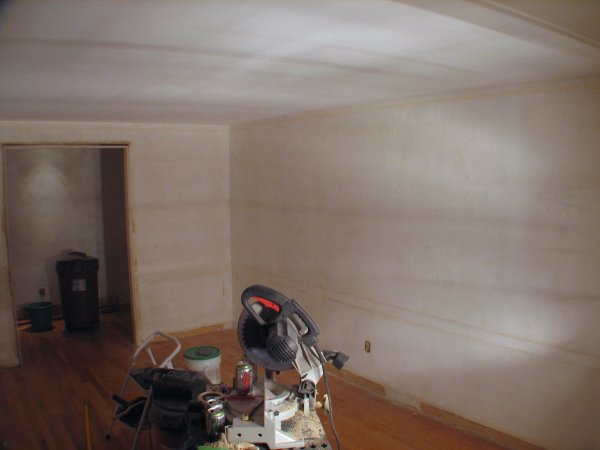
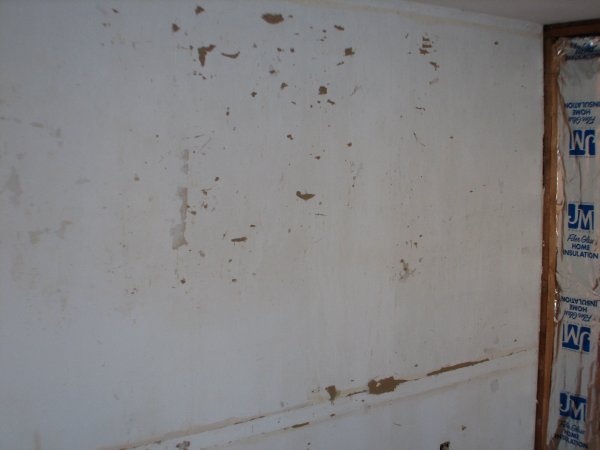
Then I followed up with spackling all the gouges, tears and holes with joint compound.
A lot of joint compound.

This photo shows just how much spackling was required.

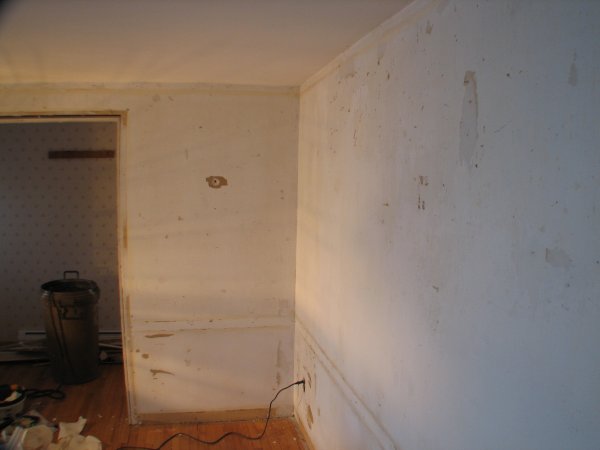
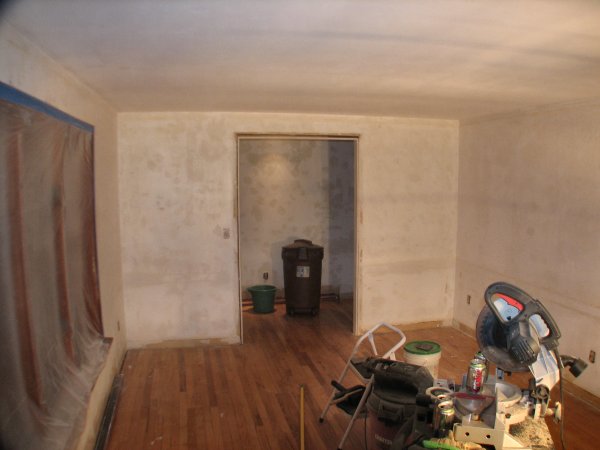
Once the joint compound set, the walls were sanded a second time -- this time with 100 grit --
to
smooth
the compound and
prepare the walls for priming. By contrast, the wall in the background is
sanded
and ready for priming, while the foreground wall still requires sanding.
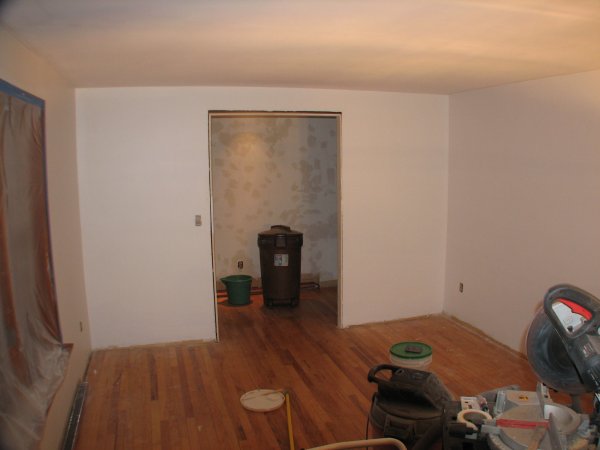
After two weeks of scraping, sanding, spackling and re-sanding, the living room walls are primed.
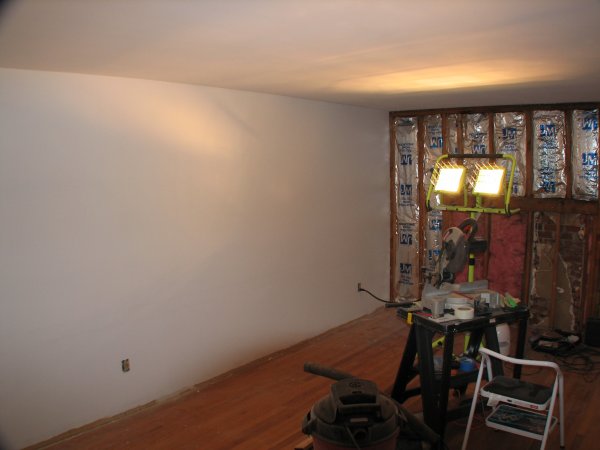
There were moments I didn't think I'd ever get to this step. But the work on the walls paid off.

The walls are once again a true blank canvas.
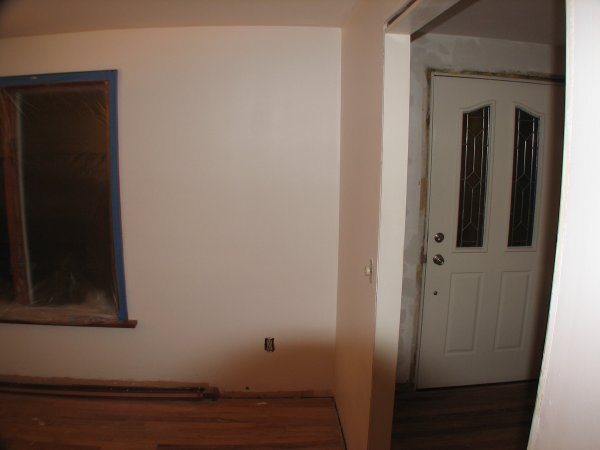
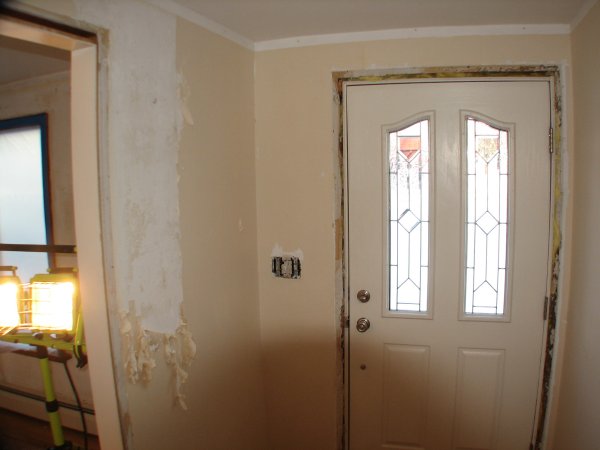
The remainder of the weekend will be devoted to sanding and priming the foyer.
| Back | Top |
|

