March 5, 2013

The
carpet is installed. I prefer to leave this to professional installers.
(Yo prefiero usar la instalación profesional de alfombras. Heh heh.)

Work now turns to installing the chair rail.

The pre-painted chair rail is cut and installed using 16-gauge 2" pneumatic nails.
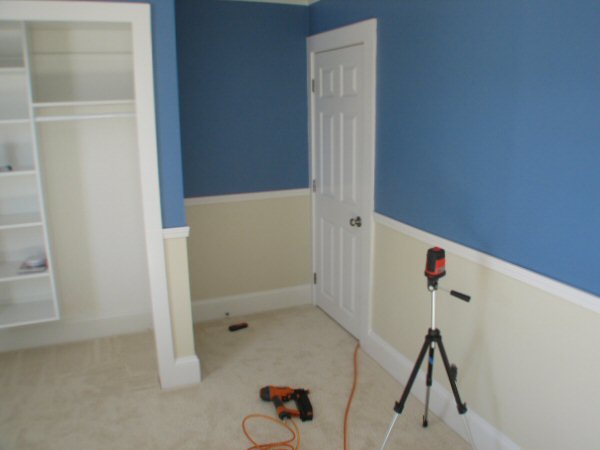
The laser level is again used as a guide, only this time, it's set one inch higher than the paint line.

The chair rail wraps the corner of the closet.

The baseboard heaters are reassembled.
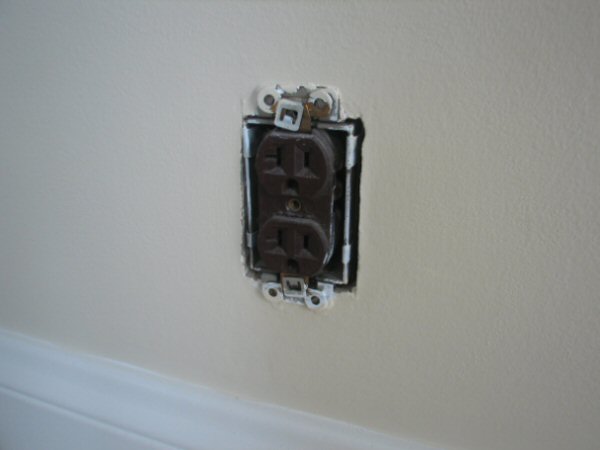
Work turns to electrical. The incorrect, 20-amp brown plugs are
being replaced with proper 15-amp.
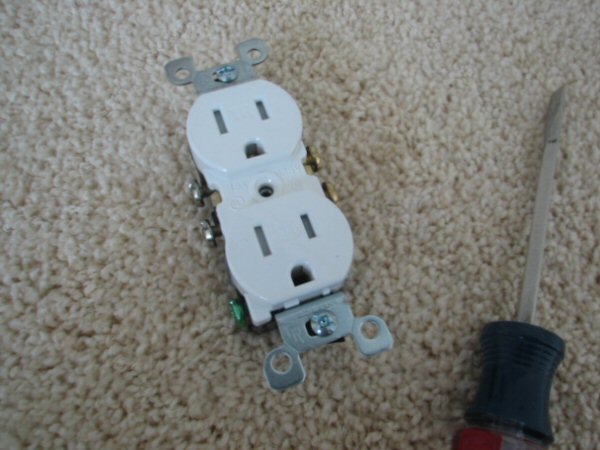
Since this is a kid's room, I went with tamper-resistant plugs, which feature small doors on the
sockets that won't open unless two prongs are inserted at the same time.
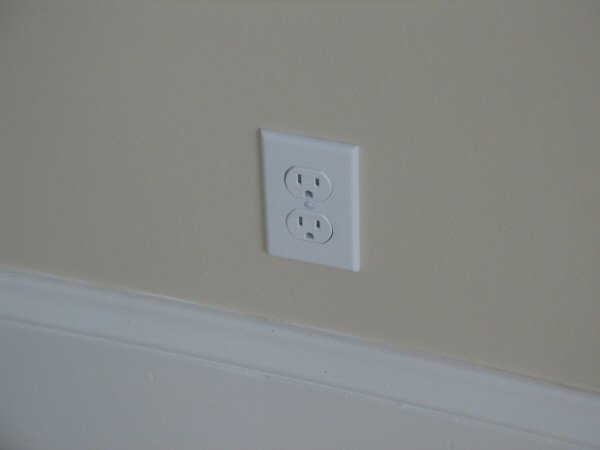
The plugs are updated.
| Back | Top |
|

