February 14, 2013
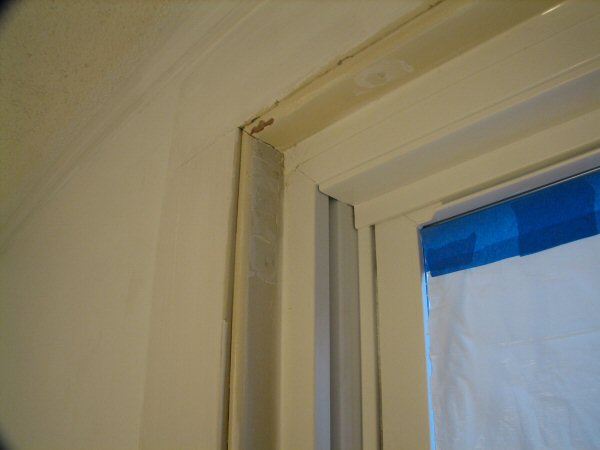
With the walls sanded, work turns to the window moulding. The side trim along the jambs needed
filling,
sanding and caulking.

A close-up shows screw holes, chipping and cracking.

After filling, sanding and caulking, the window receives a coat of primer.

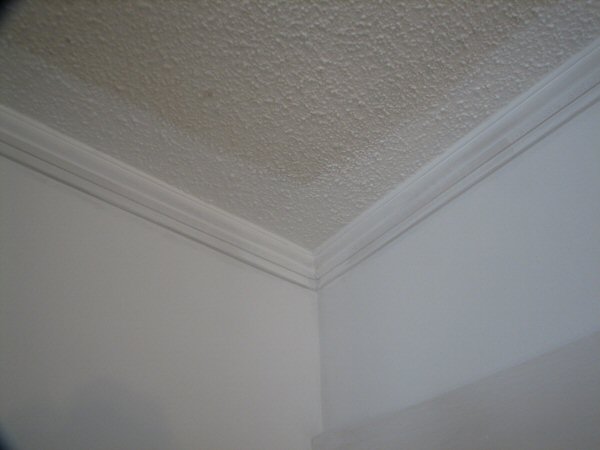
After an eternity of sanding, the walls receive two coats of primer.

The baseboard moulding is also caulked, and primed with a 3" brush.

The walls, once covered in wallpaper, are now ready for finish paint.

The second coat of primer smoothed any remaining imperfections, and sealed the wallboard.
Work turns to painting the ceiling. Cutting-in showed just how dingy the ceiling was.
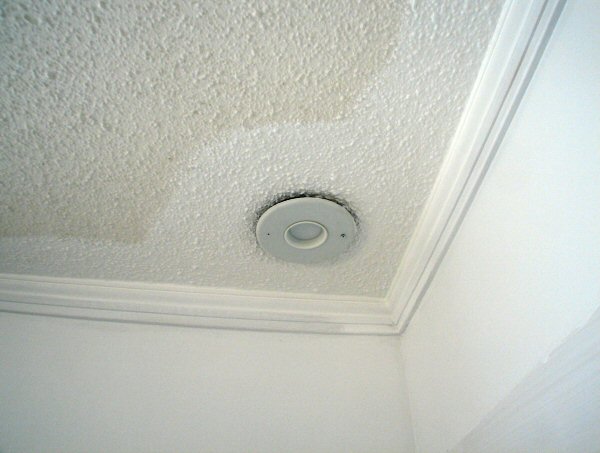
I loosened the high-velocity air conditioning registers and cut in around them as well.

The stucco ceiling took two coats -- and two gallons -- of paint, but the result was worth it.

Work now turns to painting the moulding with an off-white called "Ostrich" in semi-gloss enamel.
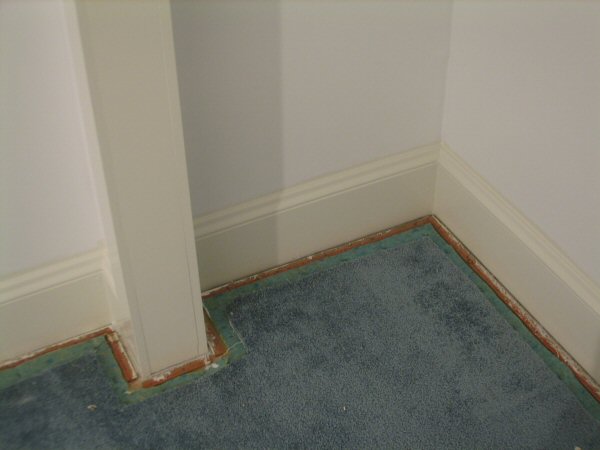
I started with the closet, because I have a closet system to install soon. I cut away the carpet
from the walls to paint the baseboards. This room will be getting new carpet.

Now painted, the repaired piece of the baseboard blends perfectly.
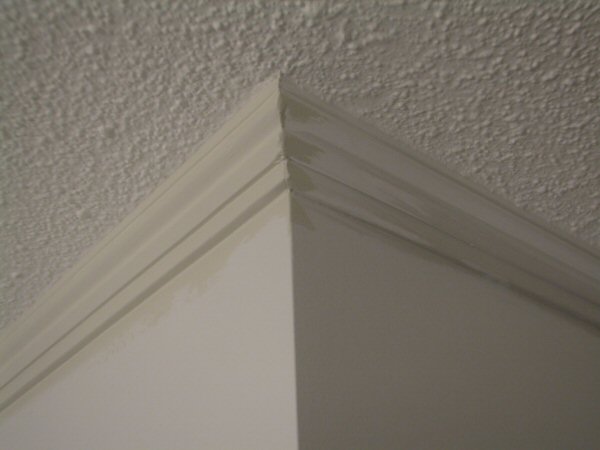
The finish coat of paint is on the left moulding; primer on the right. We're making progress.
| Back | Top |
|

