January 20, 2013

The
past two weeks have been devoted to sanding and spackling the walls. I also gutted the closet.

The walls were not in great shape.
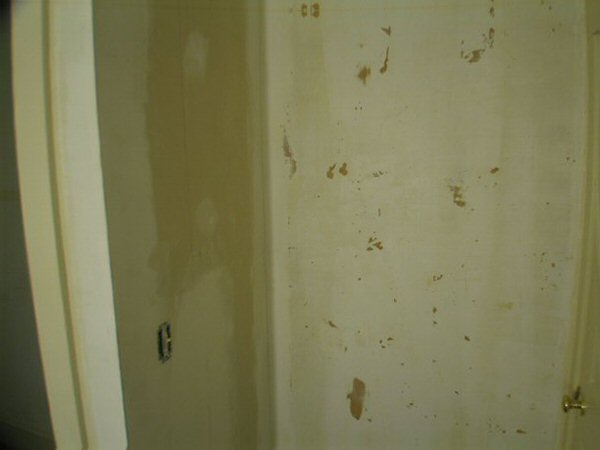
A close-up shows where I had to sand through old wallpaper under the sizing.
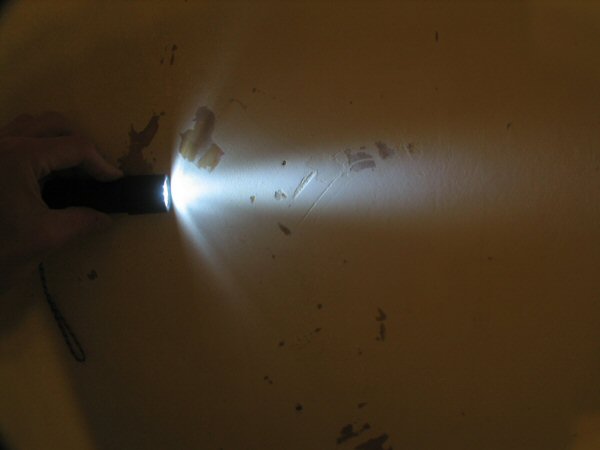
Shining a flashlight at a sharp angle, you can see the gouges and bumps the wallpaper was hiding.

To sand the walls, I used a 1/4-sheet sander with 60 grit paper, hooked to a shop vac.
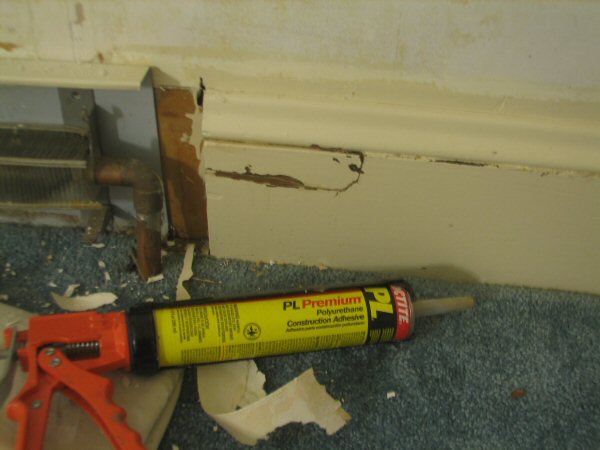
The previous homeowners used a reciprocating saw to trim the baseboards, which ripped the wood.
I removed the broken piece, cleaned it up, and glued it back in place.

I took advantage of a warm day to spray paint the heating baseboards. I used a white gloss
epoxy appliance enamel paint. And yes, I got a commercial french fry cutter for Christmas.

With the initial sanding done, I began painstakingly spackling the walls.
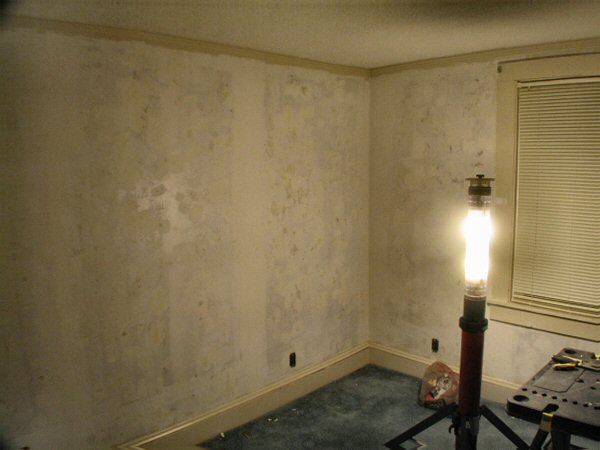
In this enhanced photo, you can see how much spackling the room required.
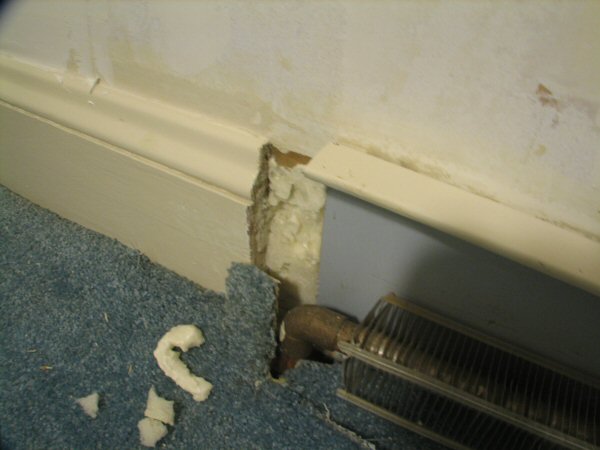
I used expanding spray foam insulation to plug the hole in the wall, then trimmed the insulation flush.
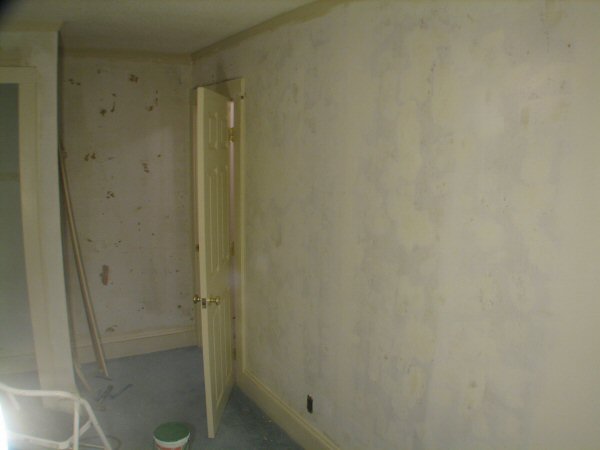
Spackling continues down the wall. The door will soon be removed and re-hung to swing the other way.
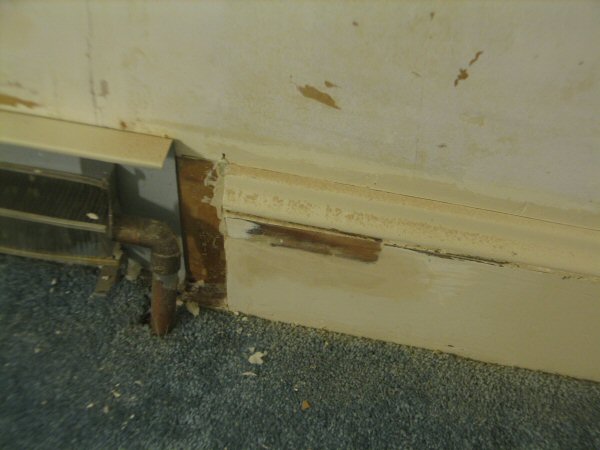
The glue dry, I spackled around the chip with Plastic Wood, and later sanded flush.
| Back | Top |
|

