January 20, 2008
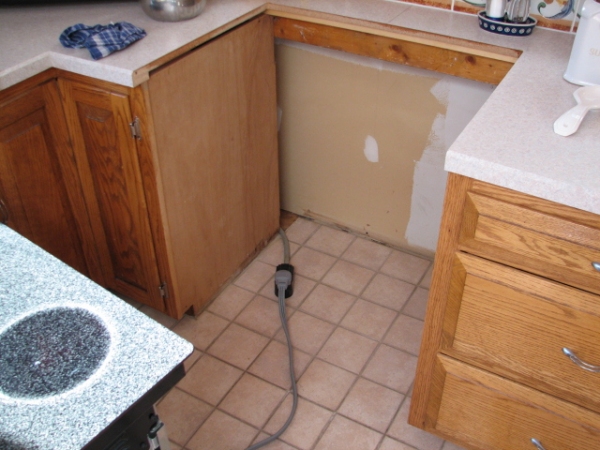
After finishing the cabinet, I began work on the electrical. I accessed the back of the wall by
pulling out the stove from the kitchen counter.
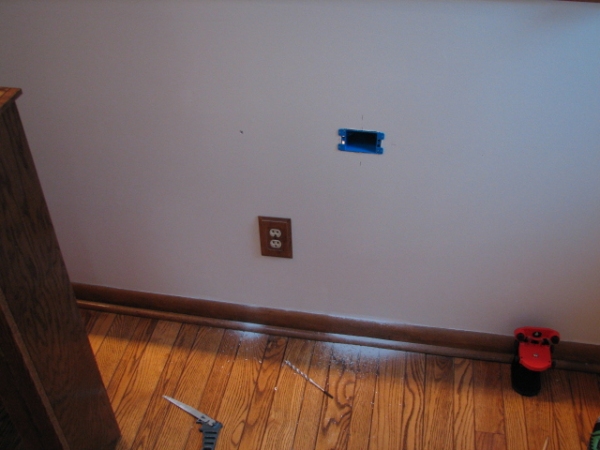
First, I determined where the new plug would reside. The plug was going to be installed inside the
hutch for the cabinet lighting, so the box had to line up.
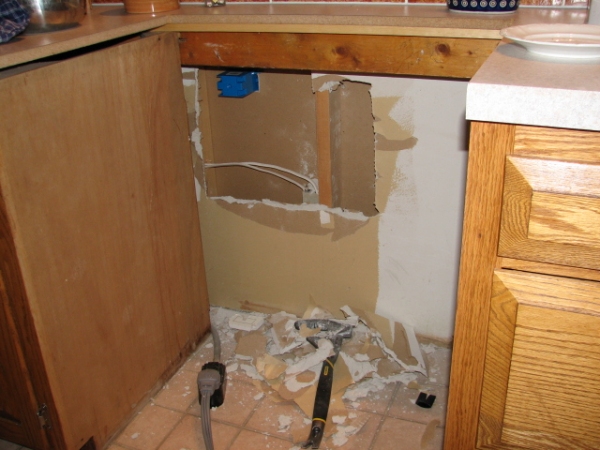
Next came the old smashy-smashy. This is where my Christmas present...the Stanley FUBAR tool...
came in handy (you can see it lying in the debris). With the wall open, you can see the new plug box
and the old one with the wiring.
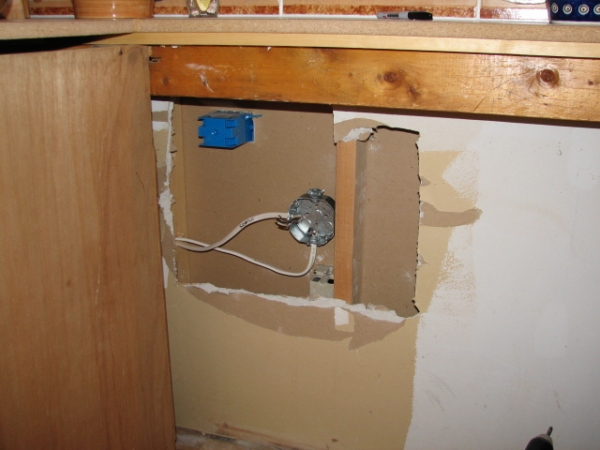
The wires were disconnected from the old outlet, and installed in a new junction box. The line to the
switch and subsequently the new plug eminates from this junction.

The new plug installed, and the old plug decommisioned.
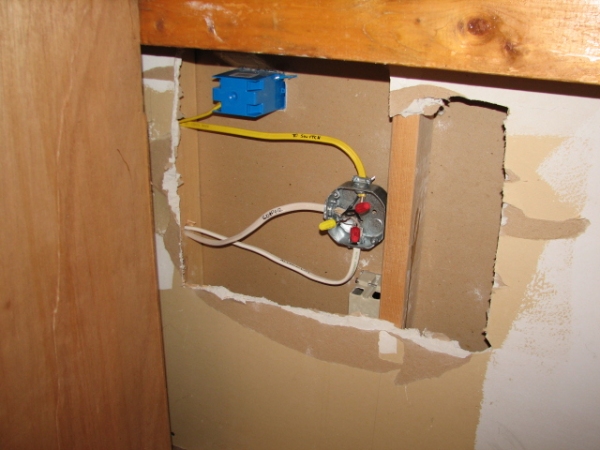
Drilling a new hole in the left stud allowed me to snake the wires to the switch and back to the plug.

With everything wired, it was time to test the new electrical. Everything works!
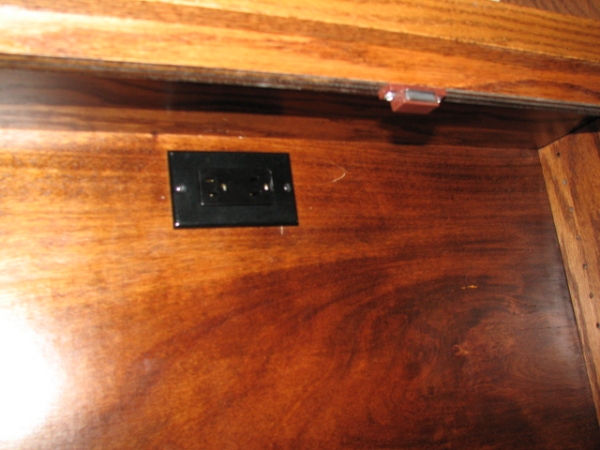
The hutch is slid into place, and the plug is installed inside, with a low-profile black plug.
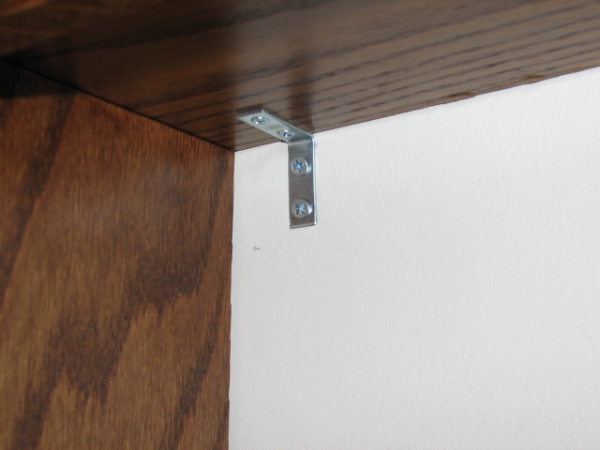
The hutch is only 8.5 inches deep, which means it needed to be anchored to the wall. Two of these
braces inside the top shelf hold up the piece. The braces are attached to wall studs to prevent a tip.
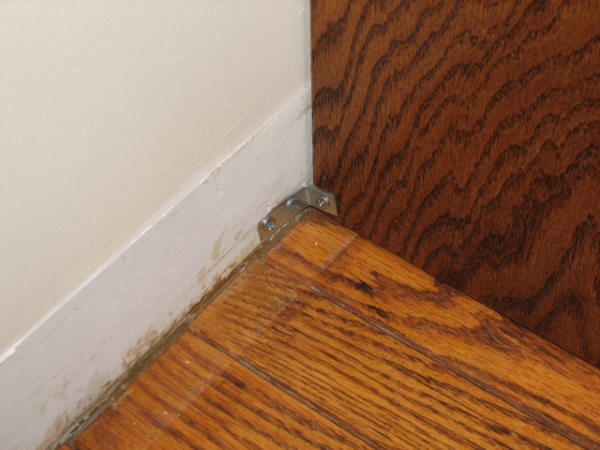
I also anchored the hutch to the base of the wall.

The hutch is in, and the final switchplates are added.
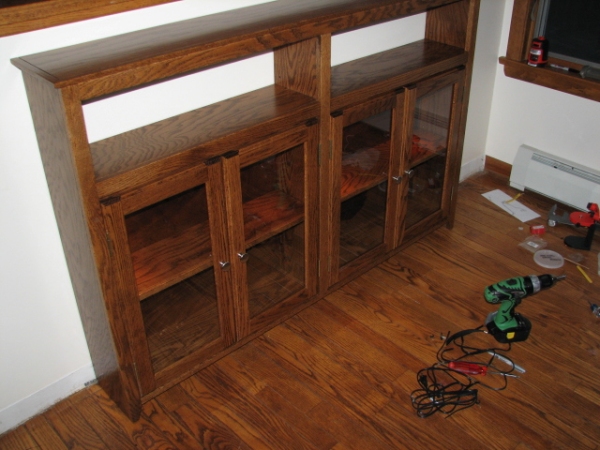
The only thing remaining is reinstalling the baseboard.

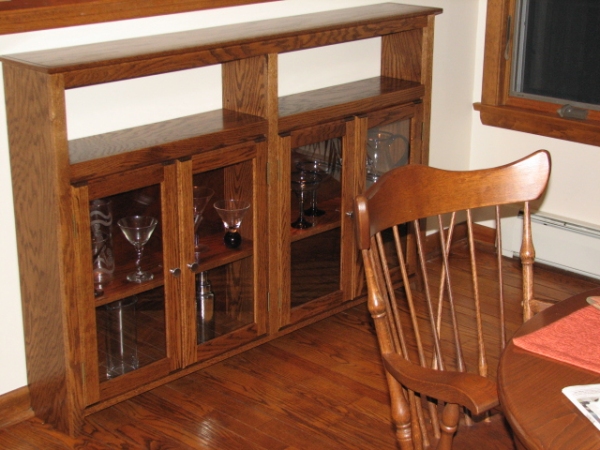
The lights are on in the cabinets!

The baseboard is in, and the hutch is finished. I may replace the oak shelves inside the lower cabinet
with glass shelves, to allow the light to travel to the bottom of the hutch. We'll see.
Thanks for taking another project journey with me. Stay tuned for more projects!
| Back | Top |
|

