Body Preparation
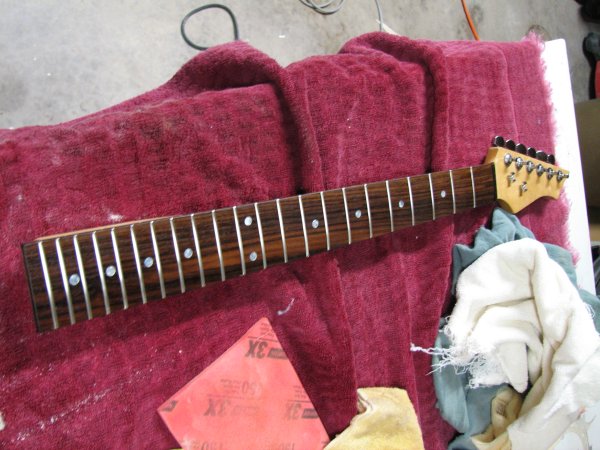
The story of the Milkville Custom Classic guitar begins with a neck -- a late 1980s Harmony maple neck
with rosewood fretboard and unique headstock shape. For years, I envisioned building a custom guitar
using the neck from my very first guitar. Luckily, the
neck heel was designed to Stratocaster
dimensions.
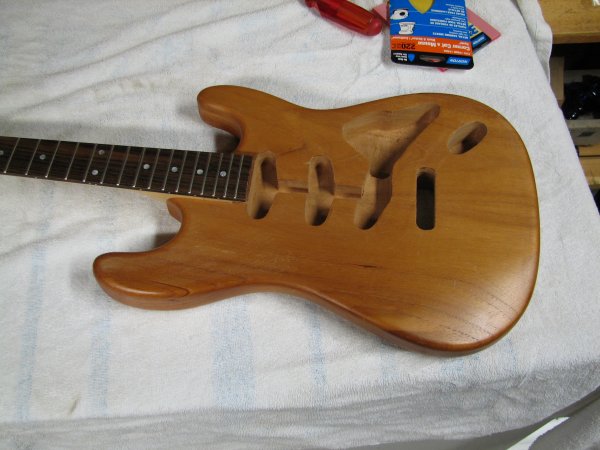
So finding a body wouldn't be too hard.
But it wasn't easy, either. I wanted the body to be mahogany,
because I wanted a warm, fat sound
from the new axe. I found the perfect body on eBay...a two-piece
Brazilian mahogany Strat-style
body with cavity routing but no holes drilled for the neck, bridge, etc.
It was a true blank canvas, and the neck fit great, with only minor modification to the heel pocket.
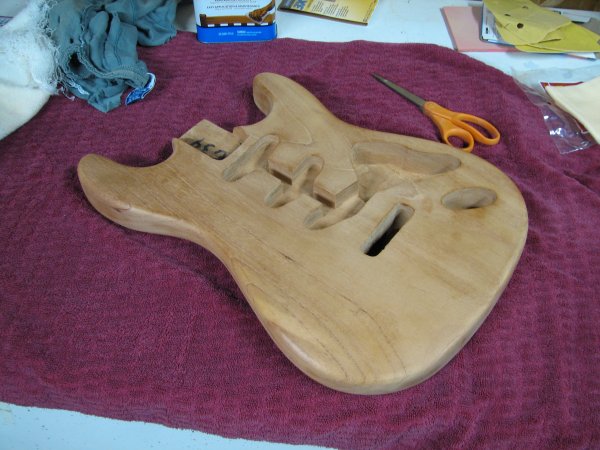
After fitting the neck and drilling the holes to hold it to the body, I removed the neck and began
sanding the body, removing a single layer of protective nitrocellulose sealer. I sanded with 220 paper
using a Mouse sander, which did a great job. For the sides of the body, I used foam sanding pads.
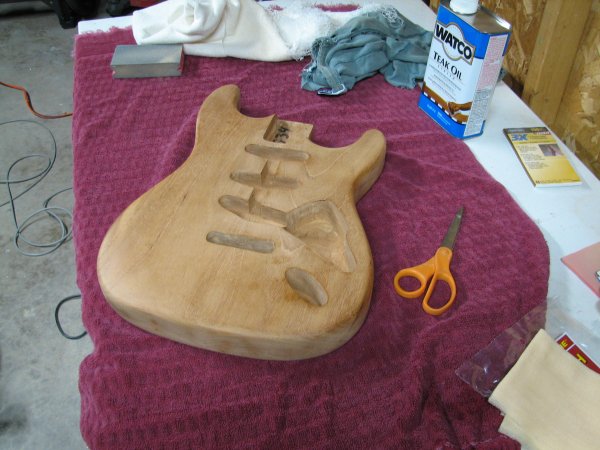
After sanding and cleaning the body, it was time to apply the new finish. I decided to go with teak oil
which is not only easy to apply, but provides a warm, satin finish.
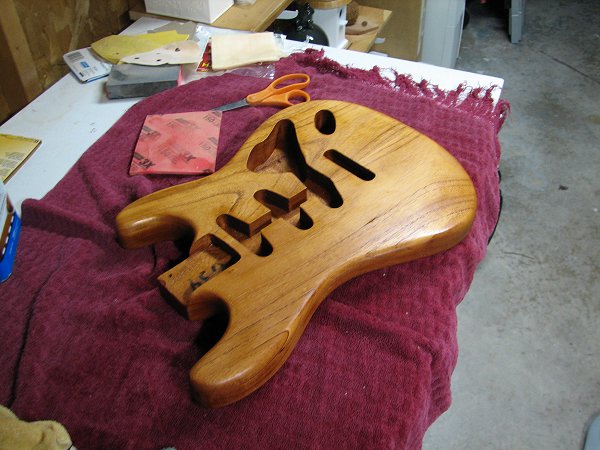
The teak oil finish looked even better than I thought it would.
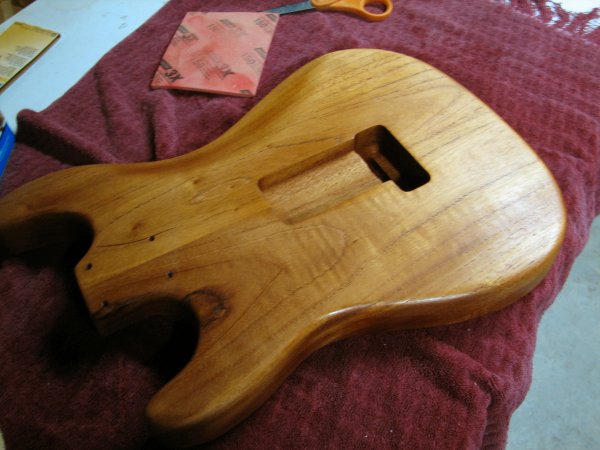
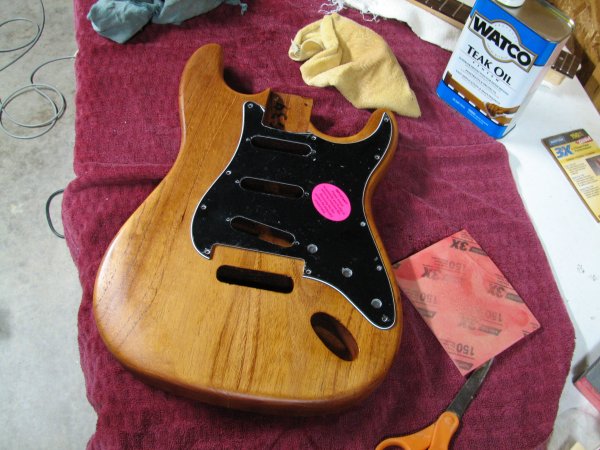
I couldn't wait to see how my new custom-ordered pickguard would look on the body. I ordered a
black-white-black vinyl pickguard with a wide bridge rout and no pickup selector.
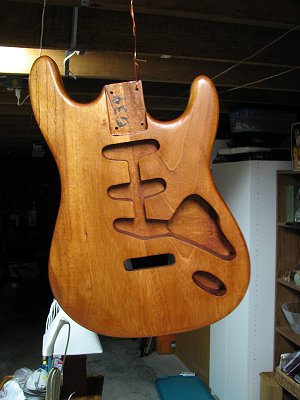 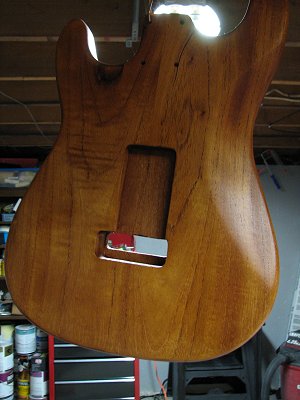
I hung the body to dry. It received three coats of teak oil in total.
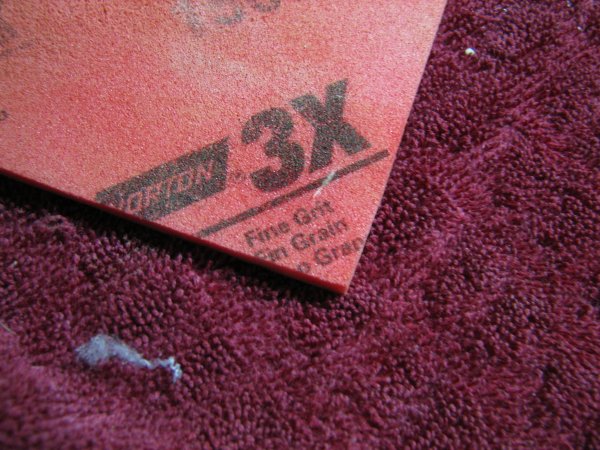
It was then I noticed the printing on the sanding sponge. I knew everything was going to be all right.
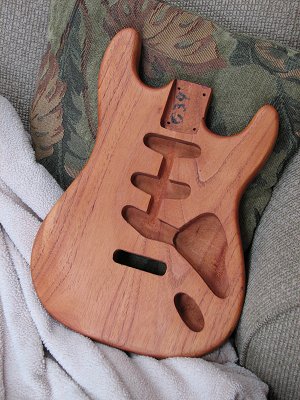 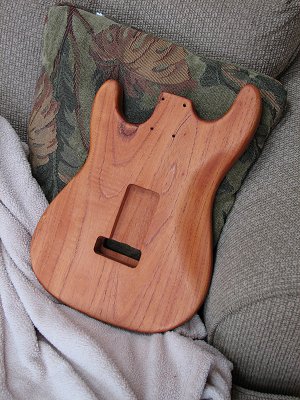
After the teak oil, I applied two coars of bowling alley wax and buffed well. The result was beautiful.
The pictures above are in natural light, and represent the true color of the body.
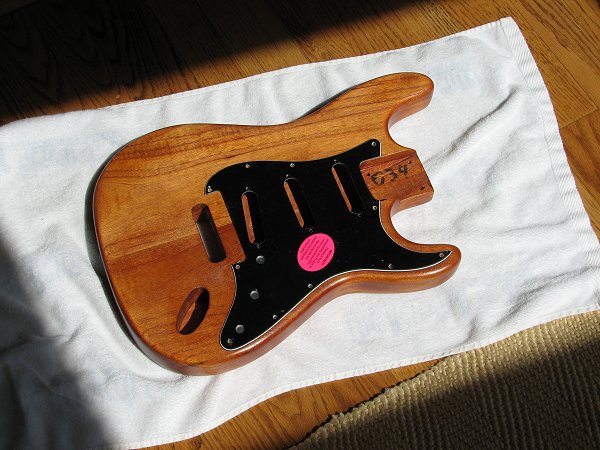
Again, curiosity caused me to grab the pickguard again and see how everything looked in sunlight.
| Back | Top |
|


