June 7, 2014
With
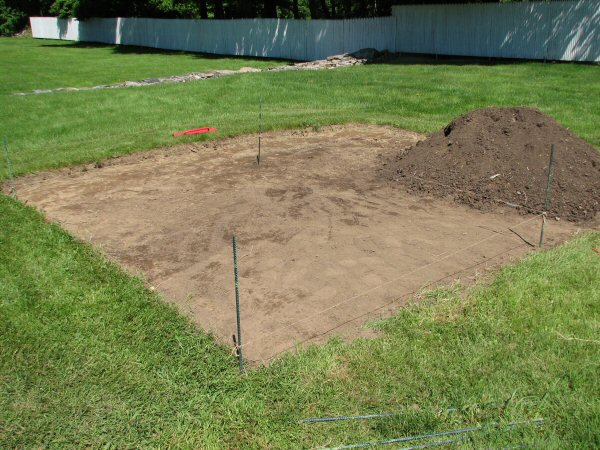
the site cleared, guide lines are set to ensure level beds.

A line level shows the string guides are level.
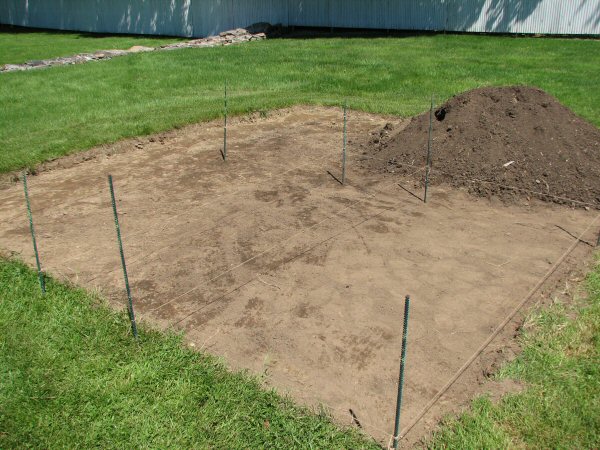
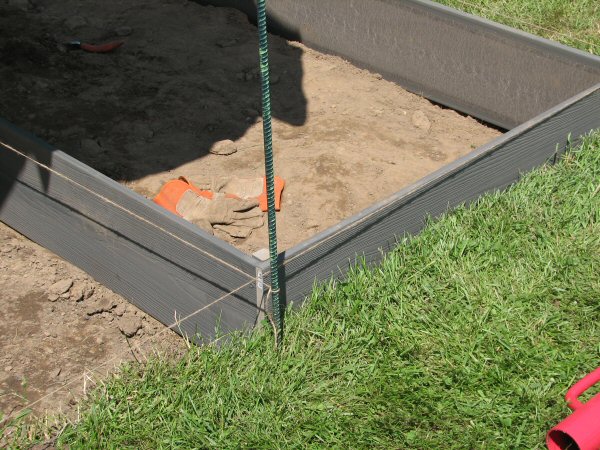
After marking the bed locations using rebar and string, it was time to construct the beds.
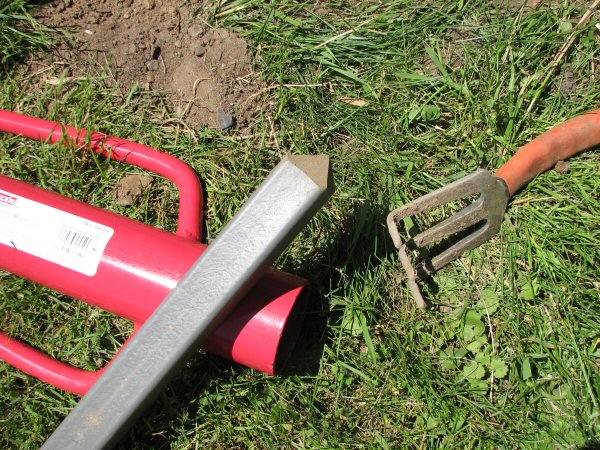
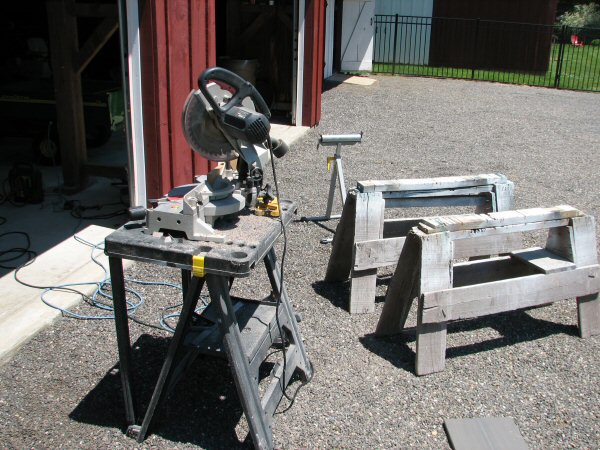
Composite deck ballisters served as the stakes to hold the beds in the ground. First, one end
was cut into a point to aid in driving the stakes in.
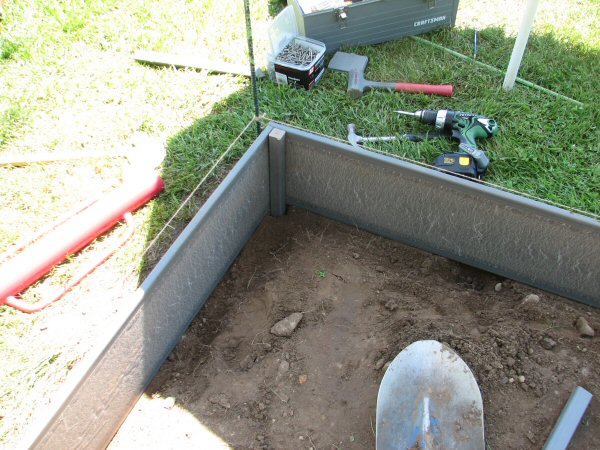
Working from the first corner, I drove the composite post flush with the boards.

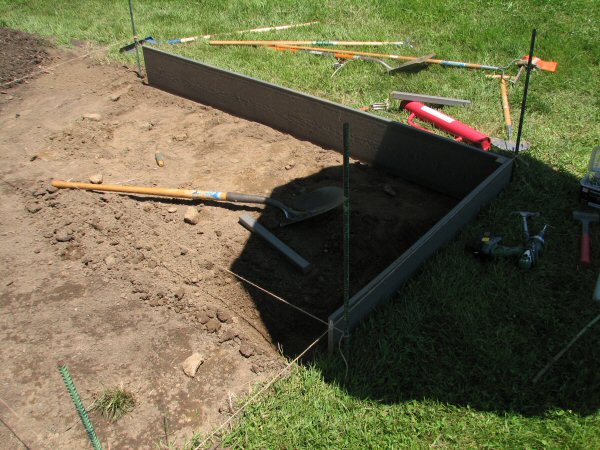
The first two boards are squared.
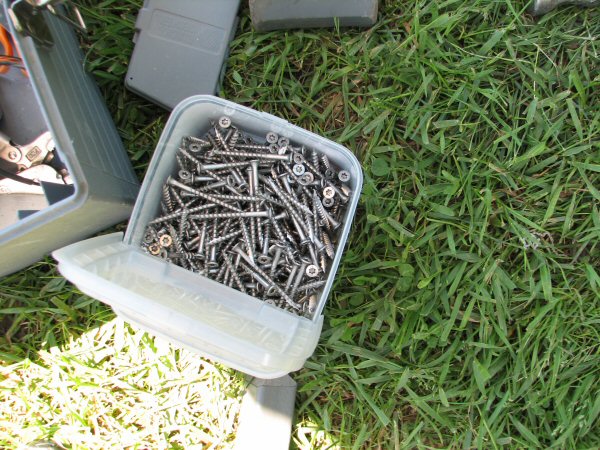
Long, self-drilling stainless steel screws will fasten the boards to the posts.
The goal here is to have maintenance-free beds that will last a lifetime.
Nothing beats working outside.
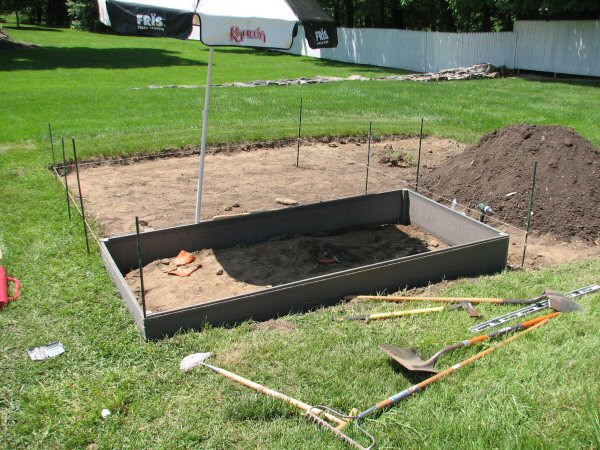
The first bed is constructed.
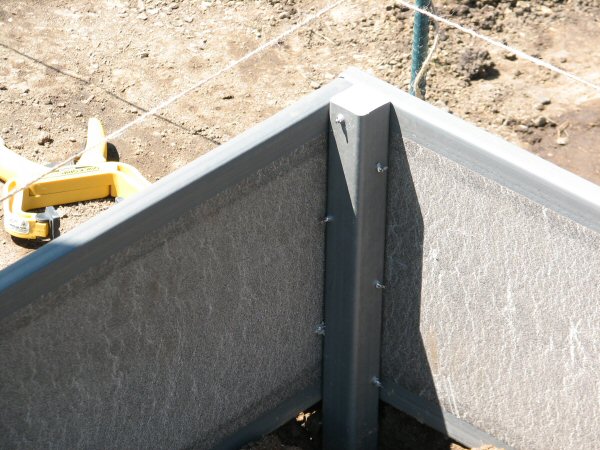
I opted for longer screws to drive fully through the posts for added strength.
The screws will be buried in the dirt, and the composite posts won't split like wood.
A view of the front of the right-hand bed.

Composite isn't as rigid as wood, so the long sides would tend to bow out when full of dirt, and with
the winter freeze/thaw cycle. To combat this, I used aluminum bars for strapping.

The bars will span across the bed, buried in the planting soil. I cut the bars to length, then
drilled holes for the screws to hold them to the middle posts.

The bars will keep the sides of the beds from bowing, and the aluminum won't rust in the dirt.
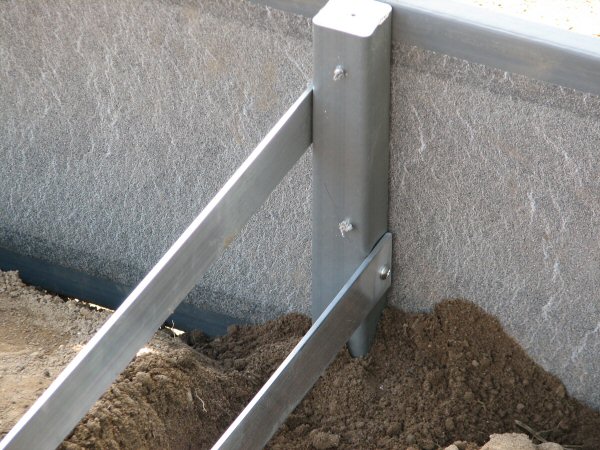
I pre-drilled the holes, and installed the bars on each side of the posts with stainless steel screws.
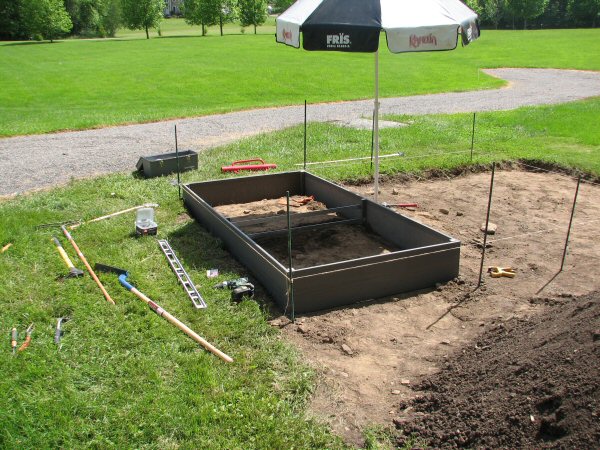
With the first bed constructed, it was time to refill it with the rich garden soil.
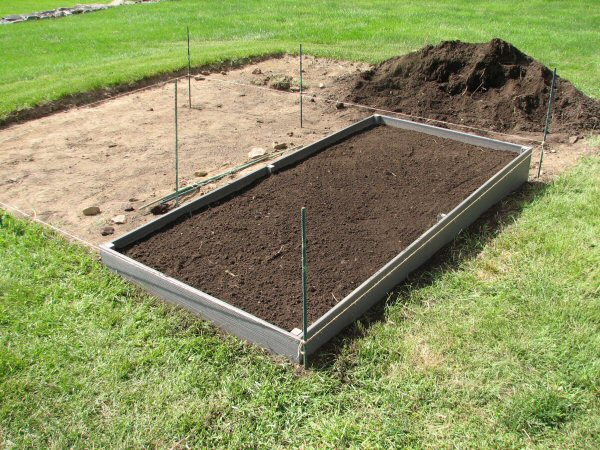
The first bed is ready for planting.

On to the second bed.
| Back | Top |
|

