July 12, 2008

The original goal was to simply replace the old doors. But when I looked behind the
aluminum
flashing
of the door
frames, I noticed some rot. As it turns out, that was just the beginning. So I enlisted
my
brother-in-law, Dave (above), for help. We ended up with a pretty big project.

We expected to rebuild the bottom couple of feet of the door frame. But when I removed the siding,
the news got worse and worse, as evidenced by the insect damage and wood rot on the plywood.
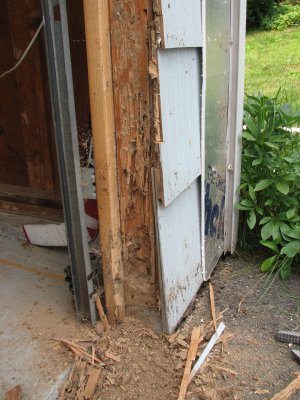
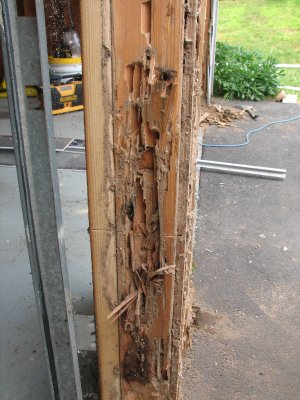
And it gets worse. Check out the rot on the structural studs. Above-left is the right-hand garage door
frame. The picture above-right is of the central section between the two garage doors. You can see
the old cedar shakes under the siding. Those had to be removed as well.
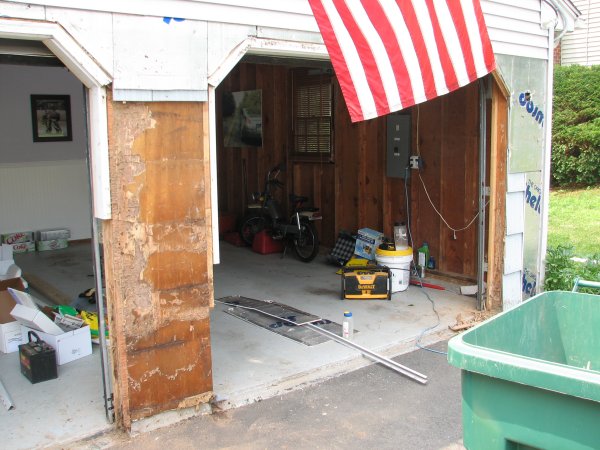
You can see how high we had to cut the door frames before we found good wood. Everything below
was either rotten or devoured by long-departed termites. All four uprights -- left and right on each door --
were rotted or damaged by insects, and required significant rebuilding.
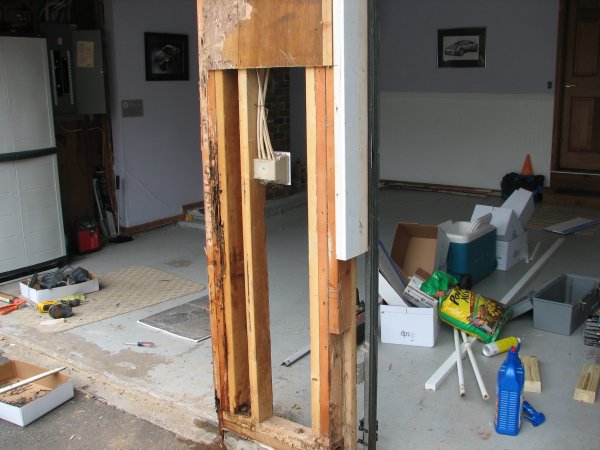
Off comes the damaged plywood sheathing, and on comes the heart palpatations. More damage.
Sure, it doesn't
look too bad from a distance...
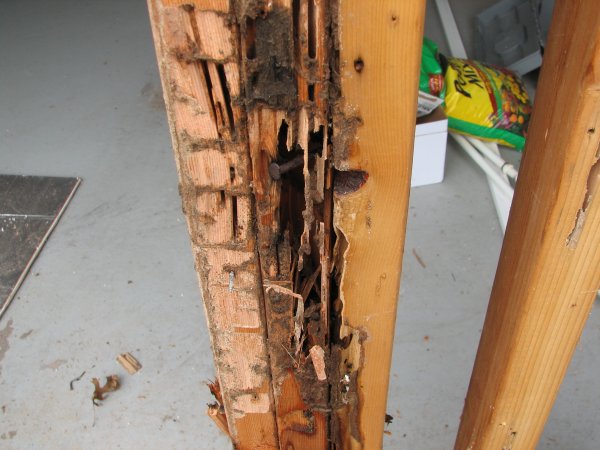
...but take a closer look. These three sandwiched studs are destroyed by a combination of water, termites,
ants and even a yellow jacket hive. Even the sill plate was completely rotted.

The removed siding is laid on the lawn for reinstall later.
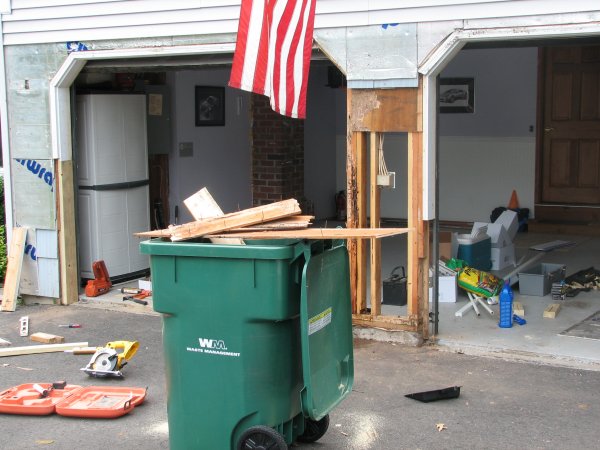
At this point, you can see that we've replaced the left-most door frame with pressure-treated wood.
Dave asked me how high we wanted to use pressure-treated, and what we wanted to build with
regular wood. My answer was, "Everything gets pressure-treated."
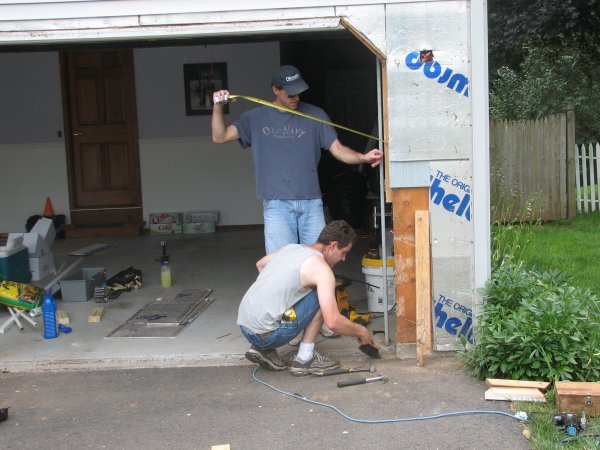
Dave sweeps up the last of the rotted wood, while I measure for our next replacement board. Dave works
a lot like me...organized and cleaning as he goes. He also does all the projects himself at his house
(and
does excellent work), so we're always trading tips and ideas.

The the scrap aluminum, vinyl and rotted wood lies in a pile on the lawn. I arranged a scrap
metal
pick-up with the town to recycle the aluminum, but the night before pick-up, someone swiped
it
from the curb. Hey, as long as I don't have to see it anymore.
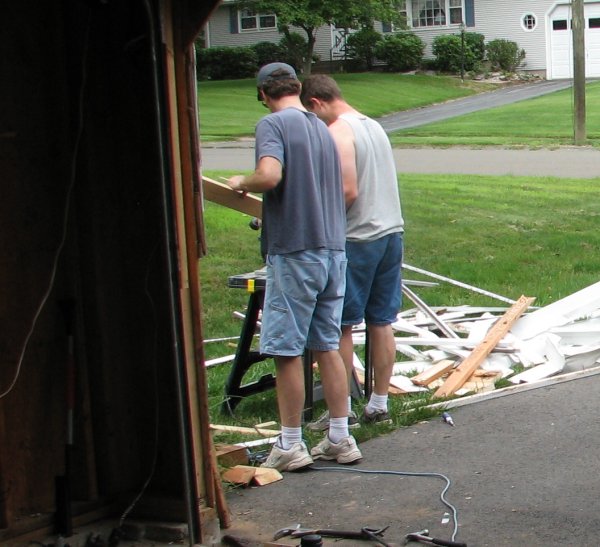
Dave and I figure out our next move.

No, a car did not crash into our house. But the damage was just as bad. This is what was left of the
center support after we removed anything rotten. You can see temporary supports on each
side of
the missing center support wall.
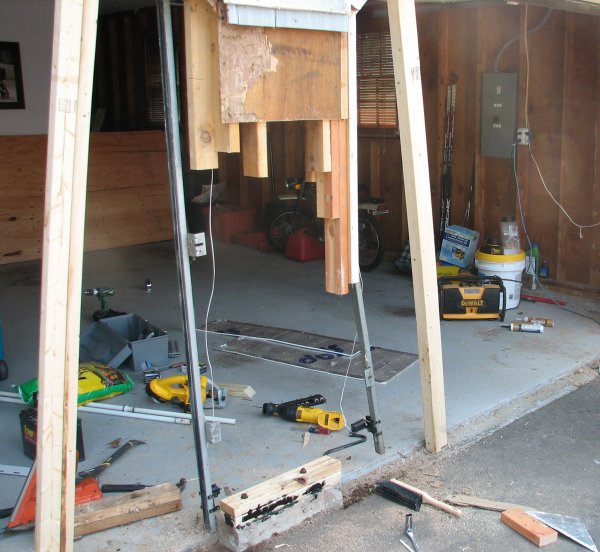
We first rebuilt the sill. Luckily the securing bolts were still in good shape. We installed two piece of
PT and sealed them to the foundation with black silicone sealant (that's what the black smudges are).
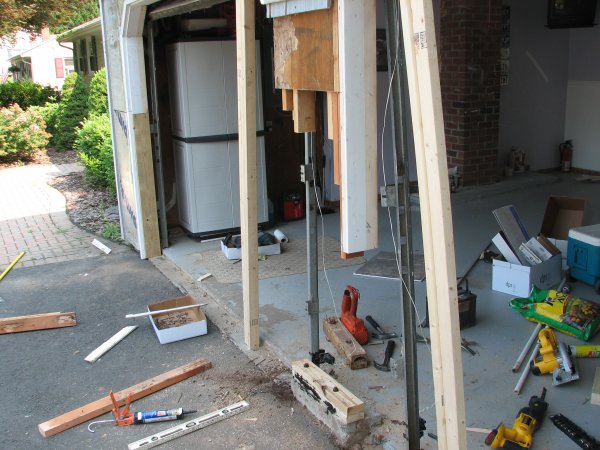
Another view of the new sill and the removed center section. Our goal was to have the entire thing
rebuilt by the end of the day.
 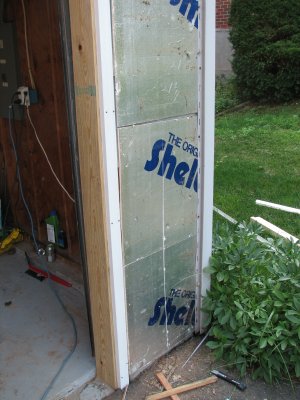
I was too busy trying to get the house put back together to take a lot of photos here, but
fast-forward
a couple of hours, and we've rebuilt the center section, complete with the plywood sheathing.
On the right, you can see that we've even got the 908 moulding and insulation back up.

Here's a view of the rebuilt center section from inside the garage. We even used leftover pieces for the
garage
rail nailers (non-structural), so there was very little waste on the rebuild. The plywood is not PT,
but all the stud boards are, so rot won't be an issue again.
| Back | Top |
|

