April 9, 2017

Work over the last few days turned to ceiling painting.
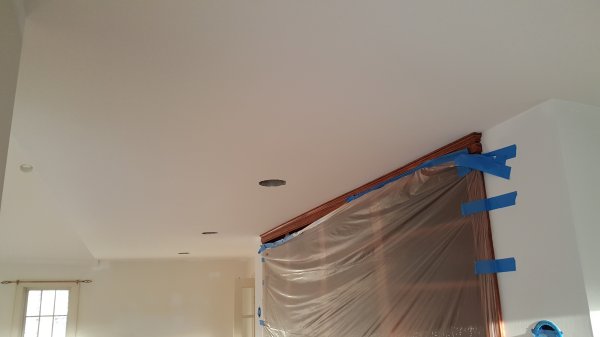
The lower section of the ceiling receives a fresh coat of white ceiling paint.
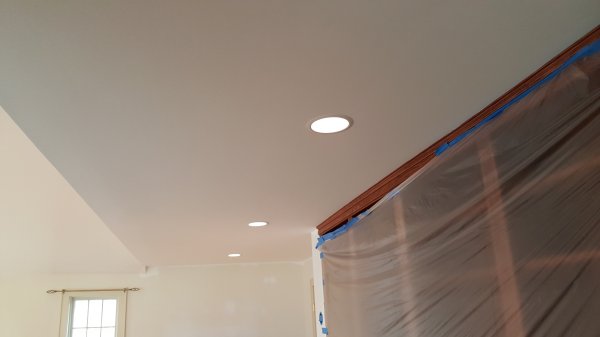
Once dried, the recessed baffles are reinstalled, along with new, energy-efficient LED spotlights.
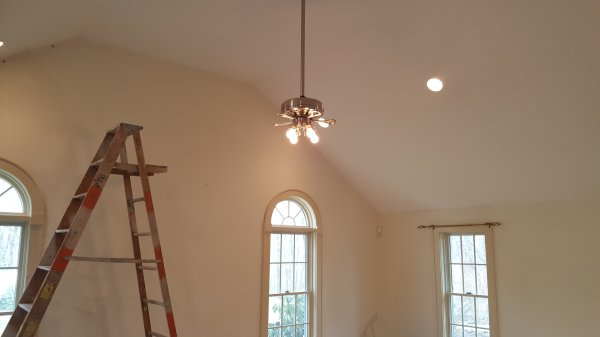
Work then turned to the vaulted ceiling, which required prep -- repairing minor joint cracks...
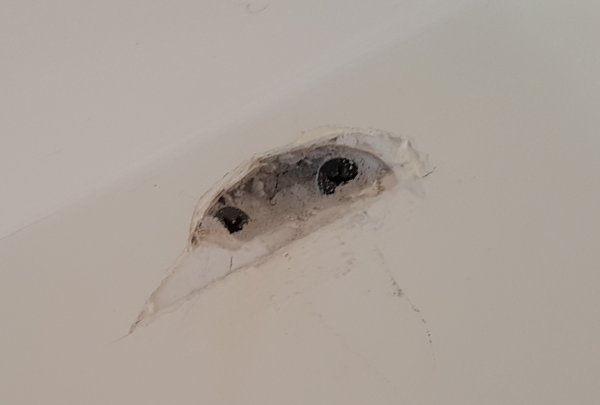
...and loosening wallboard nails. Here, the nails are removed, replaced with screws and
the loose joint compound removed and cleaned up.
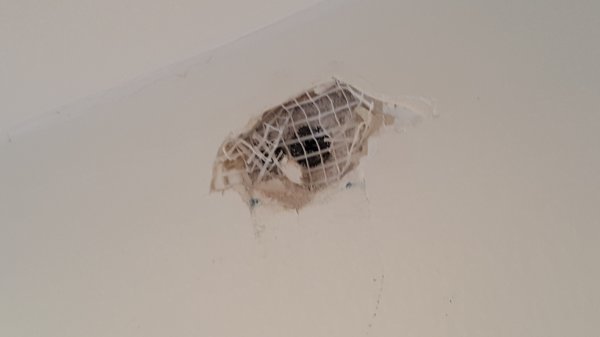
In another spot, a small piece of reinforcing mesh tape is applied. This patch with be mudded
with two coats of fresh joint compound, sanded and painted.

Sometimes on a project, you have to call an audible. Warm, dry weather meant knocking out
baseboard heater painting. These pieces have been lightly sanded, cleaned...
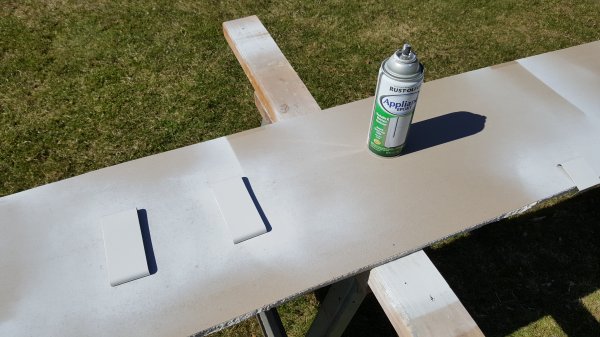
...and spray-painted with high-gloss epoxy enamel. Epoxy paint dries to an extremely durable finish.
I typically replace baseboard heater covers instead of painting them, but these were in excellent shape.
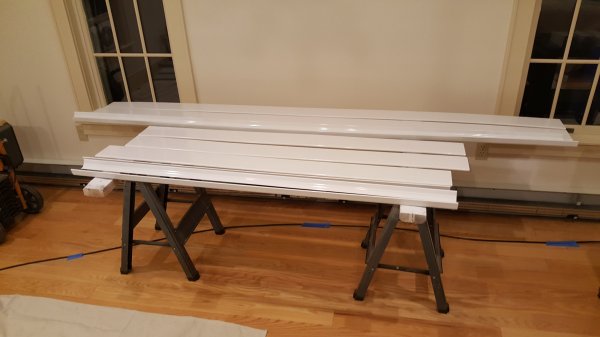
After baking in the sun all day, the pieces are moved inside.

Heater end caps and joining pieces sit, ready for reinstallation.
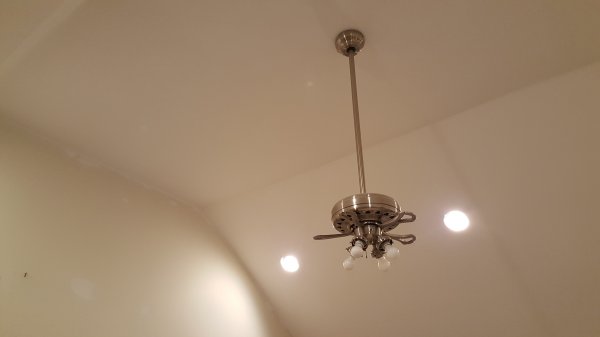
With ceiling repairs completed, the vaulted ceiling is painted.

Next up...windows.
| Back | Top |
|

