March 1, 2017

After cutting and routing the new bookshelves, they required a finish sanding with 220-grit paper.
A palm sander made short work of the large faces...
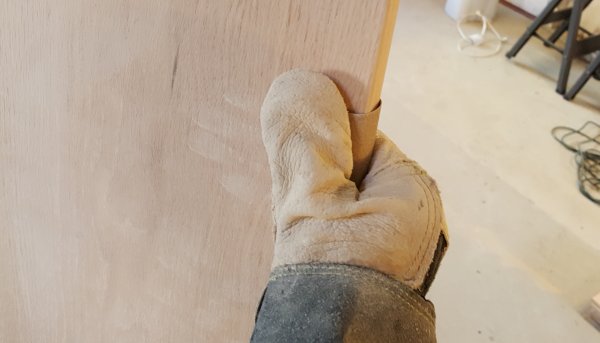
...but for the edges, nothing beats good old-fashioned elbow grease: hand-sanding with 220-grit paper.

After sanding and wiping the shelves down with a microfiber cloth, I constructed a drying rack.

I determined the best edge of each board -- the forward-facing edge -- and hung the boards in the rack
with the "money edge" facing up. I drilled small pilot holes to accept temporary screws, which allow
the shelves to hang vertically.
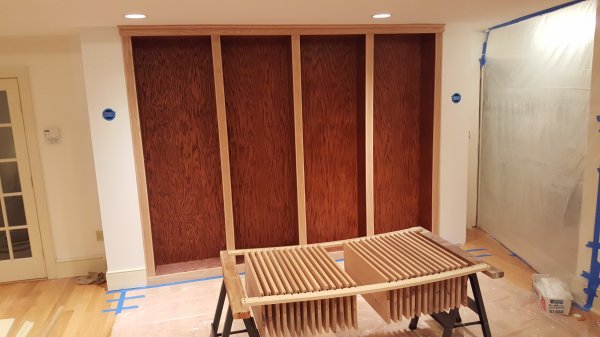
Hanging in the rack with good airflow around them allowed the shelves to dry and acclimate,
removing any minor cupping in the boards.

With plastic sheeting down, and the room well vacuumed for dust, it's time to stain.
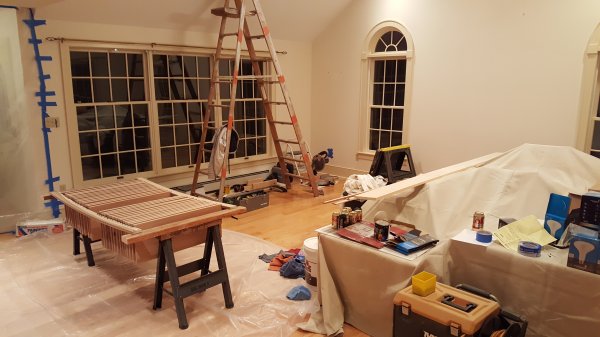
The workspace...cleaned and organized.

First, I stained the bookcase trim, after countersinking nails and a final light sanding.
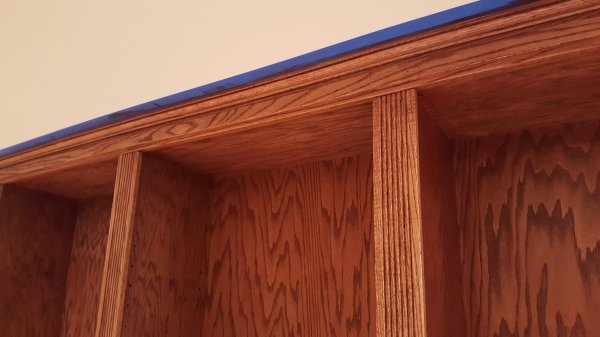
A close-up of the trim, now stained "red chestnut."
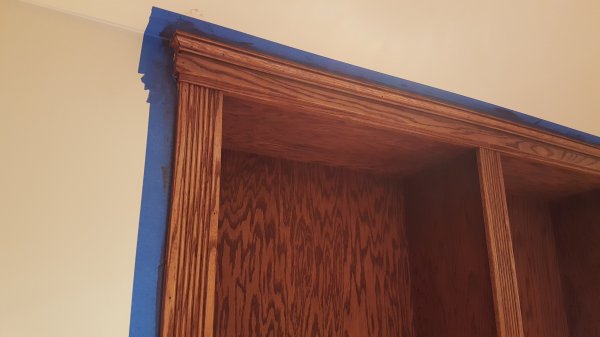
Painters tape protects the wall.The nail holes will be filled after the first coat of polyurethane.
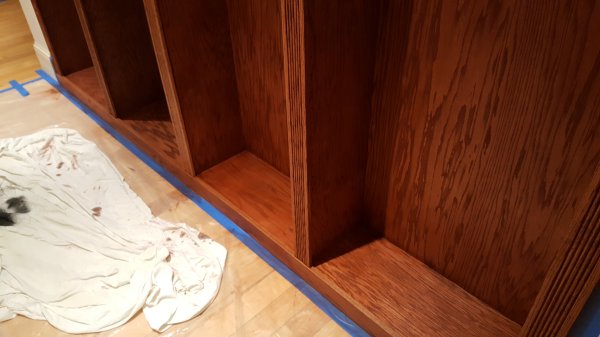

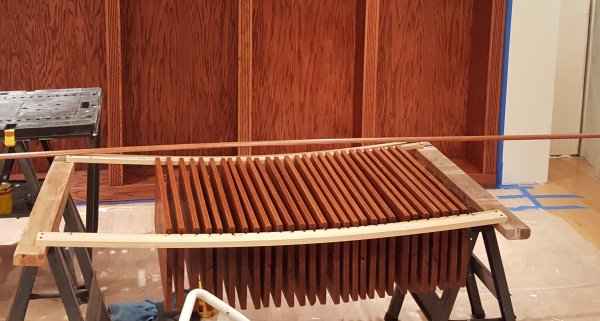
With the trim dry, 28 shelves receive stain...as well as a 12-foot piece of quarter-round trim.

The shelves will hang in a rack for a few days to thoroughly dry.
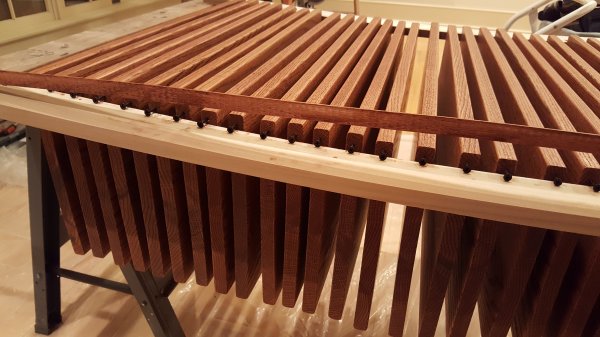
Next up...the tedious task of applying three coats of polyurethane.
| Back | Top |
|

