February 19, 2017
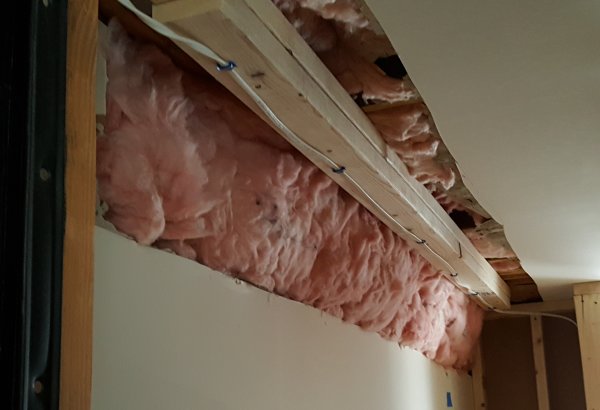
Before closing up the bookcase wall, I stuffed some leftover insulation into the open bay -- mostly
for sound absorption. But I also had an last-minute brainstorm -- to install wall sconces on each
side of the bookcase. So I ran the wiring for two lights and wall switch.

Before I closed up this space for all eternity, I wrote a note on the old wall with a message to a
future generation. The message is just general well wishes, but I did include this postscript:
"P.S. Why did you rip out my bookcases?!"
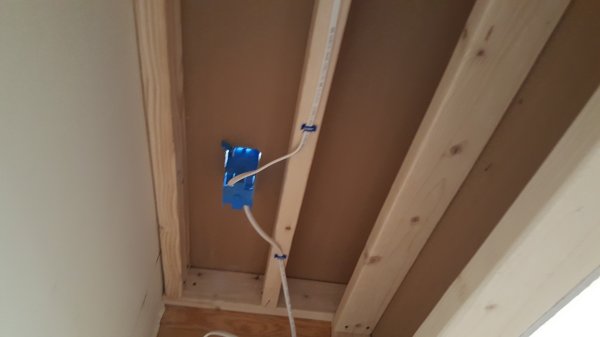
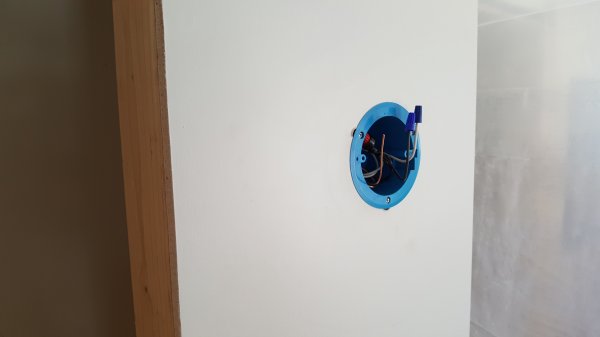
Wiring is installed to the new wall outlet.
The wiring then continues to the location of the new wall switch.

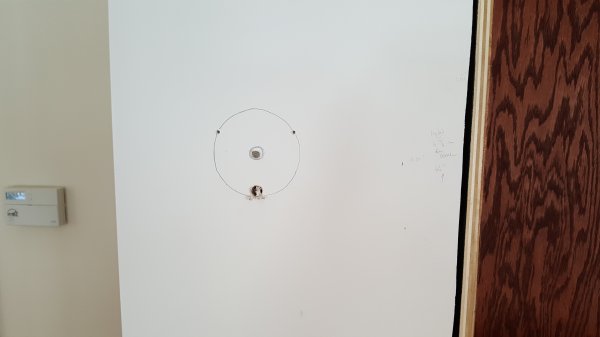
...and continues on to the right-hand sconce location. Here, I am about to install the wall box.
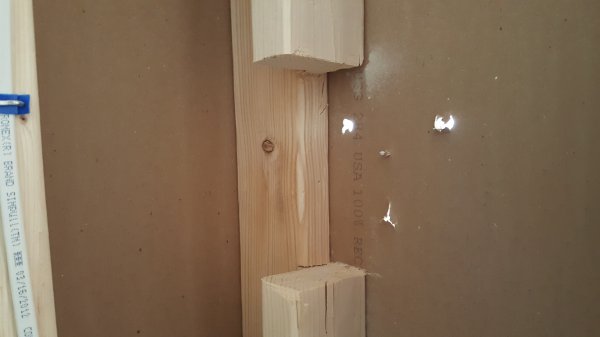
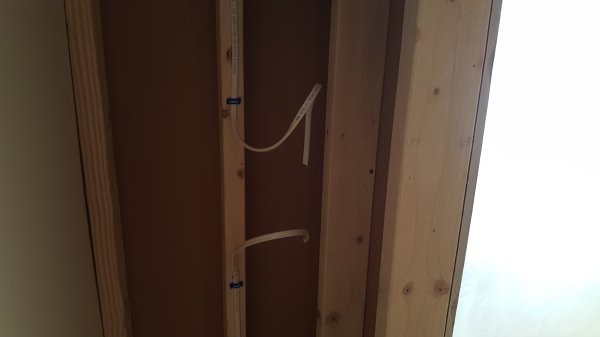
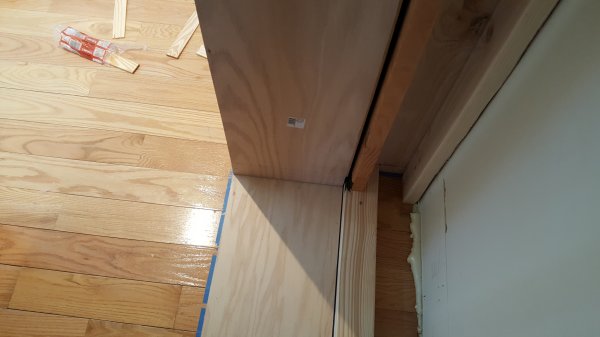
Every project has its surprises. And in this case, one of the wall studs I installed was right where I
wanted to put the box. So I had to carefully cut away a piece of the stud, and screw it to its neighbor.

After removing the section of the stud, I had plenty of room for the new box.
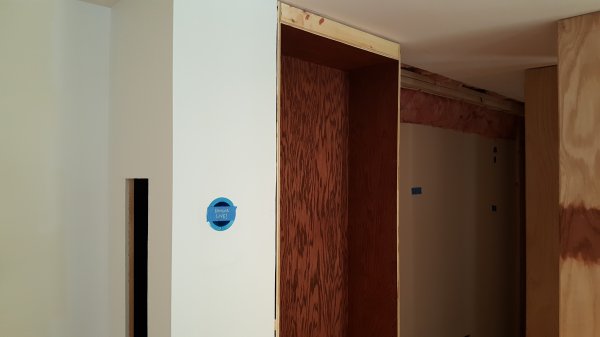
The box is installed and wired...ready for a new wall sconce.
Installation of the left-hand box. I had to cut away the stud on this side, as well.
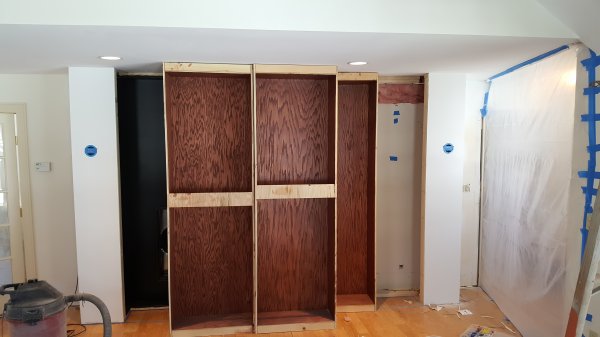
With both boxes installed and tested, I could now permanently install the bookcases.
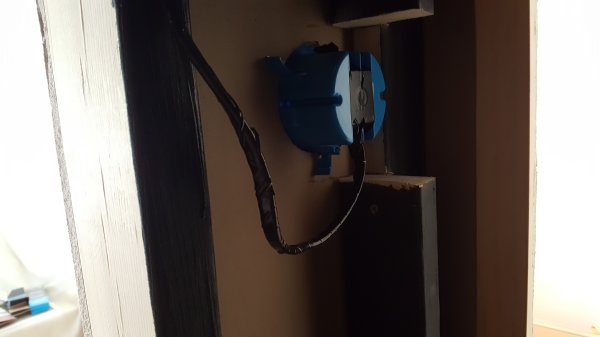
But first, I wrapped the left-hand wire to the box in black eletrical tape. This was also strictly
aesthetic -- I didn't want the wire visible through the new return grate of the new duct.

I also needed the bookcases shimmed up a 1/4" to bring them a little closer to the ceiling.
I used leftover plywood from cutting the bookcase back panels, and nailed the two pieces to the floor.

The bookcases were then slid on the shim platform and anchored to the top cleats.
Looking down at the floor, the bookcase box sits on the shim platform. I toenailed the boxes to the floor.
The first box is in.
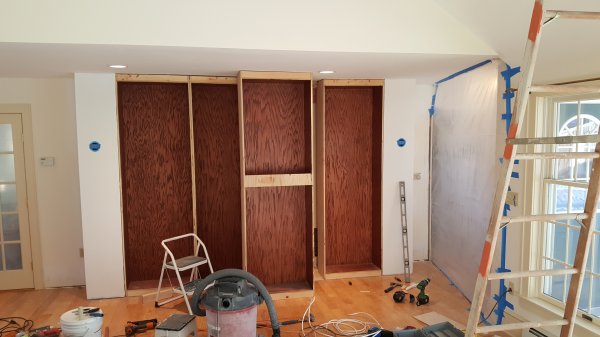
After installing the left two boxes, I installed the far right box and worked toward the middle.
Doing this kept the bookcase centered in the space.
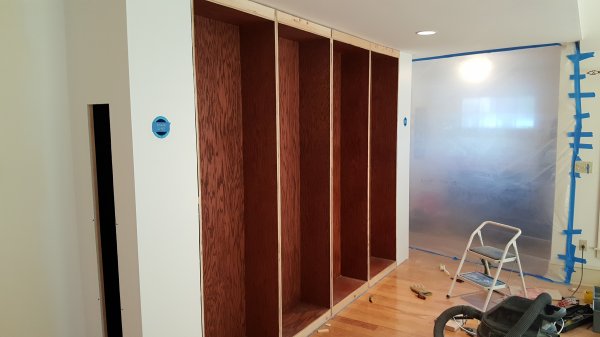
All four boxes are installed.

The center seam of the bookcase is slightly wider than the others, but you won't notice that when
the final trim is installed.
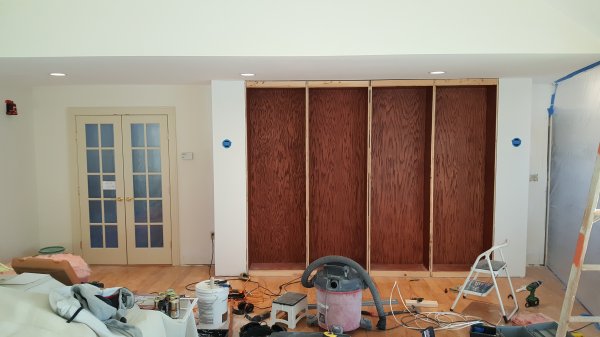
The project is taking shape.
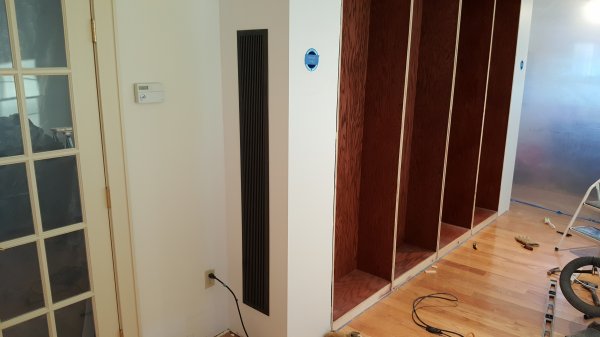
The new, custom return grate is installed.
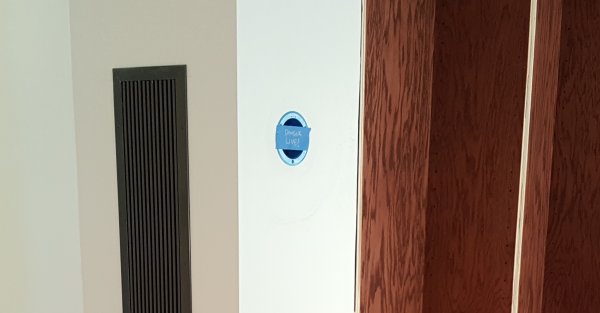
A close-up of the new return grate, with a black void behind it.
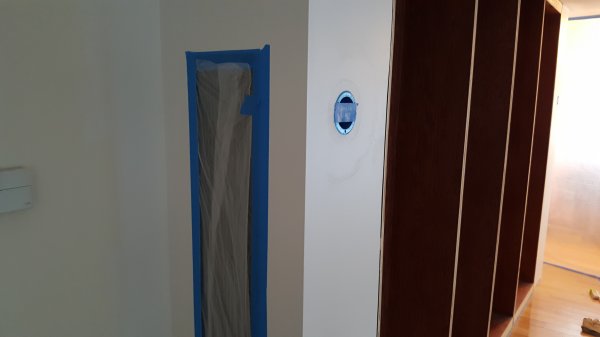
I immediately covered the grate with plastic to keep dust out during construction.
| Back | Top |
|

